The character design process is one of the most critical processes in every project to bring imagination to life. The characters can be considered as the heart of any story. The character design process starts with defining the character’s personality and back story, sketching, conceptualization, and finaling the design.
Whether you’re a beginner just starting to dip your toes into character design, an experienced artist looking to enhance your skills, or a project owner who is just getting familiar with the character design pipeline, In this blog, we will tell you step by step process, tips, and also best practices.
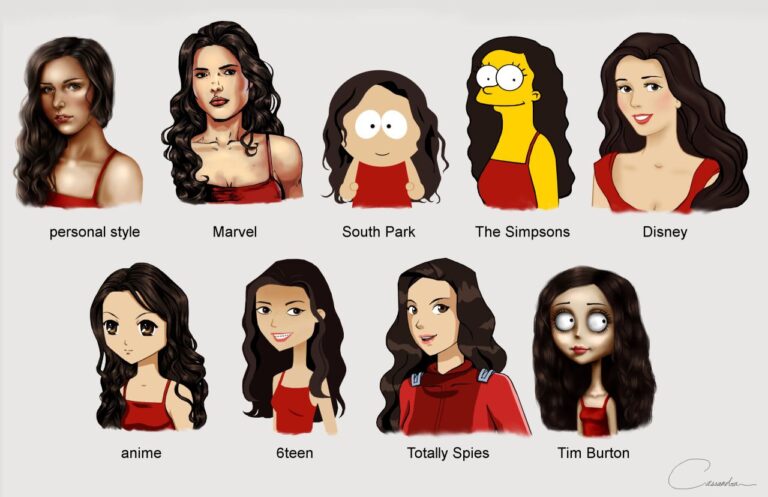
Understanding the Character Design Process
The character design process involves bringing a character to life through visual development and thoughtful design choices. Before sketching begins, creators typically start by establishing the character’s concept, backstory, personality traits, and defining visual elements.
Research Character Design Process
Character design is a crucial process in visual storytelling mediums like animation, comics, and games and. Well-designed characters act as an audience’s emotional anchor and lens into the story. This research review will analyze key studies and industry perspectives on effective character design approaches.
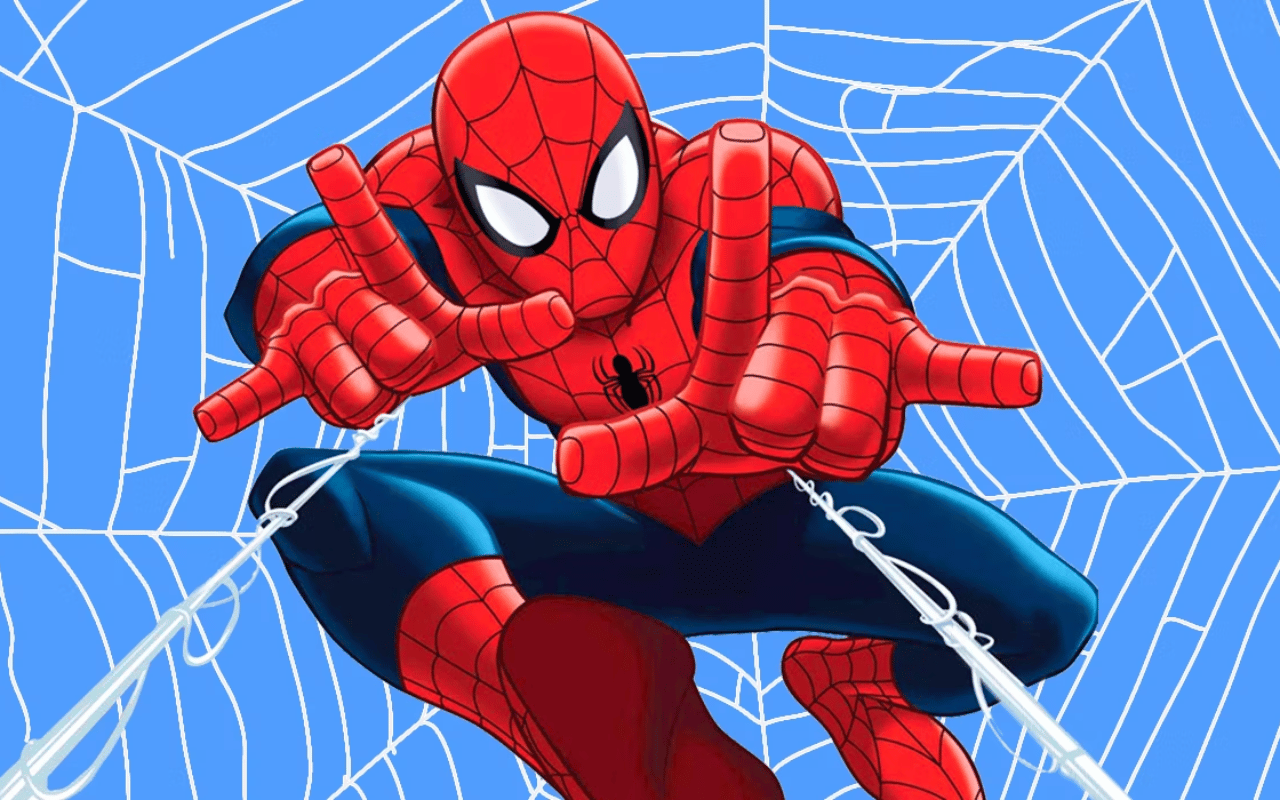
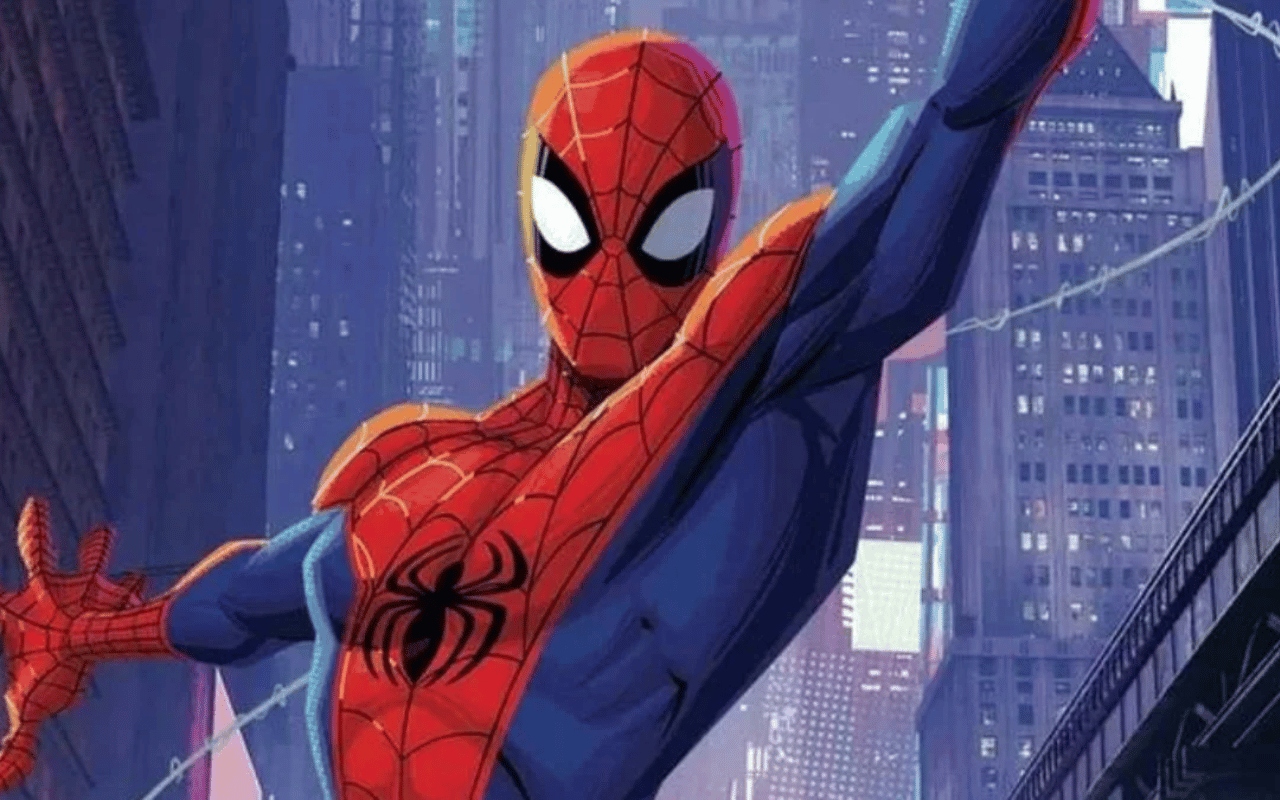
Here is also an example walkthrough of the character design process for the popular character Spider-Man:
Defining the Character's Role and Personality
A study on Pixar’s animated film creative process found defining a character’s personality and role in the story is an essential first step. Researchers state character personalities evolve throughout production, but having a firm conceptual anchor guides designs.
Industry designers like artist Sparth echo starting with narrative purpose and personality before visuals. Concepts like hero, villain, and mentor provide foundations.
Example: A nerdy, socially awkward teen who gains confidence as a superhero. Motivated by guilt and a sense of responsibility after his uncle’s death. Witty, brave, and self-sacrificing.
Backstory and Character Origins
Several studies highlight the importance of backstory in character design. A study of manga/anime characters (Papp, 2021) found backstories outlining characters’ pasts enhanced viewer engagement. Researchers hypothesize backstories make characters feel three-dimensional.
Blake (2011) analyzed video game character profiles and concluded establishing character origins, motivations, and relationships informed player connections and empathy.
Example: Peter Parker is a high school student who gets bitten by a radioactive spider, gaining spider-like powers. He lived with his Aunt May and Uncle Ben in Queens, NY, after his parents died.
Reference Gathering
Once the idea is generated and the character design studio has a clear plan. Artists, designers, and project owners must look for references. Reference materials can be images, artwork, sculpture, etc. Here are some tips on gathering effective references during the character design process:
- Look for poses that exemplify the character’s energy and personality – are they shy, dominant, or sassy?
- Find facial expressions that mirror key emotions the character will need to convey – anger, joy, confusion, etc.
- Search for clothing styles, hairstyles, and accessories that fit the character’s culture and backstory.
- Collect color palettes from various sources that have a similar mood and tone to your character.
- Look at lighting references to see how colors and textures are affected. How does sunlight differ from torchlight?
- Study anatomical, costume, and pose references to accurately render areas like hands, fabrics, and foreshortening.
- Revisit references for body type, shape language, outfits, hairstyles, and setting details to keep them consistent.
- Organize references clearly with labels indicating why each was chosen and how it will inform the design.
Example: Spider physiology, poses of a lanky/agile teenager, science lab equipment, 1980s fashion/haircuts for a historical feel.
Define the Characters' Non-Visual Characteristics
Defining these traits early on ensures the visuals designed for the character align with and enhance their deeper personality and background. These details breathe life into them. Here are some of the key non-visual characteristics that are important to define during the character design process:
- Personality Traits – Determine descriptors like brave, comical, shy, and adventurous that will influence their actions and dialogue. In an NFT design agency, defining core personality traits ensures consistency.
- Backstory – Crafting details about their origins, family, interests, and past experiences provides depth and quirks.
- Motivations – Establish the driving goals, desires, and conflicts that propel the character through the story. Motivations inform their arc.
- Relationships – Figure out connections with other characters that may be friendly, antagonistic, parental, romantic, etc. This shapes interactions.
- Mannerisms – Come up with signature habitual behaviors, gestures, postures, and quirks that reflect personality.
- Voices – For animated/game characters, the tone and quality of their voice brings huge personality. Deeper voices may equal authority.
- Humor Style – If they’re a comic relief character, define their sense of humor. Slapstick? Deadpan? Goofy? Witty?
- Maturity Level – How intellectual, emotionally intelligent, and wise is the character? A mentor character may have high maturity.
- Values – Determine if they value family, success, knowledge, freedom, tradition, etc. This guides their priorities and decisions.
Example: High intelligence and aptitude for science. Strong moral conscience. Interpersonal awkwardness and insecurity. Quippy sense of humor.
Sketching in Character Design Process
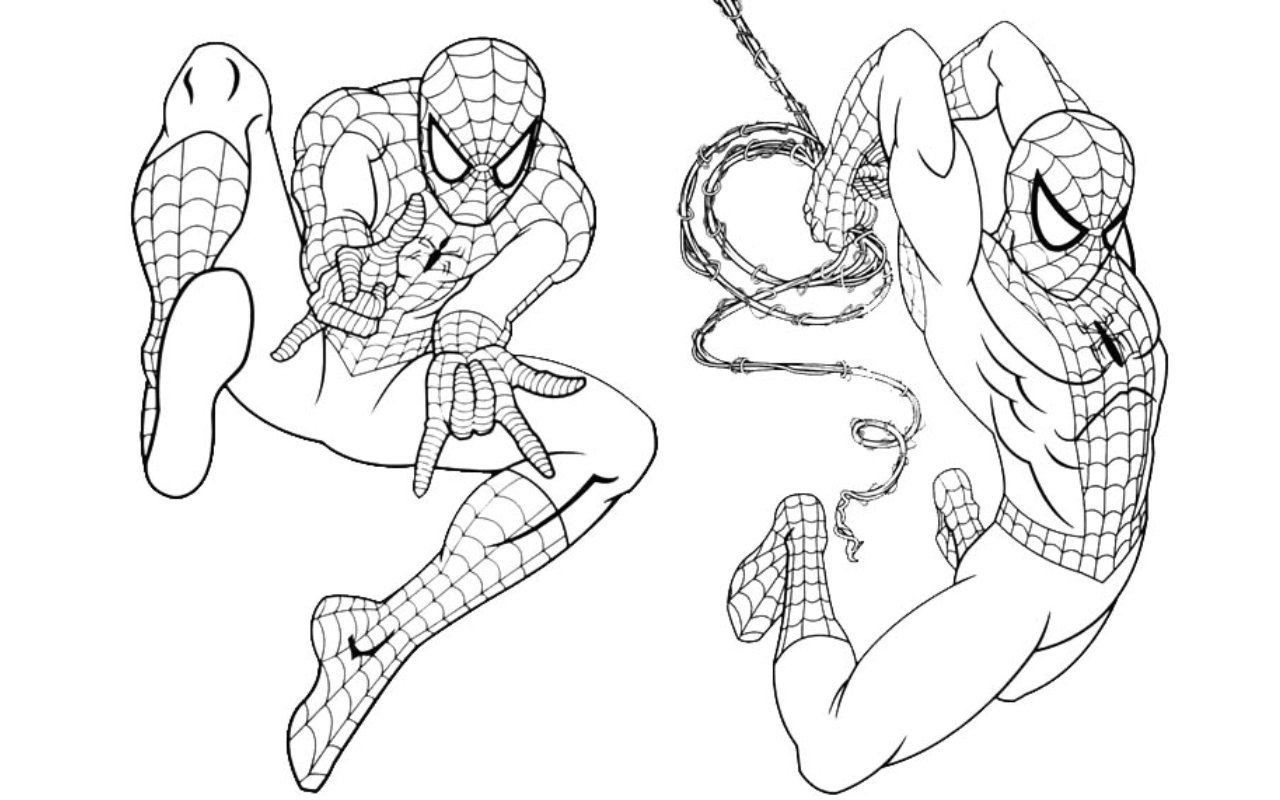
Now, it’s time to set pen to paper. Several sketches are created here to choose the best one based on project requirements. This stage involves rough or black-and-white sketches with correct human anatomy regarding the artists working on the design. Iterative sketching early on enables experimentation with different body types, facial features, costumes, accessories, etc.
Loose, rough sketches explore possibilities without getting bogged down in details. Sketches focus on defining the essential silhouette, pose, and personality. Exaggerated expressions show emotion, and sketches act as quick studies for turnarounds, model sheets, and final renderings.
Example: Rough sketches establishing geeky physique, wild hair, spider emblem chest logo. Web-shooting hand poses. Baggy retro costume iterations.
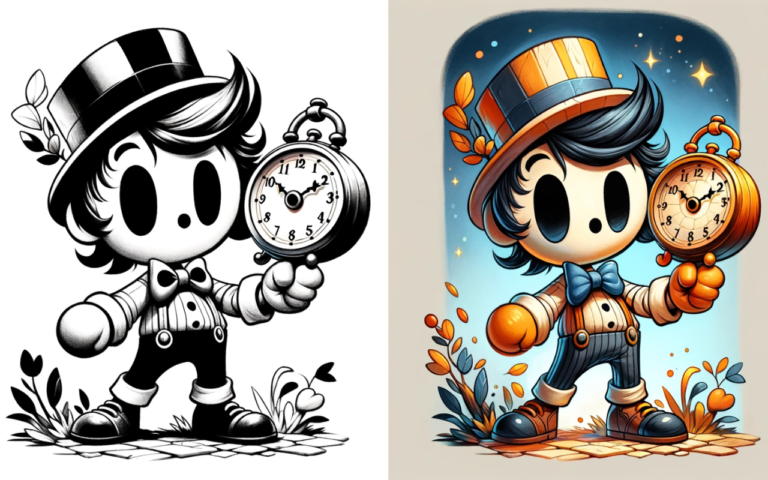
Defining the Color Palette
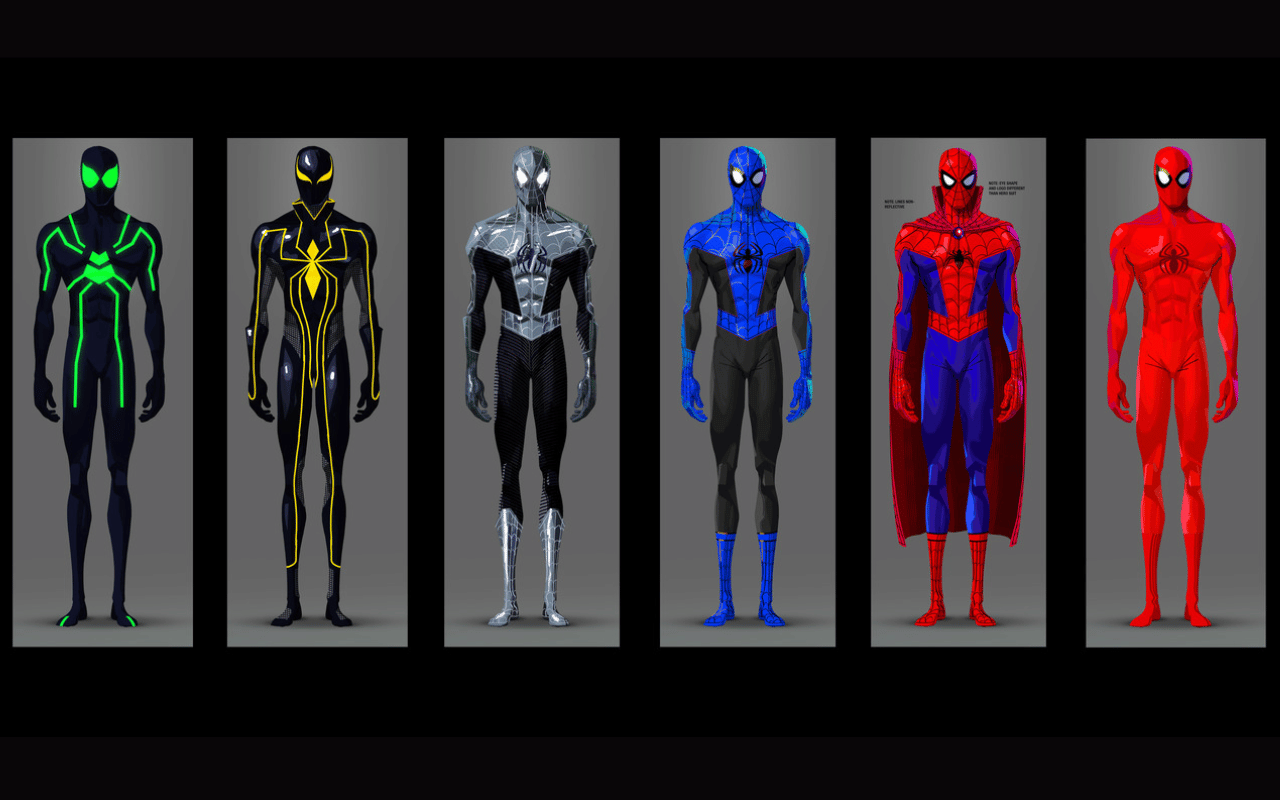
Here, the color palette is going to be prepared. Selected sketches will be painted in different color combinations to see what would be better for the design and what can convey the character’s personality, mood, and attributes. Consider the color definition in art and its impact on mood and symbolism.
Colors are selected to reflect the character’s personality, backstory, and role. A villain may have harsh neon hues. Palettes generally use 3-5 core colors. This balances distinctiveness with flexibility for rendering. Colors should enhance silhouette recognition and make the character pop.
- Warm palettes with reds/oranges feel energetic. Cool palettes with blues/greens seem tranquil.
- Black, white, and gray inject monochrome for contrast against vivid colors.
Example: Bold red and blue with black webbing motifs fitting spider theme. Small pops of white to make palette vibrant.
Conceptualization
Thoughtful conceptualization ensures the character fulfills their narrative role while having a unique personality. For example, the concept for a mentor character might have wisdom as a core trait, gnarled staff as a key accessory, and wise old wizards as inspiration.
Concept art process, including sketches, reference collages, written personality profiles, color palette and descriptive lists are common ways designers encapsulate concepts during this phase. These foundational documents provide touchpoints to return to as the design is refined.
Allowing plenty of time for imaginative conceptualization results in richer characters. It can inspire aspects like backstory details or visual motifs that enhance the design. Conceptualization gives purpose and personality a tangible form to build upon.
Example: A brilliant but isolated teen granted powers he hesitantly embraces for selfless ends.
Refining and Testing
Refining
- Take the most promising design elements from initial sketches and combine them into refined versions.
- Focus on nailing down definitive details like facial features, hair, clothing textures, and accessories.
- Create multiple refined sketches to explore variations on the details you want to keep.
- Use reference materials to add realistic touches to areas like clothing folds, hair, and expressions.
- Refine the most iconic angles and poses to highlight the character’s personality and story role.
- Make sure details align with and enhance the original character concept.
Testing
- Share refined sketches with team members and external sources to get objective feedback.
- Look for critique on anatomy, proportions, readability of facial expressions, and accessorizing.
- Review whether design elements support the backstory and intended personality.
- Examine the design from multiple angles using turnarounds to catch any weak spots.
- Test how the design translates to black and white versions as well as final rendering.
- Adjust areas that feedback indicates are not reading clearly or falling short on vision.
Example: Feedback from collaborators improves costume functionality. Black webbing added as unifying motif across design.
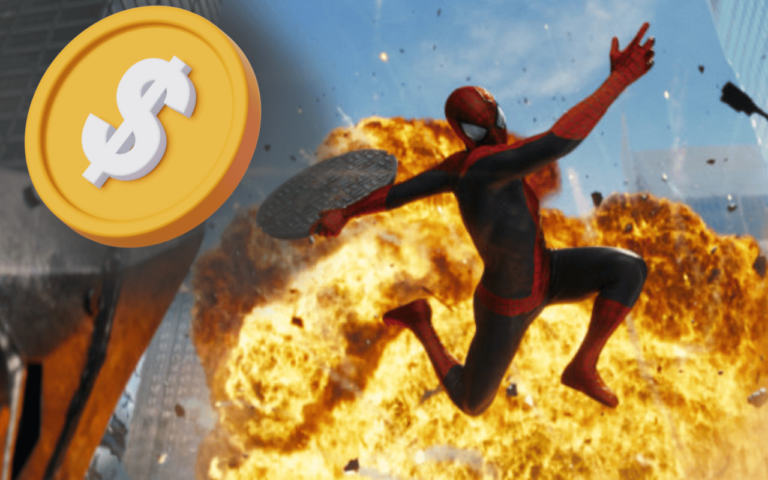
Read More: How Much Does a Character Design Cost?
Finalizing the Design
By this stage, the preparatory work has provided a strong foundation for the character’s look and personality. Now, it’s time to pull together the most compelling visual elements into a definitive design.
Revisit the most successful sketches and refine them further based on learnings. Compile the design notes, color palettes, and reference materials that support the direction. Render the chosen design cleanly, emphasizing the distinctive silhouette, face, and any important costume details.
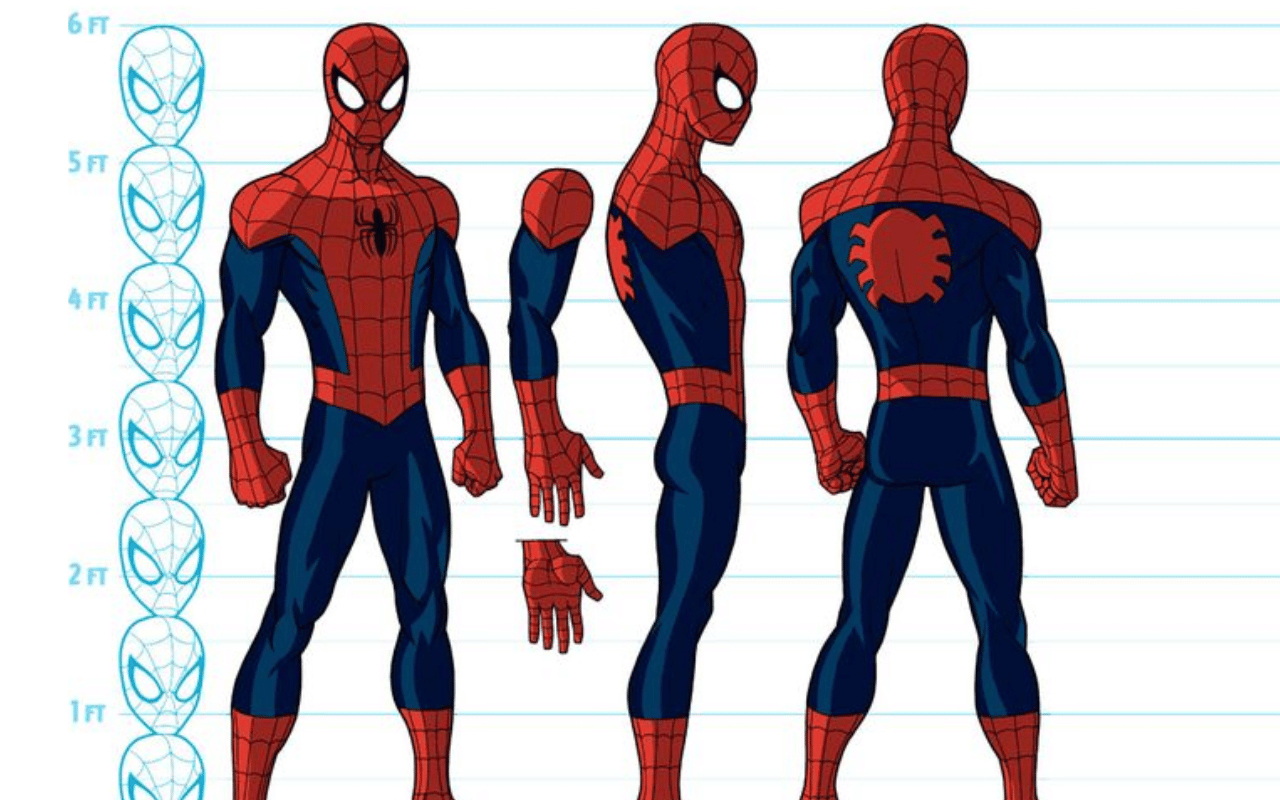
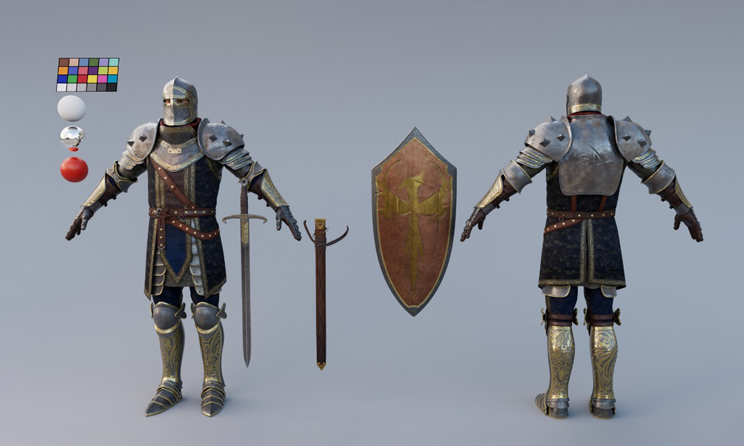
Complete the all-important character sheet showing front, side, three-quarter, and back views. This establishes the design as the source of record for modelers, animators, and other artists. Attach notes on colors, attributes, and details to the sheet.
Take the character through a test turnaround rendering to spot any remaining awkward angles or Tangents. Refine these areas so the design holds up from every perspective. Render the character expressing several emotions and in context to complete their introduction.
Example: Classic design formalized with definitive proportions, signature poses, and all views rendered fully. Ready for big stories ahead!
Character Design Tips and Best Practices
To excel in character design, it’s important to look for tips and practices to create the most memorable video game characters.
- Balancing Originality and Familiarity
- Creating Visually Appealing Silhouettes
- Using References Effectively
- Iteration and Experimentation in the Process
- Attention to Personality and Storytelling.
- Seek and Incorporate Feedback
- Develop a Distinctive Style
Conclusion
The character design process is a journey from research and conceptualization to texturing and lighting. Different artists with several skills and years of experience are involved in designing a character which visually appealing and meets the story or project needs. Following these steps transforms the initial concept into a fully realized 3D character.


No comment yet, add your voice below!