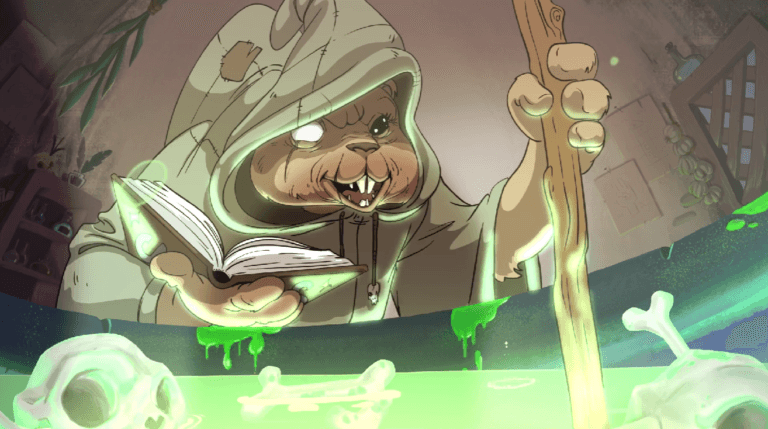
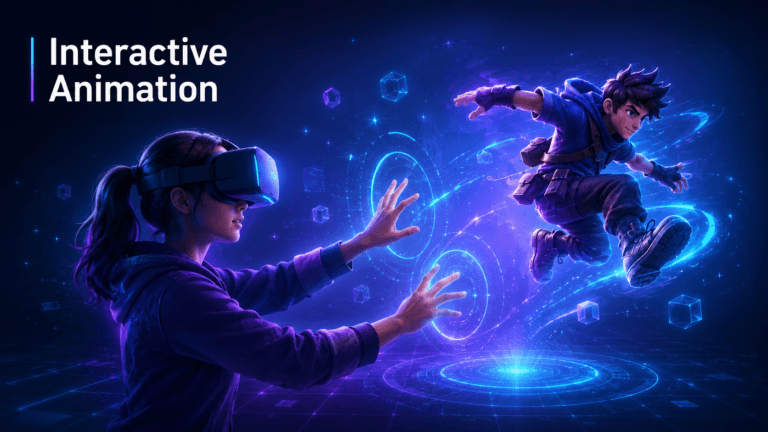
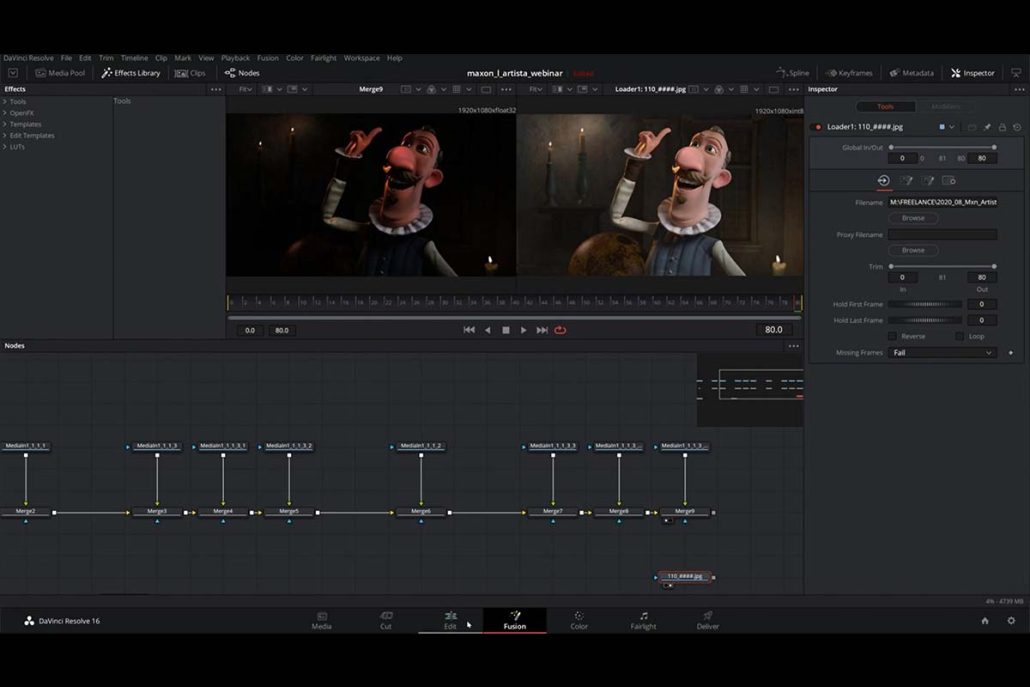
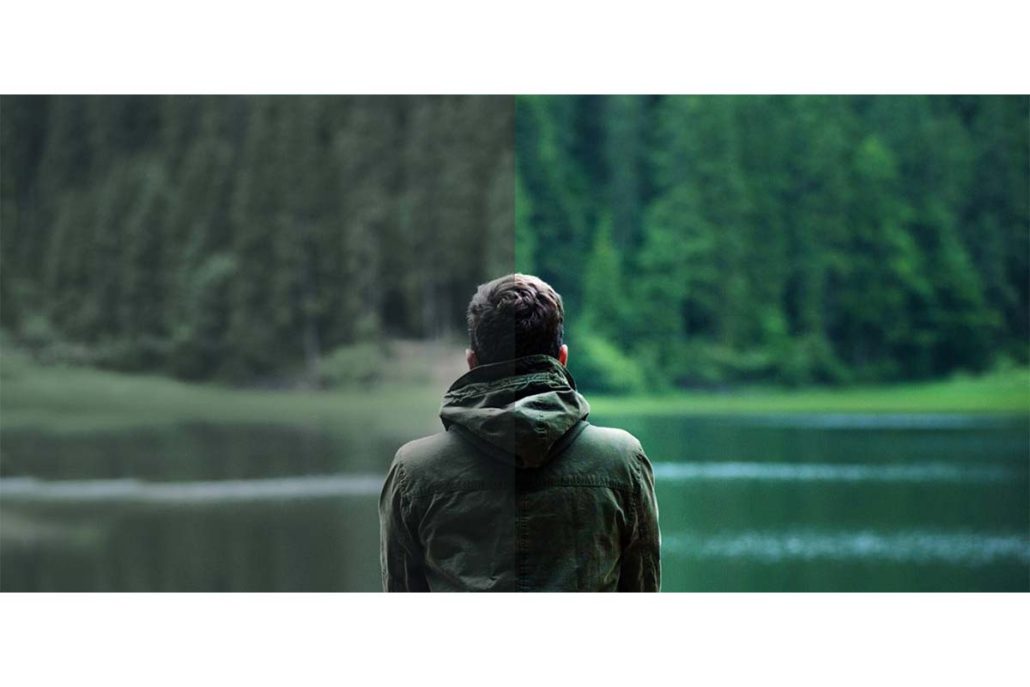
Color Correction is one of the primary components of the post-production stage while creating an animation, adjusting the colors of each shot to increase the impact of the animation and to convey a color script plus the vision behind the animation.
In this article, we will unwrap the key steps of color correction in the animation pipeline from pre-production to final output, explaining the tasks involved and tools used for color correction and providing tips from expert colorists.
Need Animation Services?
Visit our Animation Service page to see how we can help bring your ideas to life!
1. How Color Correction is Done
Let’s start with the basics. Color correction is done by a colorist, mostly alongside the DP (Director of Photography.) and the creative team. The colorist’s main goal is to adjust the colors of each frame by adjusting 3 main components of any image, including hue, saturation, and brightness.
Color Correction mainly involves these tasks (listed in the order they are typically performed):
- White Balance Adjustment
- Exposure Correction
- Contrast Enhancement
- Color Balance Adjustment
- Saturation Control
- Shadow and Highlight Detail Recovery
- Color Grading
- Skin Tone Correction
- Visual Consistency
Although it is a post-production stage in the 3D animation pipeline, it doesn’t mean there hasn’t been an outline dictating the color maps of animation from the beginning. This is where the color script comes into play, which we will discuss in the following section.
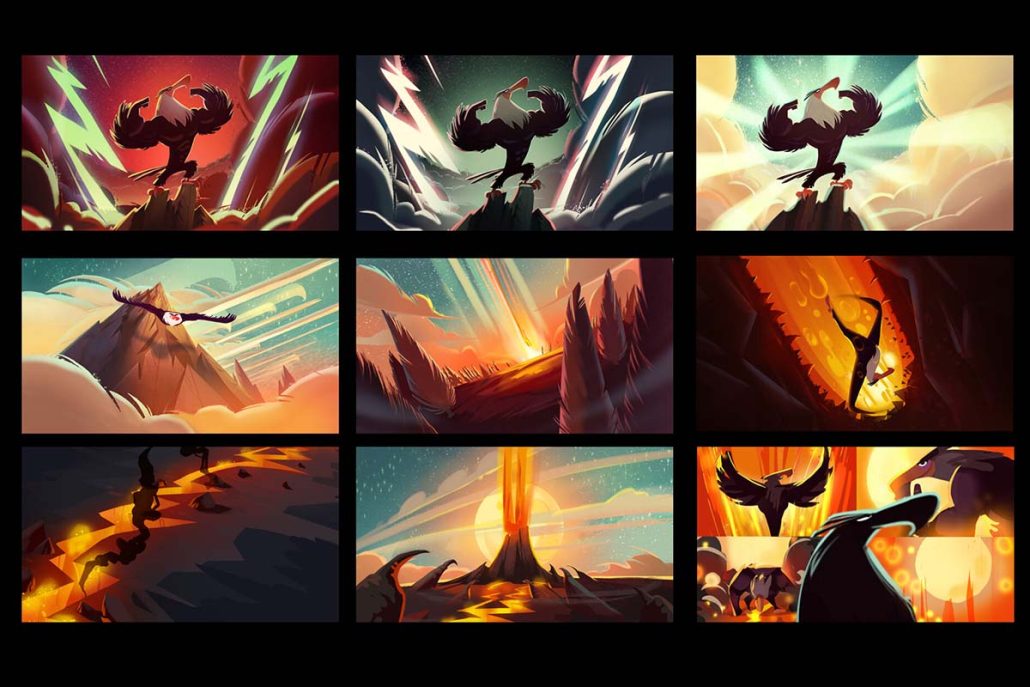
2. Color Script
Each color has a weight and meaning plus a psychological effect for the viewer, whether they are conscious about it or not. A color script is a pre-production component typically crafted by the director or cinematographer who has a deep understanding of color theory.
A color script outlines the specific color mapping, styles, and palette applied to each scene and sequence in an animation. It is a technical document similar to storyboarding services that provide color direction before shooting.
The process of creating a color script is very experimental. The final script will include shot references, color palettes, as said before, color temperature, tone, contrast, and transition guidance.
3. Key Tools And Techniques of Color Correction
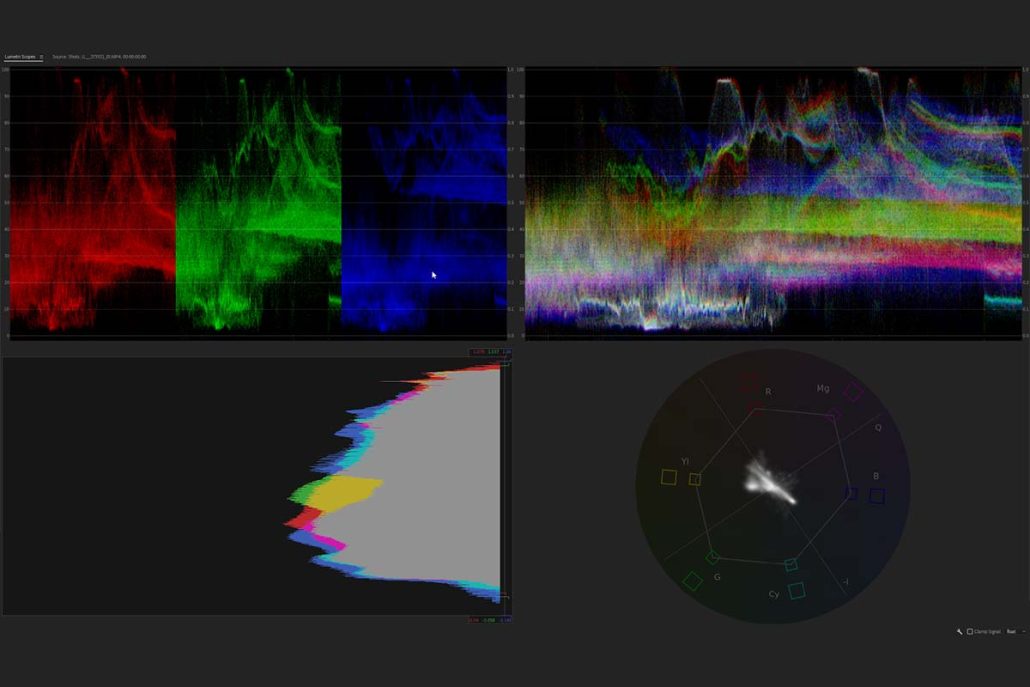
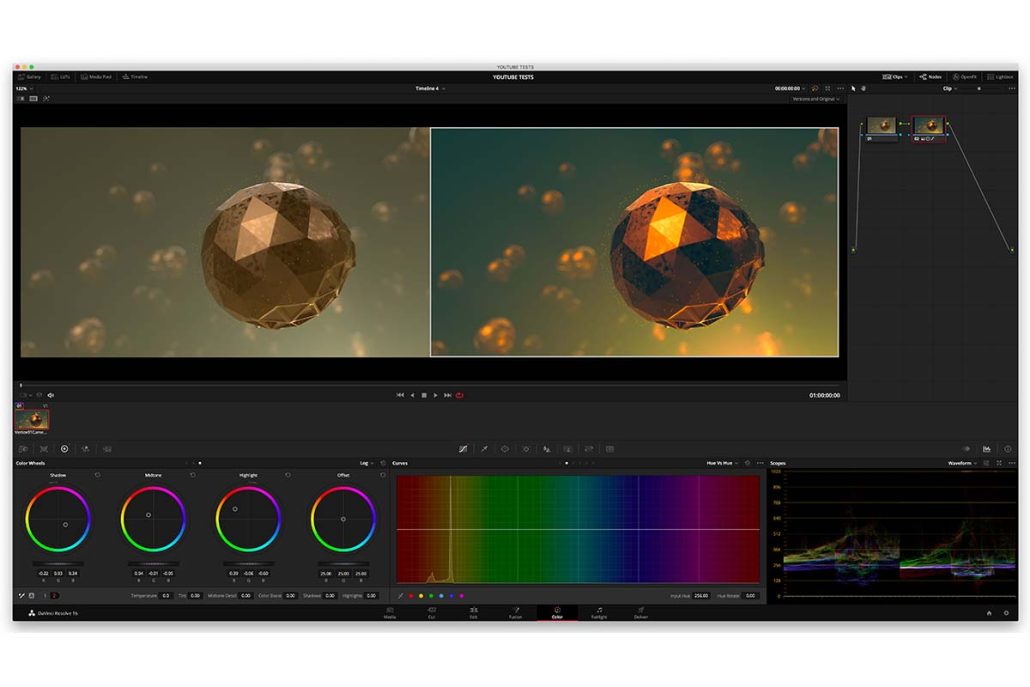
3.1 Scopes:
Video scopes like waveform monitors, vectorscopes, and RGB parade scopes are essential tools for color correction. Waveform monitors analyze and display the image’s luminance values (the amount of light falling onto a surface per unit area).
Scopes help colorists properly set exposure and contrast. Vectorscopes show the saturation levels of the colors in the image, enabling adjustments to hue and saturation to get desired values. RGB parade scopes visualize the separate red, green, and blue color channels. This allows for tailored adjustments to lift, gamma, and gain for targeted color and tonal manipulation.
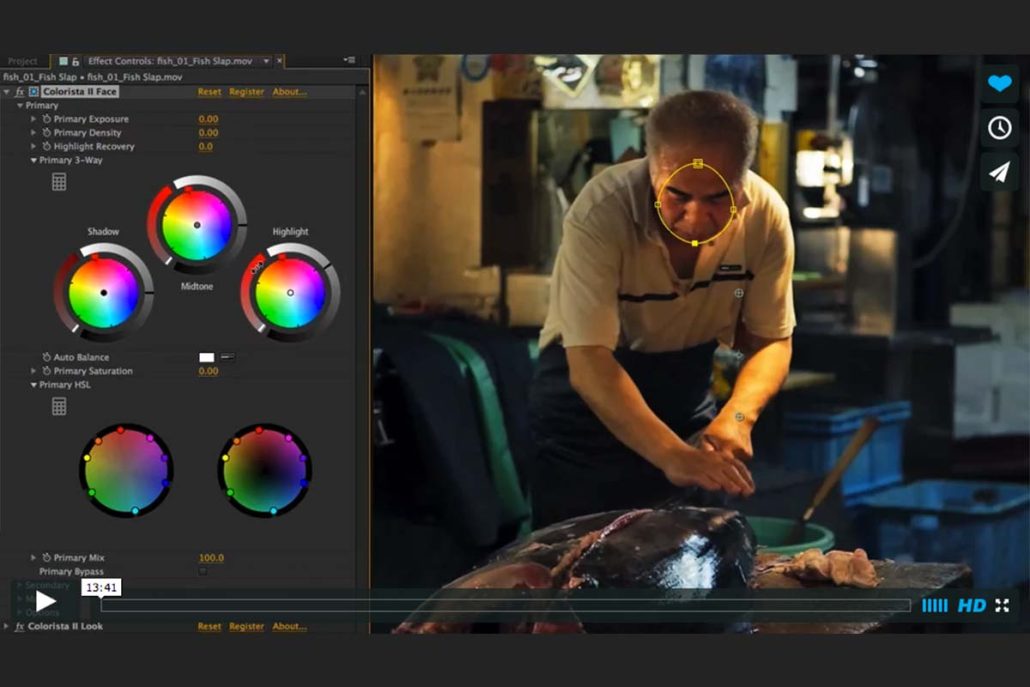
3.2 Color Wheel:
Color wheels are a fundamental tool for both primary and secondary color corrections. Primary color wheels with controls for shadows, mid-tones, and highlights. Enable broad overall color changes to the complete image.
Built-in preview monitors show the adjustments in real time as the colorist manipulates each range. Secondary color wheels isolate and allow the colorist to adjust a specific color range selectively. For example, the colorist may use secondary controls to alter only the greens in an image. This level of selective adjustment gives immense flexibility during color grading.
3.3 Masking:
Masking techniques also facilitate targeted color correction. Colorists can use masks to isolate specific regions of the image. Once masked, they can adjust color, exposure, and brightness only to the selected portion of the image. Tracking masks can follow moving objects, allowing for secondary color corrections that move dynamically across a scene.
3.4 Color Lookup Tables (LUTs):
A LUT, which stands for “lookup table,” is a preset file that applies a color transform to footage. Think of it like a color filter for your video. LUTs take the pixel values in your original shots and mathematically change the colors to new values based on the preset adjustments contained in that particular LUT.
There are two main uses for LUTs. Creative LUTs are used to quickly give your footage a stylized look or aesthetic, like a cinematic, vintage, or fantasy style. Applying a creative LUT is an easy way to set a visual tone or make the footage look like it was shot with a certain film stock.
4. Color Grading
Commonly misconceived with color correction, color grading is more of a creative operation rather than a technical and strict one. It comes after the color correction process and involves adjusting different attributes of an image, such as contrast, color, saturation, tinting, shading, and adjusting noise level or sharpness.
Every display device can represent only a region of colors within the perceivable color space, and this region we call a gamut. But inside the computer, where colors are represented digitally, they’re just numbers. And they can represent the entire perceivable color space.
When a film is sent to a theater, there is a need to match the color space to the projector being used, and that’s one of the main jobs of the color grading process. It’s to fill out the color space available within that projector and sort of constraint any colors that don’t fit within that device gamut
Conclusion
Color correction is a crucial step in animation. Colorists, alongside DP and Directors, adjust the colors in each frame to match the planned color script. Creating consistent visuals. Various Tools help make precise color adjustments. Creative color grading builds on initial corrections to further enhance the mood and storytelling.
Effective color correction makes the animation feel more vibrant and alive. It also helps pull viewers into our imaginative worlds. Mastering color correction combines technical skills and artistry to enhance animation visually.