Good planning is the first step in making assets. You need to know what you’re making before you start.
Pre-production includes everything from coming up with ideas and writing the script to designing characters and figuring out the technical details.
The next step is the actual creation phase, during which 2D artists draw characters and backgrounds and 3D artists model, texture, and rig everything. This is where many game asset design services companies offer full support across asset types.
Blocking, keyframe animation, and effects work bring everything to life in animation production. Then, asset management makes sure that everything is in order by using the right file names, version control, and searchable databases.
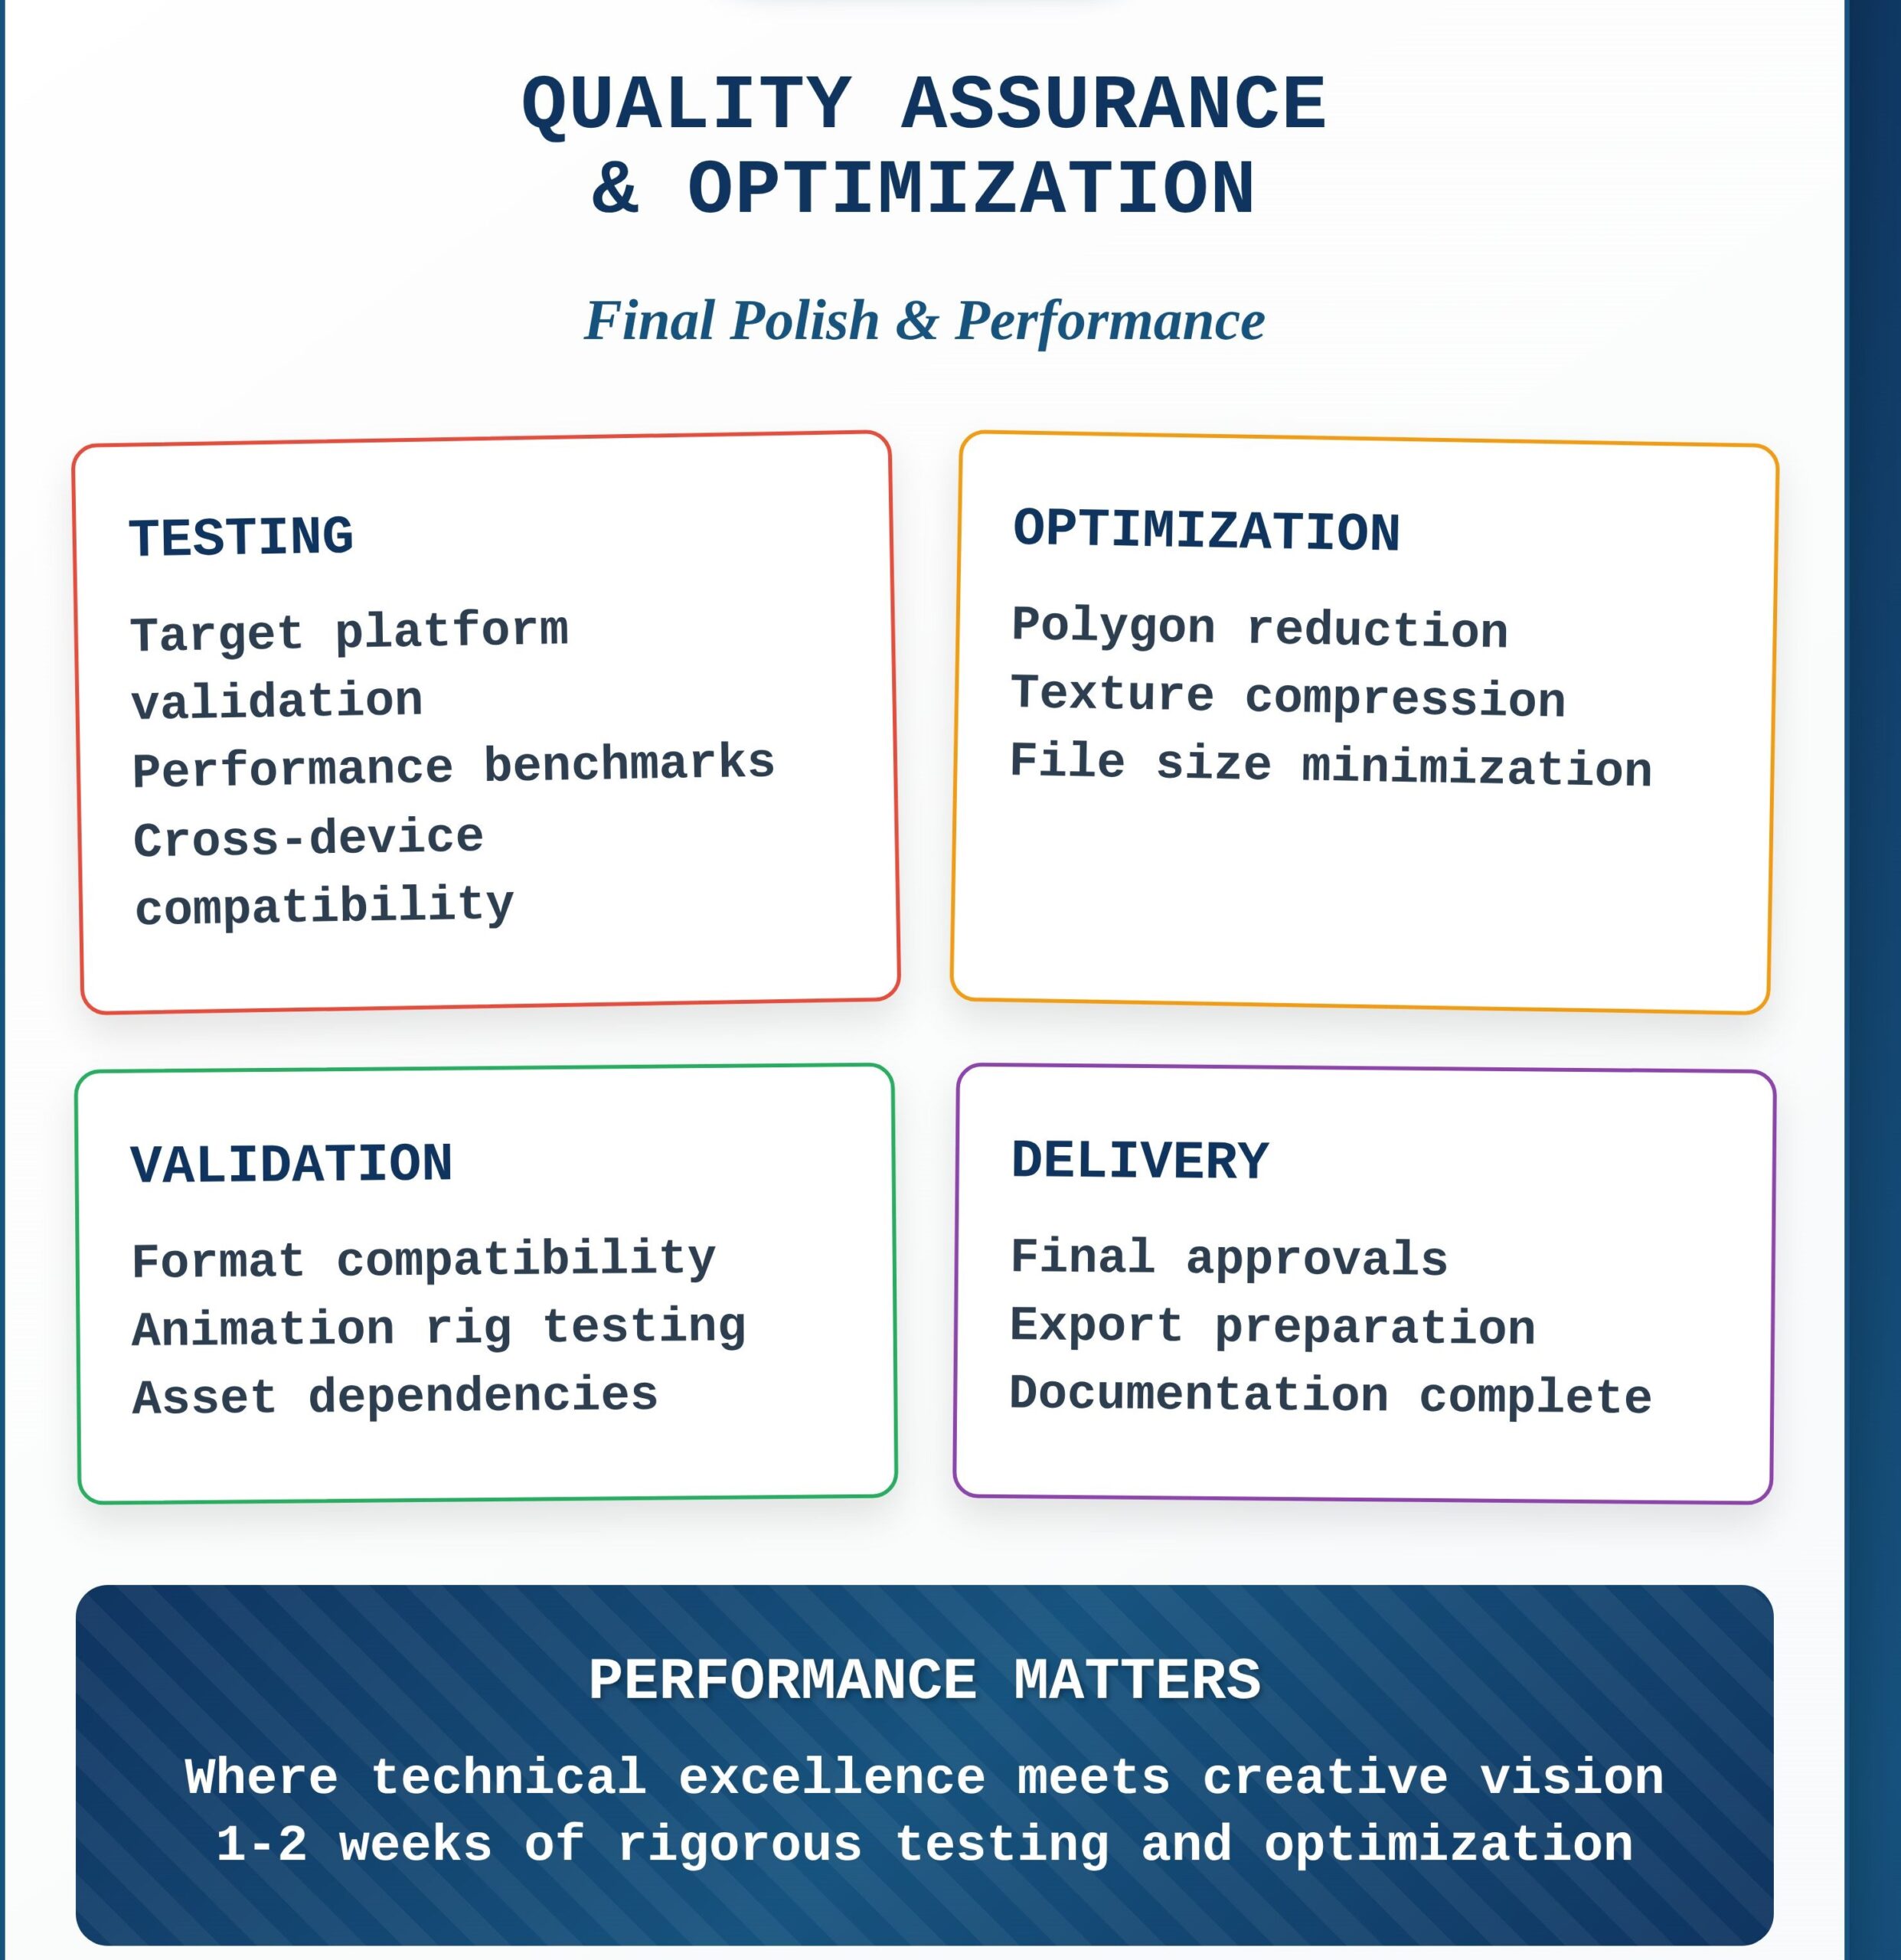
Finally, quality assurance tests everything, makes sure it all works on different platforms, and makes sure it works well.
- Planning first: Define goals, create storyboards, design characters (2-3 weeks)
- Asset creation: 2D illustration and 3D modeling with textures (4-6 weeks)
- Animation work: Blocking, keyframes, effects, and simulations (3-5 weeks)
- Organization: File management, version control, asset databases (ongoing)
- Quality checks: Testing, optimization, and final approvals (1-2 weeks)
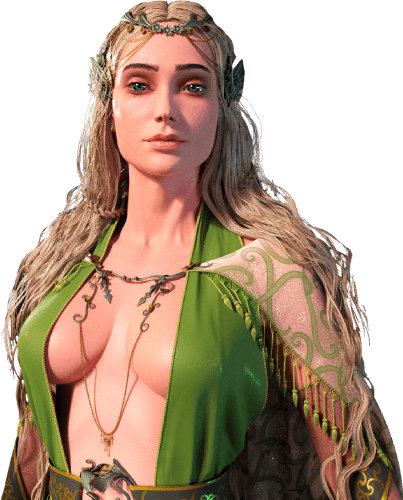
Phase 1: Pre-Production Planning
Most newbie animators don’t plan before they start making things. It’s like trying to build a house without plans. You might end up with something that looks like a house, but when the wind blows, it will probably fall down. Pre-production is when you get everything ready for what comes next.
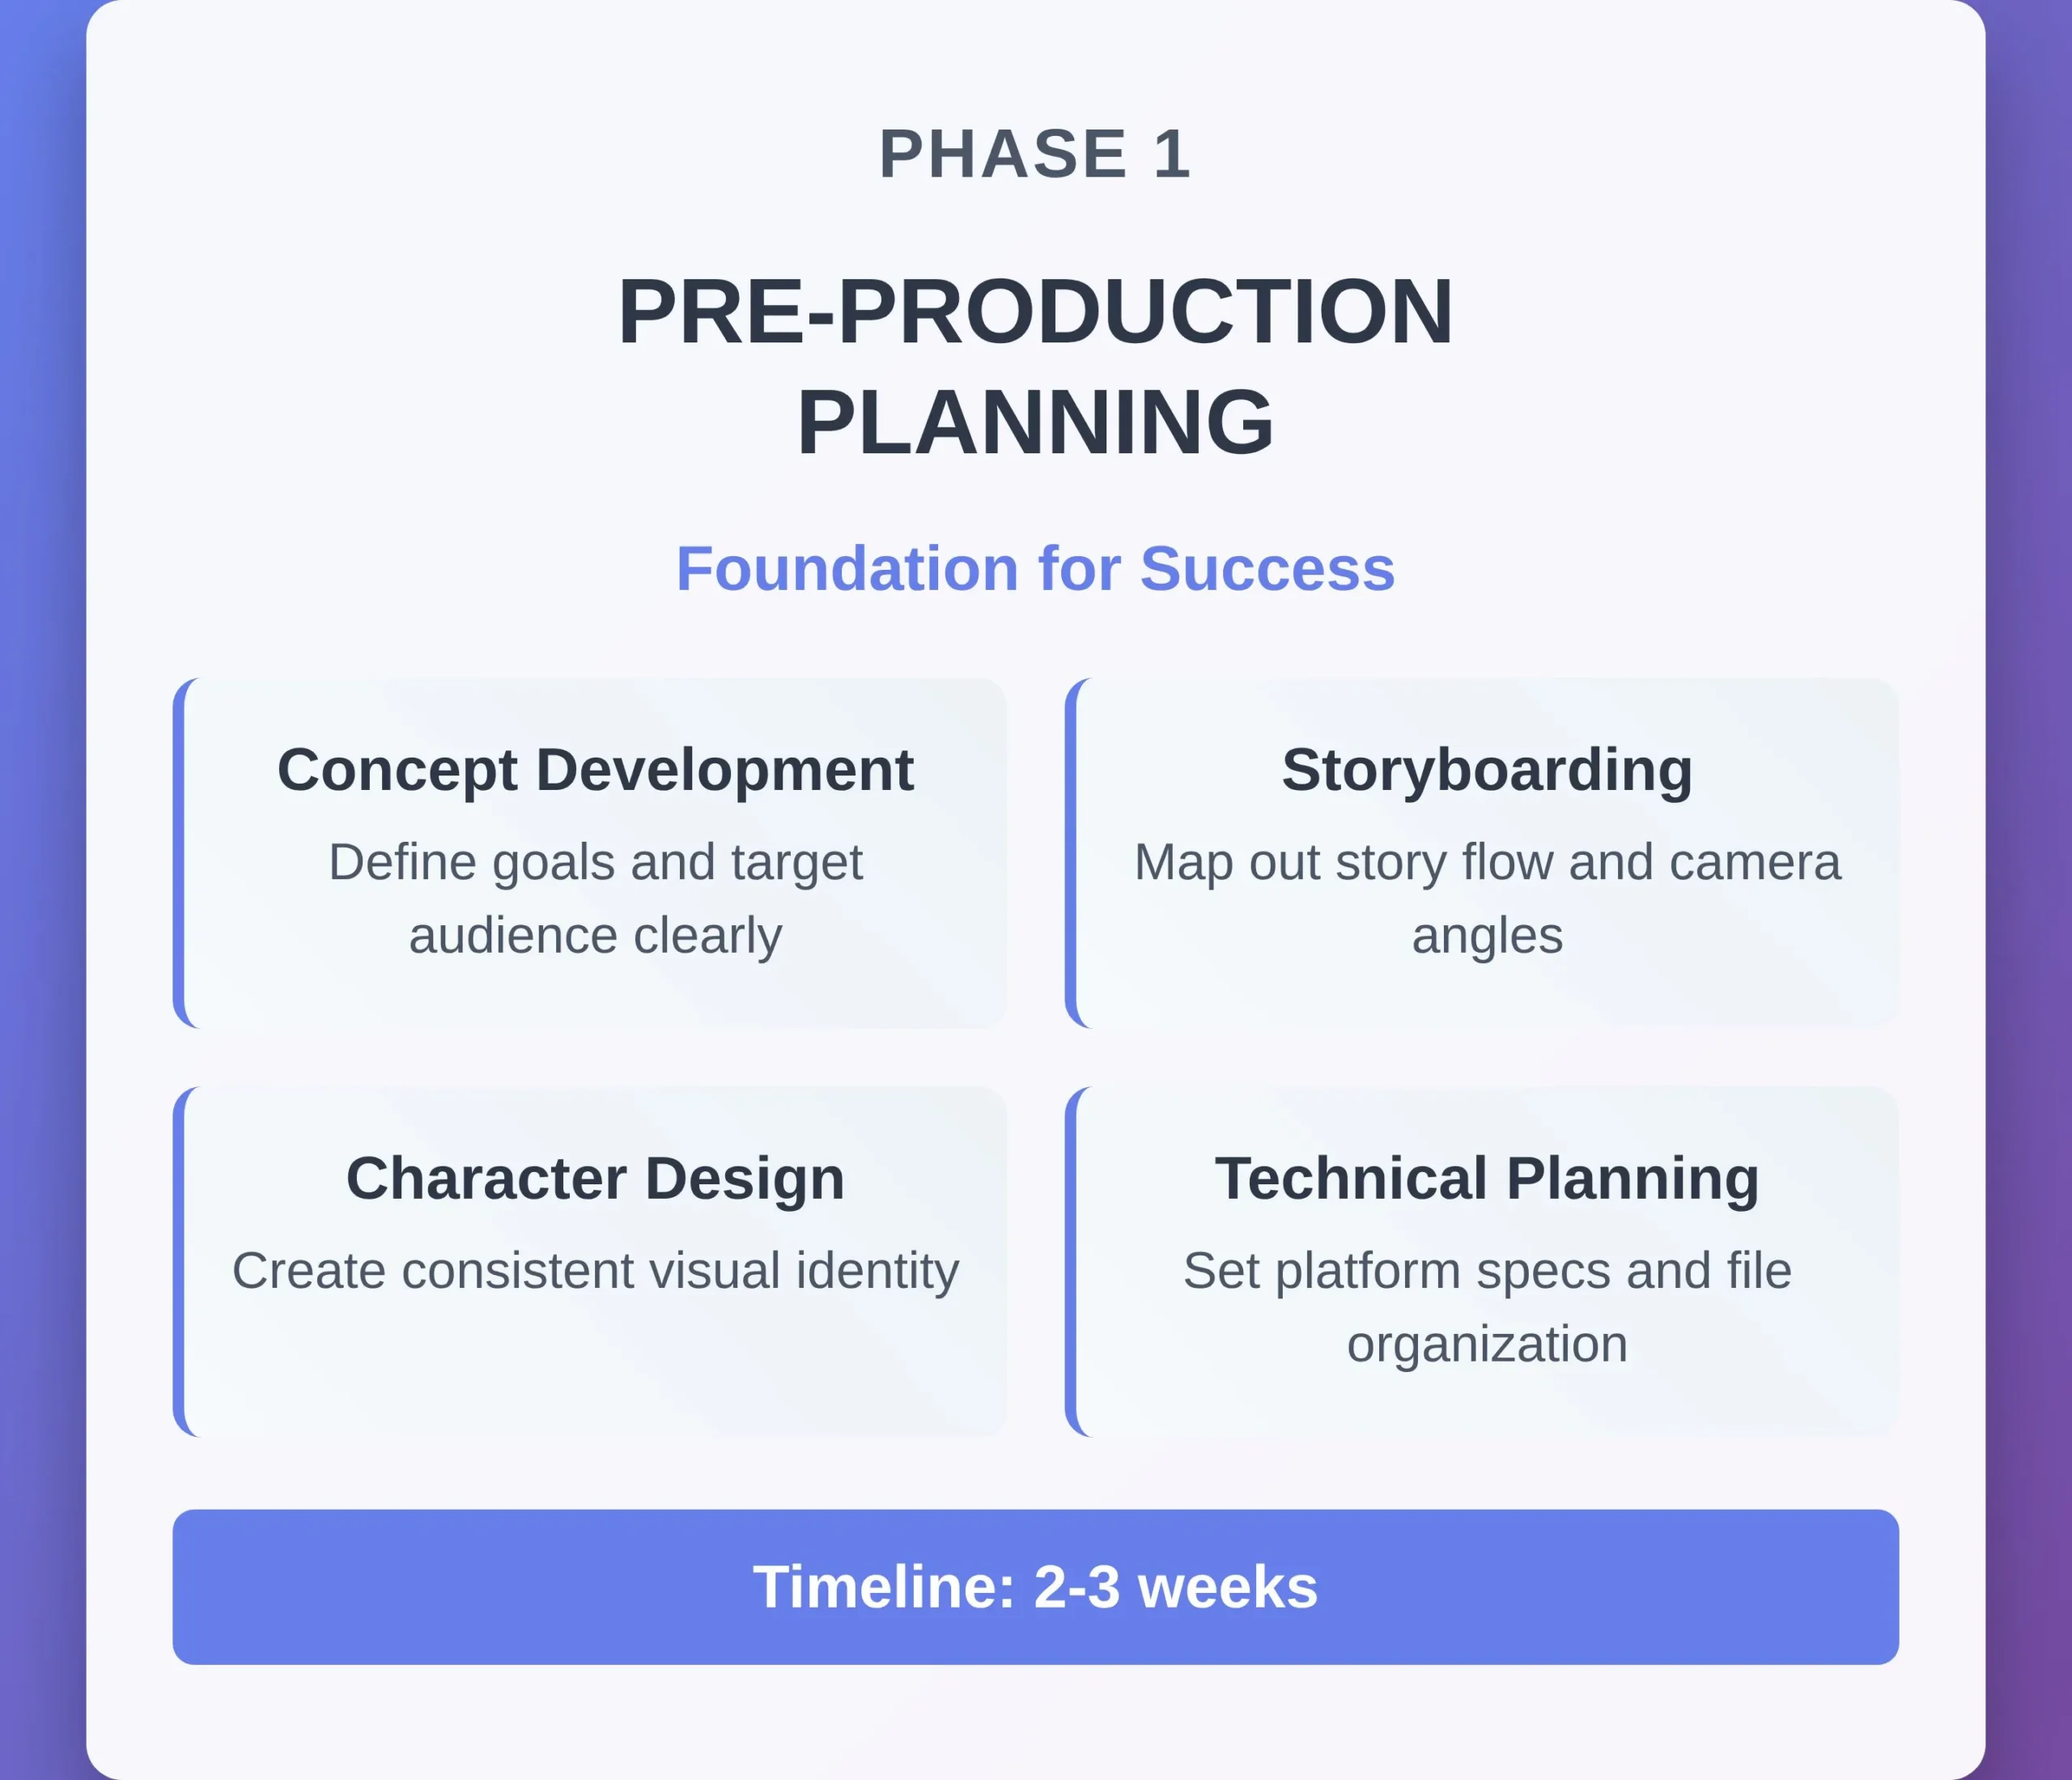
Figure Out What You’re Actually Making During Concept Development
Now is the time to stop daydreaming and start working on your project. No more late-night talks about “wouldn’t it be cool if…”
What do you want to happen? Put it down in one sentence. If you can’t say what your project is in one sentence, you don’t really know what it is yet.
Also, who is going to watch this? Kids? Adults who still watch cartoons? Your grandma? Different approaches work for different audiences.
Next, you’ll want to make some mood boards, which are like Pinterest boards but with a purpose. Just get pictures that show the mood you want.
Is it dark and moody? Happy and bright? In the middle? These pictures will save you a lot of trouble later when someone asks, “Can you make it more blue-ish?”
- Begin with one clear sentence that explains what your project is about.
- Be specific about who you want to reach; “everyone” isn’t an audience.
- Get 15 to 20 reference images that show the mood you want.
- Make a style guide with 3 to 5 important visual elements.
Tip: Use free tools like Milanote or even a Google Doc to keep everything in order.
Map Out Your Story With Scriptwriting and Storyboarding
Now you should make those great ideas into things that other people can understand. It’s not about being the next
There are three main questions that your script should answer:
- What goes on?
- Who does it?
- Why should anyone care?
Keep it simple and on point. You should be able to see how each scene moves the story along. If a scene doesn’t do that, it’s just taking up space.
Next is storyboarding, and to be honest, your drawings can look like stick figures at this point. The goal is to figure out the flow: what the camera sees, how the characters move, and when things happen.
- Make a script that answers the questions “what,” “who,” and “why.”
- For better pacing, make sure each scene is less than 30 seconds long.
- Make rough storyboards with stick figures or other simple drawings.
- Put a number on each scene and write down when it happens.
- Plan out the different angles for your camera, like close-ups and wide shots.
Things to try: Storyboard That (online) or just get some paper and start drawing.
Designing Characters and Environments
Here is where you choose how everything really looks. But good character design isn’t just about making things look cool (though that helps).
Your characters should look like they live in the same world. They should also look like they are doing what they are supposed to be doing.
A warrior character shouldn’t look like they spend their days at the spa. Plus, you should be able to tell something about the story just by looking at the setting.
Also, make character sheets that show your main characters from different points of view, such as front view, side view, back view, and more. The same is true for important props and settings.
- Make 3 to 5 main characters who all look the same.
- Create ideas for the environment for each main place
- Put together a list of the props you need for important parts of your story.
- Choose 5 to 7 main colors for your color palette.
- Draw characters from different angles, like the front, side, and 3/4 view.
Tip for saving money: For digital sketching, you can use Procreate on an iPad or free programs like Krita.
Know Your Limits and Technical Planning
This is the part where we talk about the boring but very important things. It’s like making the rules of the game before you start playing when you do technical planning.
First, find out what your technical limits are. Are you making this for cell phones? Computers on the desk? A theater? Knowing the requirements for each platform ahead of time will save you from having to do everything over again later.
Following that, there’s the problem of how to organize files. We promise you that how well you organize your files will determine whether you love or hate your past self in the future.
- Set the technical specs and the platform you want to use.
- Set the limits for polygons (10,000 for mobile and 50,000 or more for desktop)
- Choose the resolution of the texture (512px, 1024px, or 2048px).
- Make a system for naming files (character_walk_v01.fbx)
- Before you make any files, plan out how you want your folders to look.
Phase 2: Asset Creation for Both 2D and 3D Animations
Okay, we’ve planned everything to death. Now it’s time to actually do something.
2D Animation Assets Creation
Create Illustrations and Designs
Now we turn those rough sketches into real art. We mean character model sheets that show your hero from every angle, including the front, back, side, and that strange 3/4 view that always looks weird at first.
During production, character turnarounds are like the Bible. When you’re animating at 3 AM and can’t remember if the character’s belt buckle faces left or right, these sheets save your sanity.
Make them detailed by showing different expressions, hand gestures, and outfits. Draw as if your future self is going to be angry if you don’t.
Then go for background art because it is where you build the world your characters live in. Even without people, each environment should tell a story.
A clean office and a messy room mean different things, don’t they? Animators will also need these backgrounds in layers: foreground, midground, and background.
- Make 5 to 8 different facial expressions for each main character.
- Include 3 separate layers for depth in your design.
- Make UI parts 20% bigger than you think you need them to be.
- Export character sheets at 300 DPI so they print clearly.
Build Digital Art by Turning Sketches Into Assets
At this point, we go into the digital world, where your hand cramps turn into mouse cramps.
Whether you’re using Photoshop (the old reliable), Illustrator (for those crisp vector lines), or Procreate (if you’re fancy with an iPad), the goal is the same: To create artwork that’s flexible enough for animation.
Managing layers is very important, too. Instead of “Layer 47 copy,” give your layers names that make sense, like “character_body.” “Layer 47 copy” won’t mean anything to anyone, not even you in the future, when you’re dealing with 200 layers across a lot of files.
You should also separate the parts that can move for animation. Each part of the body, like the arms, legs, head, and face, gets its own layer or group.
- Put artwork into groups based on layers (head, body, arms, and legs)
- Keep the original sketch layers as a reference (but don’t show them).
- Always use the same names: charactername_bodypart_version
- Save working files as PSDs and final files as PNGs with transparency.
- Make assets at twice the resolution you want so they scale well.
Pro tip: Adobe After Effects loves layered Photoshop files – it imports them as compositions automatically.
3D Asset Creation
Shape Digital Clay to Model Everything from Scratch
3D modeling is like sculpting, but your clay never dries out, and you can fix mistakes. Start with simple shapes like cubes, cylinders, and spheres, and then add more detail as you go.
Don’t start making every scratch and wrinkle right away, since you will only make yourself angry.
Keep in mind that low-poly models are used in games and other real-time applications where speed is important.
We mostly mean 5,000-15,000 polygons for a main character. High-poly models are for movies and fancy renders where you can afford to wait 6 hours for each frame to calculate.
The important part here is that your polygons should flow smoothly and not pinch or stretch in strange ways. This is what it means to keep your topology clean.
- Load reference images into your 3D software first.
- First, build low-poly (fewer than 10,000 polygons for games).
- Use edge loops for places that will bend, like joints and the face.
- Test your model in the target software as soon as you can.
- Save different versions (character_v001, character_v002, etc.)
Blender (free and powerful), Maya (the standard in the industry), and ZBrush (for detailed sculpting) are all good programs to try.
Unwrap UV Maps
UV mapping is taking a 3D object and flattening it into a 2D pattern so you can paint on it. You’re taking your 3D model apart into flat pieces, which is the opposite of wrapping a gift.
The goal is to stretch as little as possible and fill as much texture space as possible. No one wants their character’s face to look like it came out of a taffy machine.
Then, pack your UVs in a smart way because big gaps between UV islands waste texture space. Texture memory is very important, especially on mobile devices, and every empty pixel is a chance to add more detail.
- Put UV seams in places that are hard to see, like under the arms and behind the ears.
- Make sure the face UVs are as big and clear as possible.
- Use 1024×1024 or 2048×2048 texture maps for most projects
- Set up a checkerboard pattern to test UVs for stretching.
- Leave 2-4 pixel padding between UV islands to prevent bleeding
Add Textures and Shaders to Make Things Look Real
Texturing is the step that makes your gray 3D model start to look like something you can recognize.
Here, you should make a number of texture maps, including diffuse (the colors), normal (the bumps on the surface), specular (how shiny things are), and roughness (how smooth or rough surfaces look).
The current standard is PBR, or Physically Based Rendering. It’s a fancy way of saying “materials that act like real-world materials when they are hit by light.”
So metal looks like metal, wood looks like wood, and skin doesn’t look like plastic (most of the time).
Your asset library needs to be consistent; all of your characters should feel like they live in the same world. That means the same amount of light, the same types of materials, and the same amount of detail.
- Make texture sets for diffuse, normal, roughness, and metallic.
- Substance Painter is a great tool for making detailed hand-painted textures.
- Check to make sure that the texture resolutions are the same for similar objects.
- Test materials in different types of light
- Prepare a library of materials that can be used on multiple assets.
Create Digital Skeletons for Rigging Characters
Rigging is like putting together a skeleton and puppet strings for your character. You’re making the framework that animators will use to make your creation move.
Start with the skeleton, which is made up of bones that are put at joints and places where the shape changes a lot. Then add controls that animators can actually grab and move.
Others don’t want to move each finger bone separately; they want a “make fist” control that does it all at once.
After that, we have weight painting that tells the mesh which bones to move and which parts to stay still. If you get this wrong, your character’s elbow might bend into their armpit.
- Put bones where they naturally fit, like at the shoulders, elbows, and knees.
- Make controls that are easy to understand (not just moving bones around).
- Try out extreme poses early on. If it breaks, fix it now.
- Clearly name everything (like “L_arm_IK_control” instead of “nurbs_circle_47”).
- Write down notes for animators about your rig.
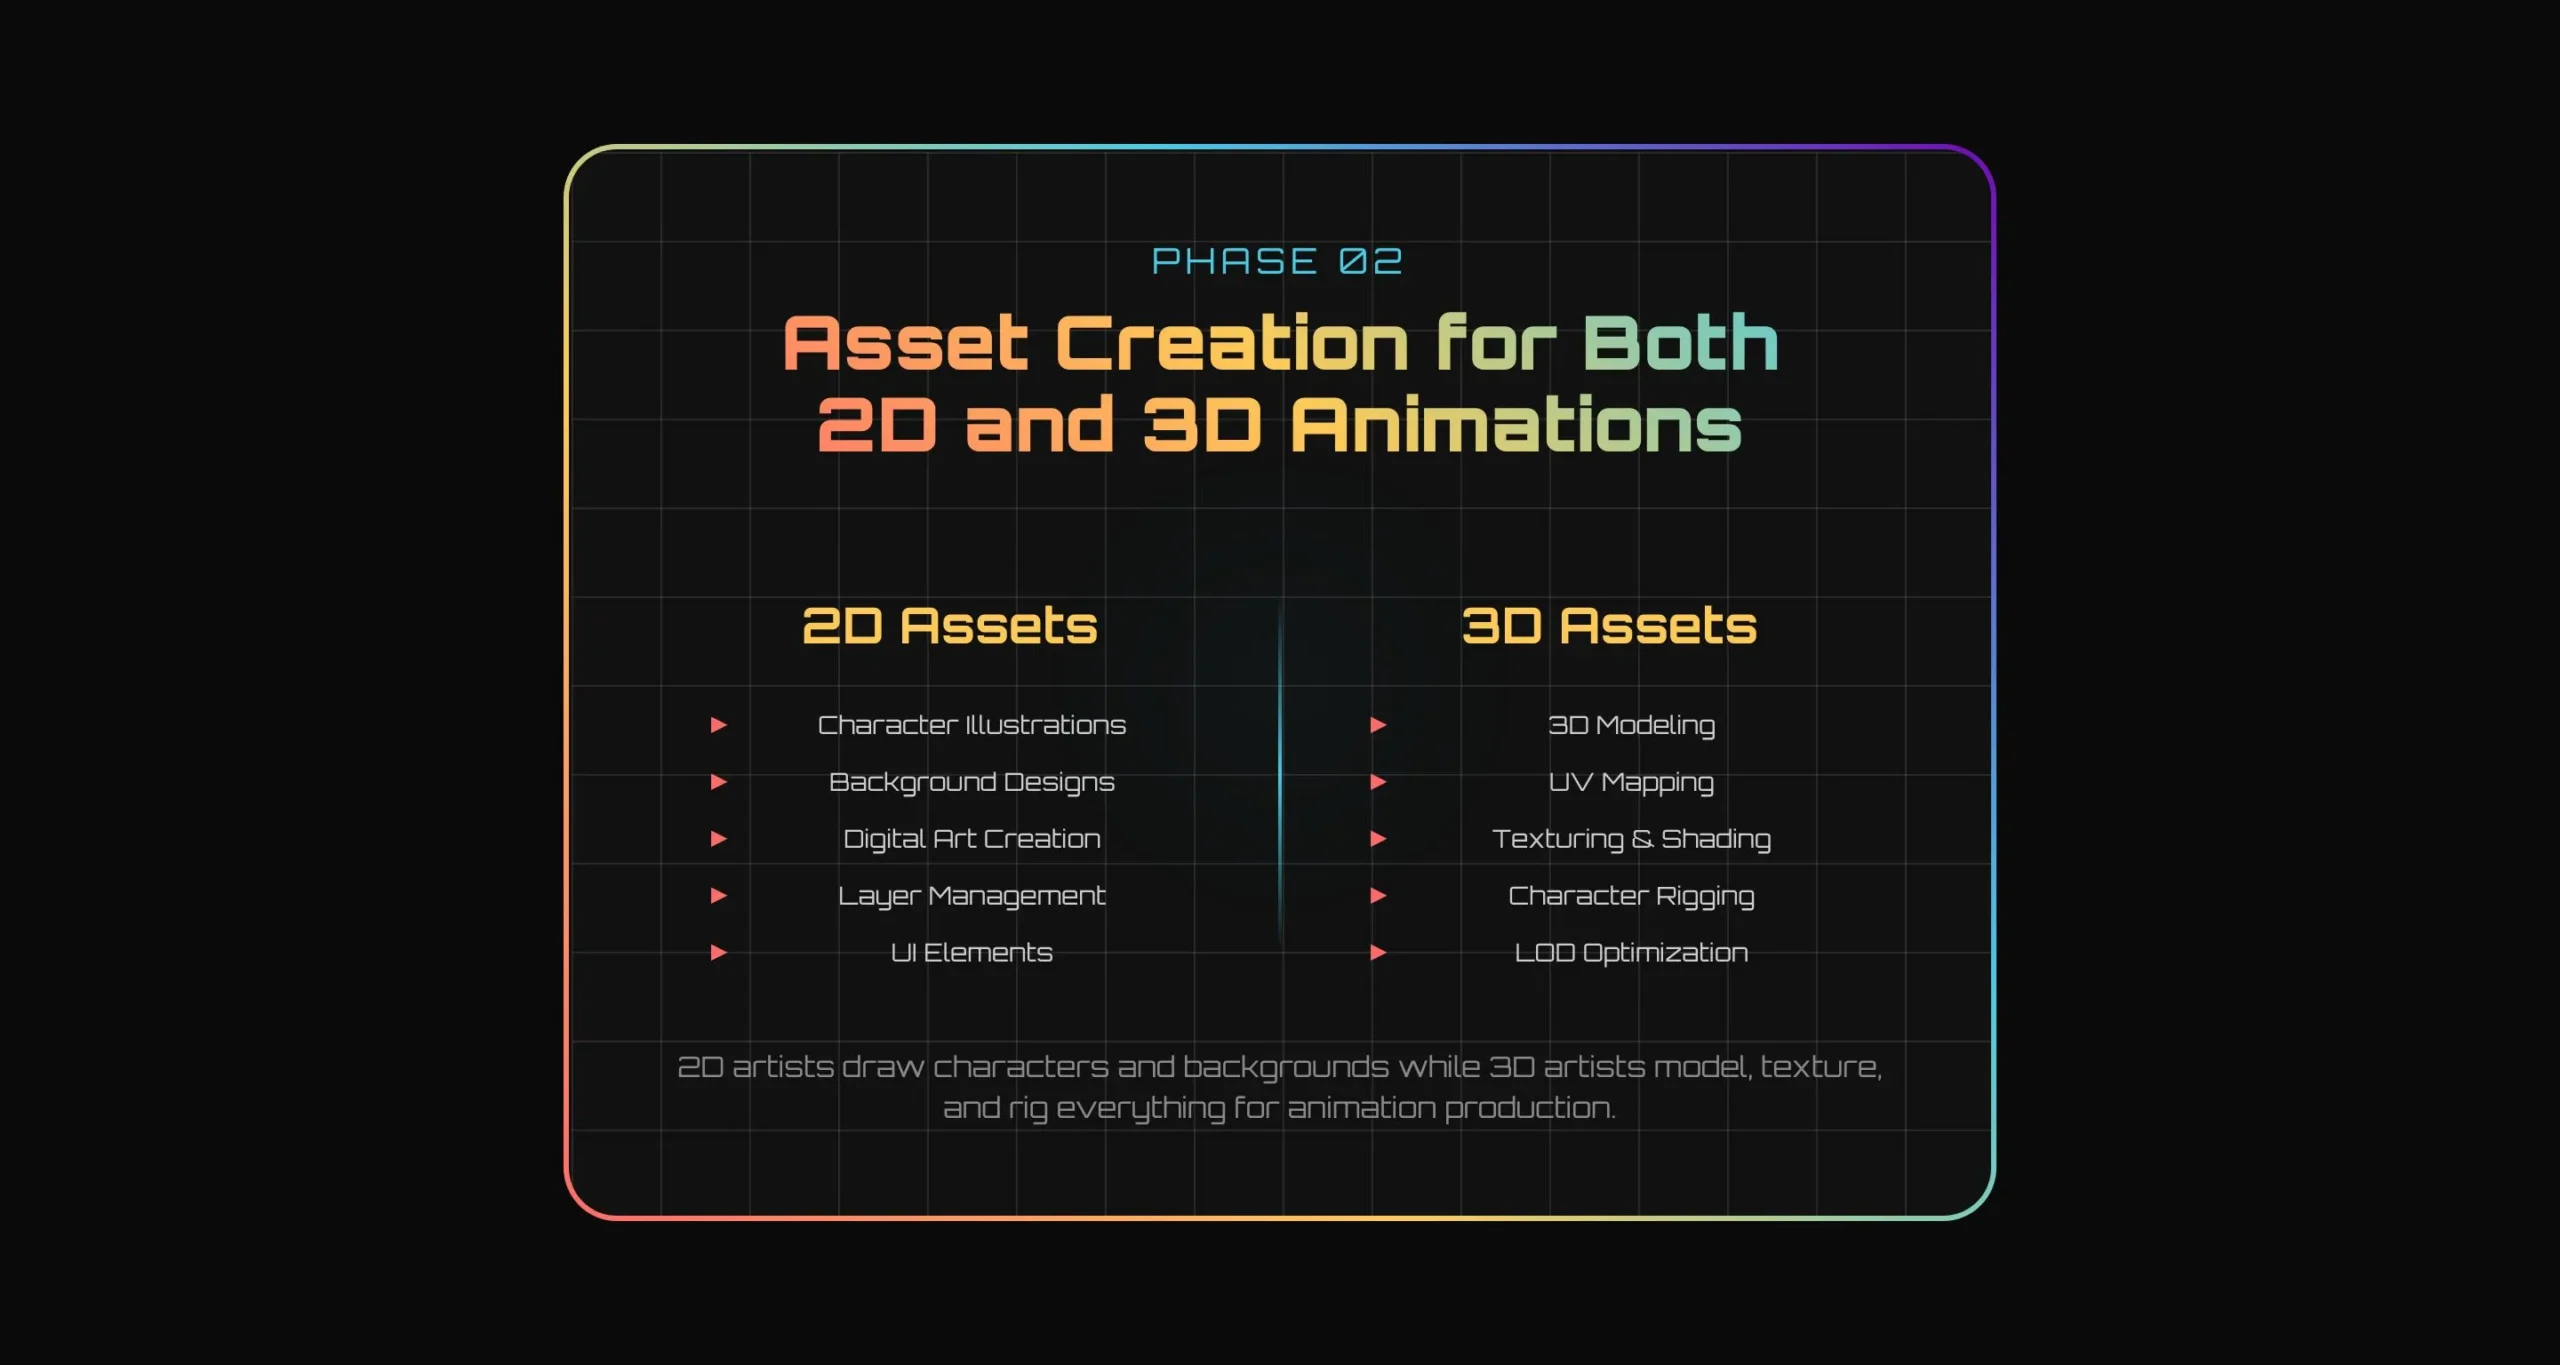
Phase 3: Asset Management and Organization
This phase is about building systems that work so well, you forget they exist.
Use Consistent Naming Conventions
File naming is the same as choosing passwords, so pick a naming system and stick to it religiously.
My go-to format: project_category_asset_version.
As a result, our coffee shop commercial becomes beanthere_char_sarah_v03.ai or beanthere_bg_coffeeshop_v01.psd. Simple, logical, sortable.
Never use spaces in file names. Computers hate spaces, servers hate spaces, and your future self will hate past you for using them.
- Use the same format for every single file: project_type_name_version
- No spaces, no special characters (!@#$%), no emojis (seriously)
- Version numbers: v01, v02, v03 (not 1, 1.2, final, FINAL)
- Keep names under 50 characters total
- Include date for time-sensitive files: beanthere_meeting_notes_20241201
Create Folder Hierarchies for Asset Types
Don’t organize your folders by file type; do it by workflow and put things together the way people really use them.
Animation files go together, character files stay together, and final exports are kept separate from work-in-progress files.
Keep it shallow with no more than 4 folder levels deep. If you need to click through Project > Assets > Characters > Main > Sarah > Expressions > Happy > Final just to find one file, your system is broken.
- Level 1: Project phases (Preproduction, Assets, Animation, Final)
- Level 2: Asset categories (Characters, Environments, Props, Audio)
- Level 3: Specific assets (Sarah, Jake, Coffee_Shop, Street_Scene)
- Level 4: Versions and exports (Working_Files, Finals, Archive)
- Never go deeper than 4 levels – human brains can’t handle it
Folder Structure Example
BeantThere_Commercial/
├── 01_Preproduction/
├── 02_Assets/
│ ├── Characters/
│ ├── Environments/
│ └── Props/
├── 03_Animation/
└── 04_Final_Delivery/
Keep Version Control Systems
“Version control” sounds high-tech and scary, but it’s really just a fancy way of saying “keep track of changes.”
Every time you save a big change, raise the version number. v01 turns into v02, and v02 turns into v03.
Also, don’t work on the most recent version directly. Copy it, work on it, and then share it when you’re happy with it. Remember to keep old versions in an archive, but don’t get rid of them.
- Always work on copies, never the “master” file
- Save major milestones as new versions (not overwrites)
- Include brief notes: v03_fixed_arm_rigging
- Archive versions older than 5 iterations
- Use cloud storage for automatic syncing (Dropbox, Google Drive)
Catalog Assets with Metadata
Metadata is just information about your files, like when they were made, who made them, what they’re for, and if they’re approved.
Tag everything correctly because modern file browsers can search metadata and make it possible to search for the date the file was made, the name of the project, the type of asset, and the approval status.
If you need to, make a simple spreadsheet since it has columns for the asset’s name, type, status, owner, last modified, and notes.
- Track creation date, modification date, file size
- Tag with keywords: character, environment, approved, work-in-progress
- Note dependencies: “requires sarah_rig_v02 to work properly”
- Include approval status and reviewer notes
- Add usage rights info for licensed assets
Track the Relationships and Dependencies Between Assets
Nothing breaks faster than dependencies. Your animation needs your rig, which needs your model, which needs your textures. Change one piece and suddenly nothing works.
Document which files need which other files to work properly. When someone updates the character rig, you’ll know exactly which animation files need testing.
Create a simple dependency chart. Asset A needs Assets B and C to work. Asset B needs Asset D. Draw lines, make lists, use whatever works for your brain.
Keep Track of Status and Approval Records
Every asset must have a status, such as “Work in Progress,” “Ready for Review,” “Approved,” or “Needs Changes.”
Make sure your approval workflows make sense. An asset is made, looked over, changed if necessary, and then approved. Without permission, no asset can move on to the next phase.
Your approval records must be simple but thorough. Who gave the okay, when, and any notes or conditions?
- Use clear status labels that everyone can understand.
- Write down who gave permission for what and when.
- Note any conditions or limits on approval.
Always Have Backup Systems
The 3-2-1 rule says that you should have 3 copies of important data, 2 of which should be on different types of media, and one of which should be stored off-site.
In real life, this means that you have working files on your computer, a backup on an external drive, and an archive in the cloud.
- Automatic daily backups to external drive
- Weekly manual backups to cloud storage
- Monthly archive of completed project phases
- Test the restore process every 30 days
- Keep 3 generations of backups (daily, weekly, monthly)
Track Changes and Revisions
Change tracking is about knowing what changed, when, and why. Not just version numbers, but actual descriptions of what’s different. “Fixed arm bending issue” is better than just “v04.”
- Write brief but specific change descriptions
- Include reason for change: “client request” vs “technical fix”
- Screenshot major visual changes for quick reference
- Note who made the change and when
- Link related changes across multiple files
Change Log Example
sarah_character_v01 – Initial design
sarah_character_v02 – Added freckles per client feedback
sarah_character_v03 – Fixed UV seam on forehead
sarah_character_v04 – Updated hair color to match the style guide
Phase 4: Asset Quality Assurance and Optimization
Quality assurance is where dreams and technical limits meet, and optimization is where you learn to love giving up. This stage separates the pros from the amateurs.
Check Assets in Target Software or Engine
Your assets might look great in Maya, but does that character model load properly in Unity? Those textures look great in Photoshop, but do they work right in your game engine?
Import everything into your target software as soon as you can. Don’t wait until the end to find out that your carefully made 4K textures make the mobile version of your game crash.
Make a list of things to check for each type of asset. When you import character models, they need to be the right size, textures need to show up without any problems, and animations need to play at the right speed.
- Put assets into the final software within 48 hours of making them.
- Test on the lowest-spec target hardware, not just the one you use for development.
- Check polygon counts and texture sizes
- Make sure that all materials and textures show up correctly.
- See animations at different frame rates and quality settings.
Tools for testing: Unity Test Runner, Unreal’s Asset Validation, or your own test scenes
Check the File Formats and Their Compatibility
Different platforms need different things. For example, mobile games need different formats than desktop apps. Some formats even work better in web browsers than others.
- List the formats that are supported by each target platform
- Test file size limits since some platforms have very strict rules.
- Check to see if texture compression is supported (DXT, ASTC, ETC2).
- Make sure that the audio formats work on all platforms
- Before going into full production, test import/export pipelines with sample files.
For 3D models, use FBX; for UI graphics, use PNG; and for audio on the web, use OGG.
Check Polygon Counts and Texture Sizes
That beautiful character with 500,000 polygons might look great, but it will make phones and tablets cost a lot of money to use as hand warmers.
So, keep track of your polygons all the time. These days, key figures in games get between 20,000 and 50,000 squares, but mobile systems might only handle 5,000 to 10,000.
- Keep an eye on how much texture memory the whole project is using.
- Use texture atlasing to cut down on draw calls.
- Use LOD (Level of Detail) for things that are far away.
- Don’t just guess how much memory you’re using; profile it.
Validate Animation Rigs and Controls
Test every control, push every slider to its limits, try to break things intentionally.
Get actual animators to test your rigs. Riggers think differently from animators, and what makes perfect sense to you might be completely backwards to someone trying to animate with it.
- Test all controls at minimum and maximum values
- Try impossible poses to find breaking points
- Get feedback from actual animators, not just technical artists
- Document known limitations and workarounds
- Fix breaking issues, document minor quirks
Create LOD (Level of Detail) Versions
LOD systems are your secret weapon against performance problems. Why render a 50,000-polygon character when the player can barely see them in the distance? Create multiple versions of each asset at different detail levels.
Typically, you’ll want 3-4 LOD levels.
- LOD0: Full detail (100% polygons) for close viewing
- LOD1: Reduced detail (50% polygons) for medium distance
- LOD2: Simplified (25% polygons) for far distance
- LOD3: Simple geometry or billboard for very far distances
- Test transition distances to avoid obvious popping
The trick is making LODs that still read correctly at a distance.
Compress Textures Appropriately
Compression methods need to be different for each type of image. The skin on a character is not the same as the skin on metal or UI images. Meanwhile, normal maps and diffuse images don’t shrink the same way. Find out what each type of compression does well and what it doesn’t do so well.
- Use DXT1/BC1 for simple textures without alpha
- Use DXT5/BC3 for textures with detailed alpha channels
- Use ASTC for mobile platforms (better quality per bit)
- Keep UI textures uncompressed if memory allows
- Test compression on actual hardware, not just development machines
Optimize Mesh Geometry
There is more to mesh optimization than just counting polygons. The arrangement of polygons has almost as much of an effect on performance as the number of polygons. Long, thin triangles take a long time to render.
- Remove unseen faces (inside of solid objects)
- Combine meshes to reduce draw calls where possible
- Avoid very long, thin triangles that cause rendering issues
- Optimize UV islands for better texture compression
- Use shared textures across multiple objects when logical
Reduce File Sizes for Delivery
The size of a file affects everything, including how long it takes to download, how quickly it loads, how much memory it uses, and how much it costs to store.
If your content takes too long to load, people will leave it, and platform stores often have size limits.
Attack the file size from different sides and for areas where quality loss isn’t noticeable, compress textures a lot.
For big assets, think about progressive loading. First, load the lower-resolution versions, and then stream the higher-quality ones as needed.
- Strip metadata and construction history from final assets
- Use texture compression appropriate to each platform
- Combine multiple textures into atlases where possible
- Remove unused vertices, edges, and faces
- Consider progressive loading for very large assets
Last Words
There are 5 main steps in the asset pipeline, and each one builds on the last. First, pre-production planning sets the creative direction, technical needs, and organizational structure for the whole project.
Second, asset creation makes all the visual parts using 2D art and 3D modeling. Third, animation production puts these assets together with movement, effects, and simulations.
Fourth, asset management keeps things organized by using the right file systems, databases, and version control.
Fifth, quality assurance checks that everything works as it should, makes sure it works best on the target platforms, and gets final approvals before delivery.