3D texturing is one of the most important stages in the 3D production pipeline. It transforms plain 3D models into visually rich and realistic assets by adding colors, materials, patterns, and surface details. Without texturing, even the most detailed 3D models can appear flat and unrealistic.
From animated films and video games to product visualization and architecture, texturing plays a major role in defining the final look of a project. A well-textured model helps create immersion, realism, and visual storytelling.
In this guide, we explore the complete 3D texturing process, the main techniques involved, and the tools commonly used in the industry.
What Is 3D Texturing?
3D texturing is the process of applying surface details to a 3D model. These details can include:
- Colors
- Patterns
- Materials
- Roughness and reflections
- Surface imperfections
Textures are usually applied using image maps that wrap around a 3D model. This process helps objects look realistic or stylized depending on the project’s art direction.
3D Texturing Process Steps
The 3D texturing workflow usually follows several important stages.
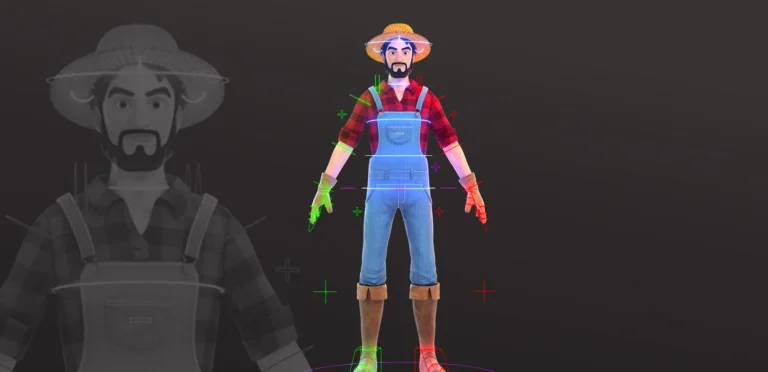
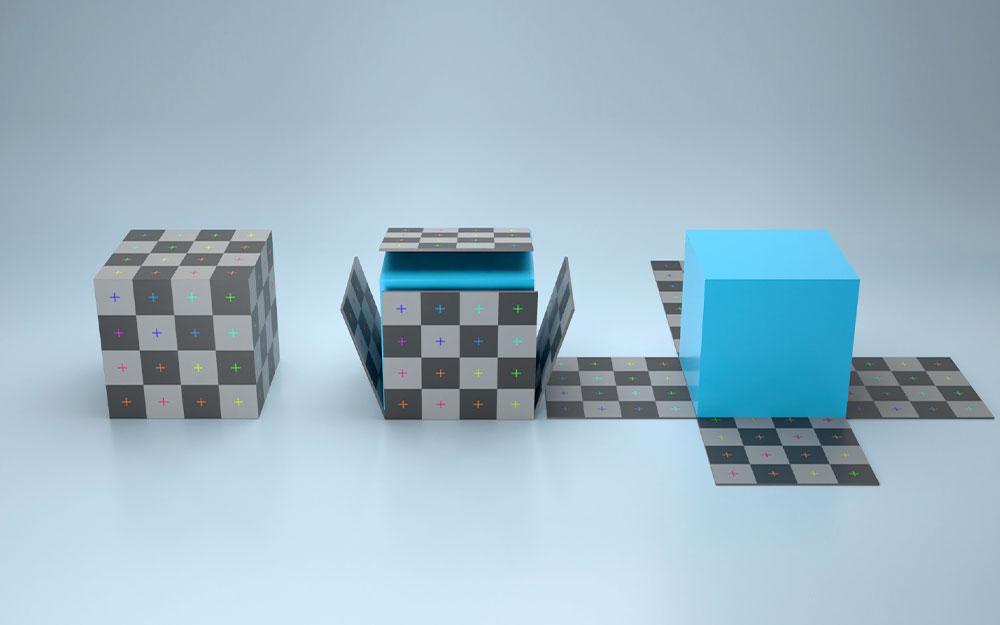
1. UV Unwrapping
UV unwrapping is the process of flattening a 3D model into a 2D layout. This allows textures to be painted and applied correctly onto the model.
Key features:
- Creates texture coordinates
- Prevents texture stretching
- Organizes surface areas efficiently
Used in:
- Character modeling
- Environment assets
- Product visualization
Good UV mapping is essential because poor UVs can create visible texture distortions.
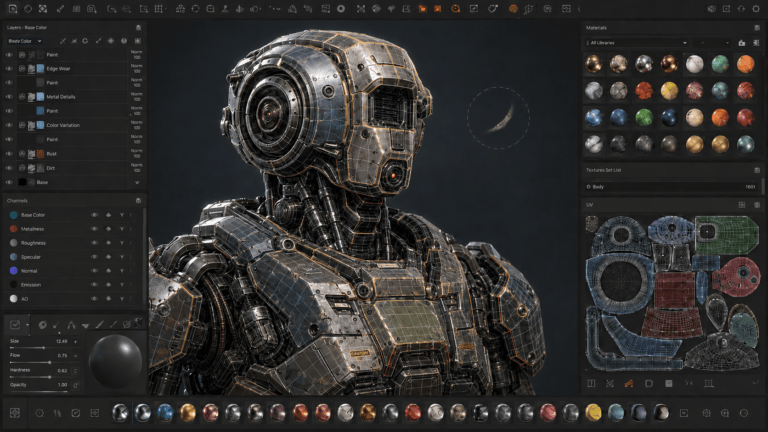
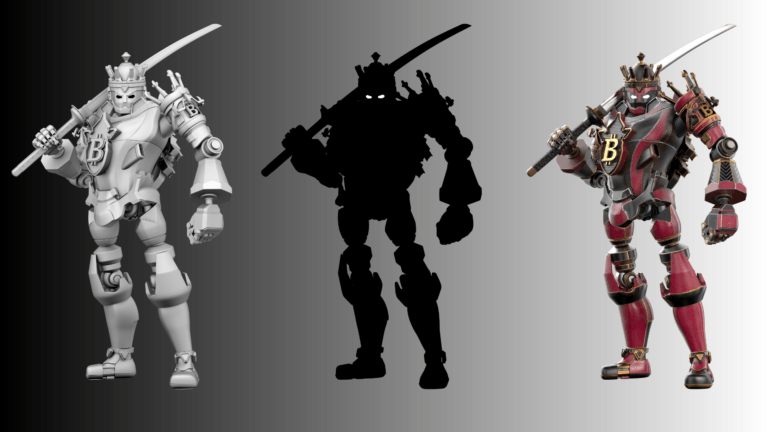
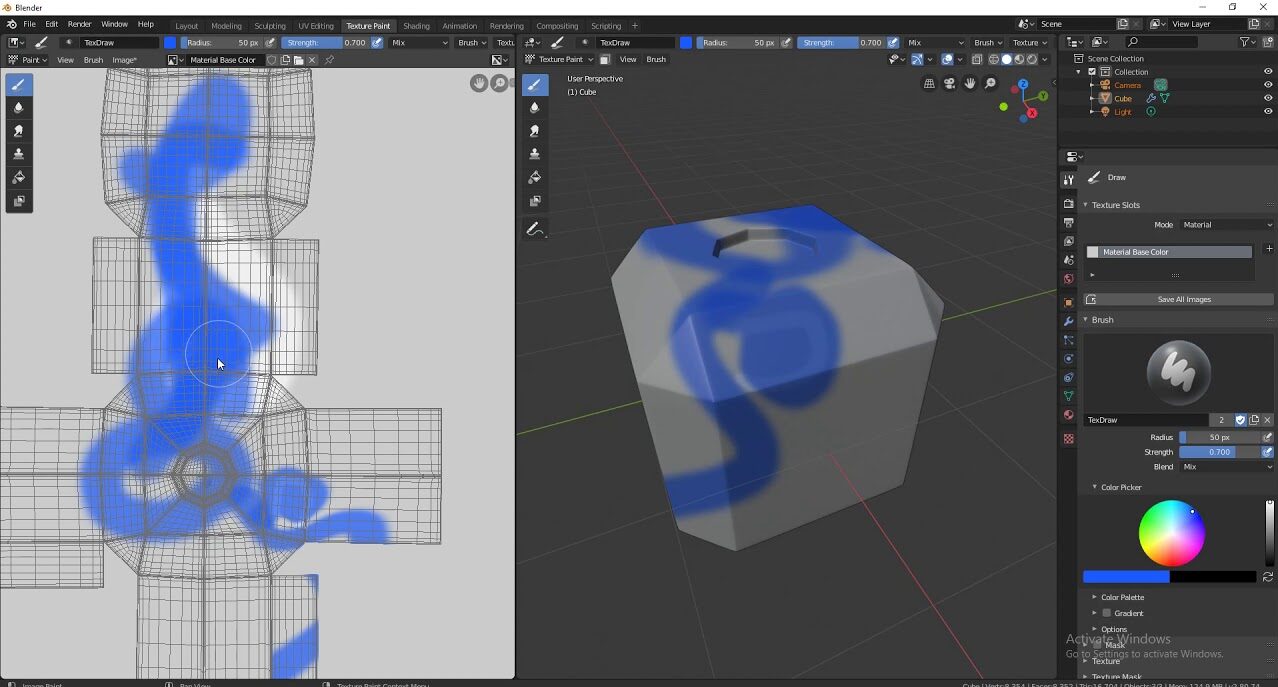
2. Texture Painting
Texture painting involves adding colors and details directly onto the model or its UV map. Texture artists use specialized software to paint realistic or stylized textures.
Key features:
- Hand-painted textures and details
- Layer-based workflow
- Real-time texture preview
Used in:
- Games
- Animated films
- Stylized projects
This stage defines much of the model’s visual personality and style.
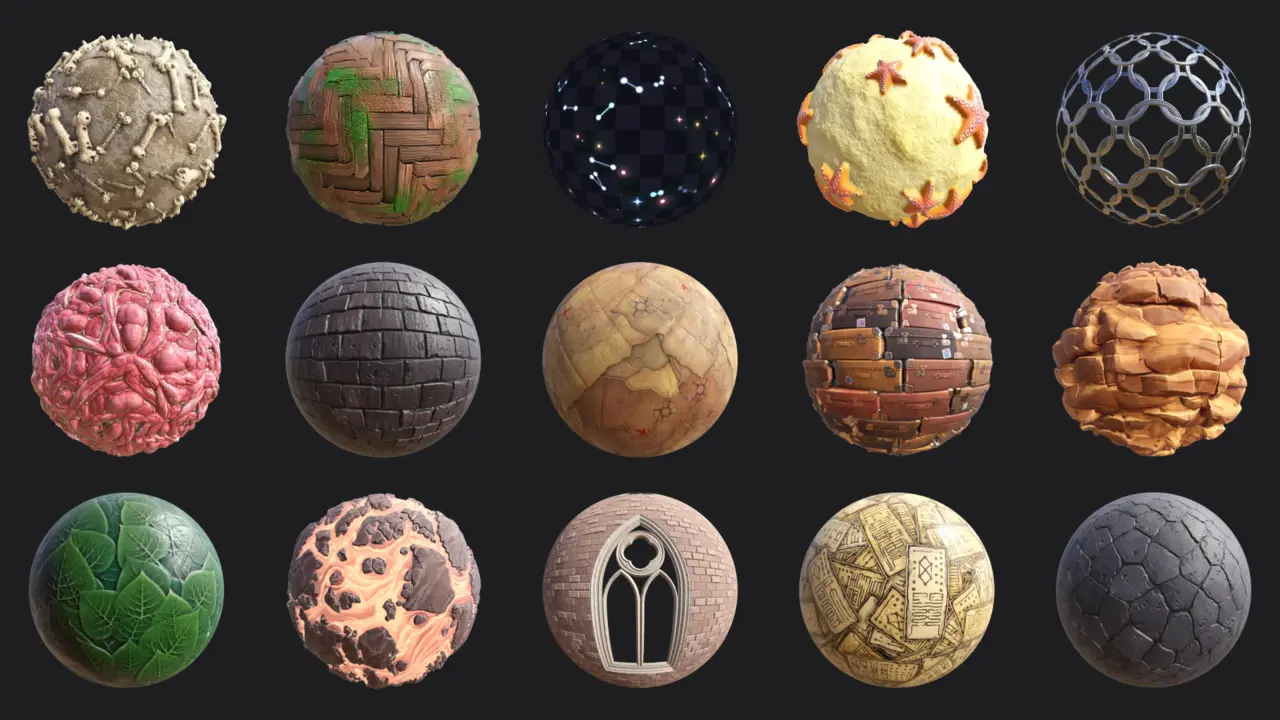
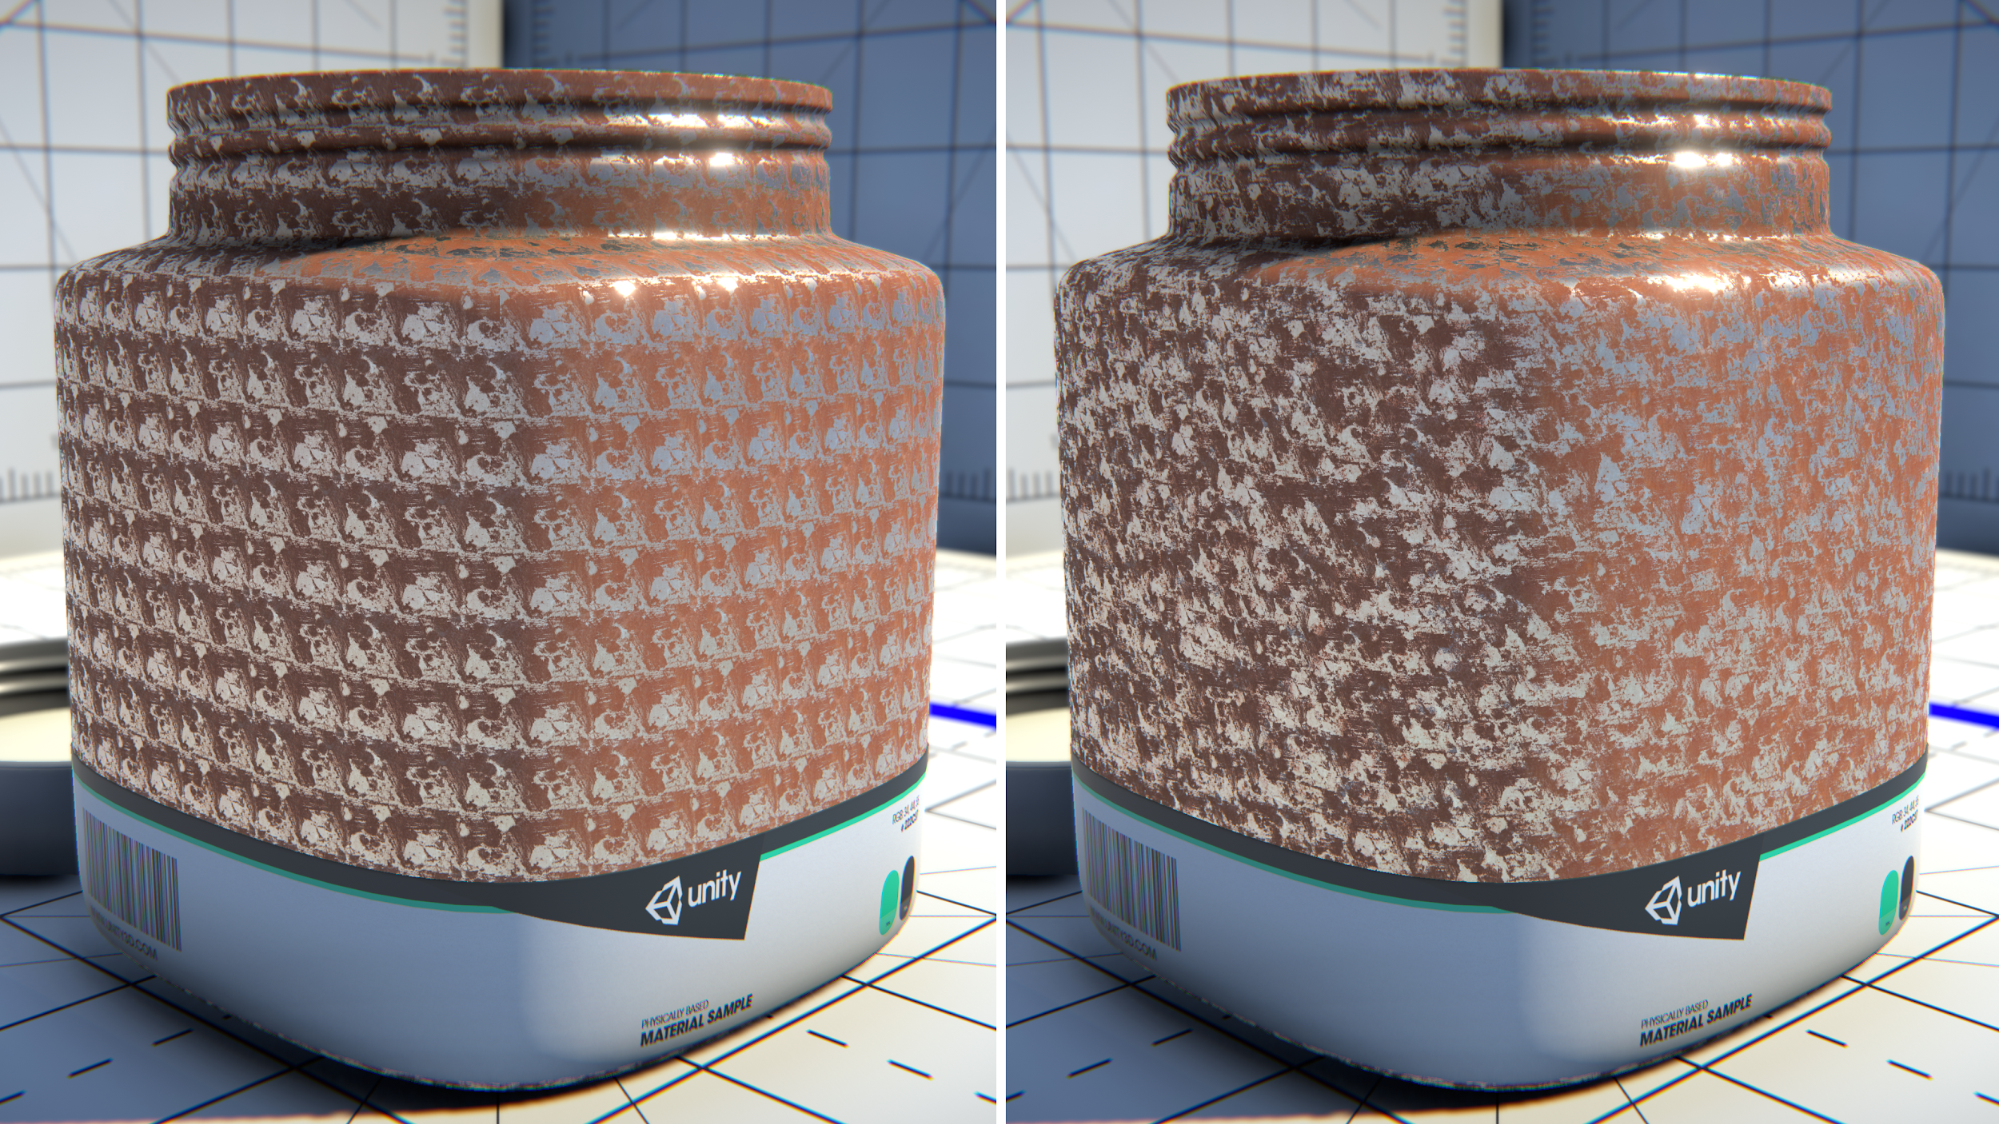
3. Material Creation
Material creation focuses on defining how surfaces react to light. Materials are different from textures, they control properties such as reflection, transparency, and roughness.
Key features:
- Surface behavior settings
- Metallic and roughness values
- Physically based rendering workflow
Used in:
- Realistic rendering
- Product animation
- Visual effects
Well designed materials greatly improve realism and consistency.
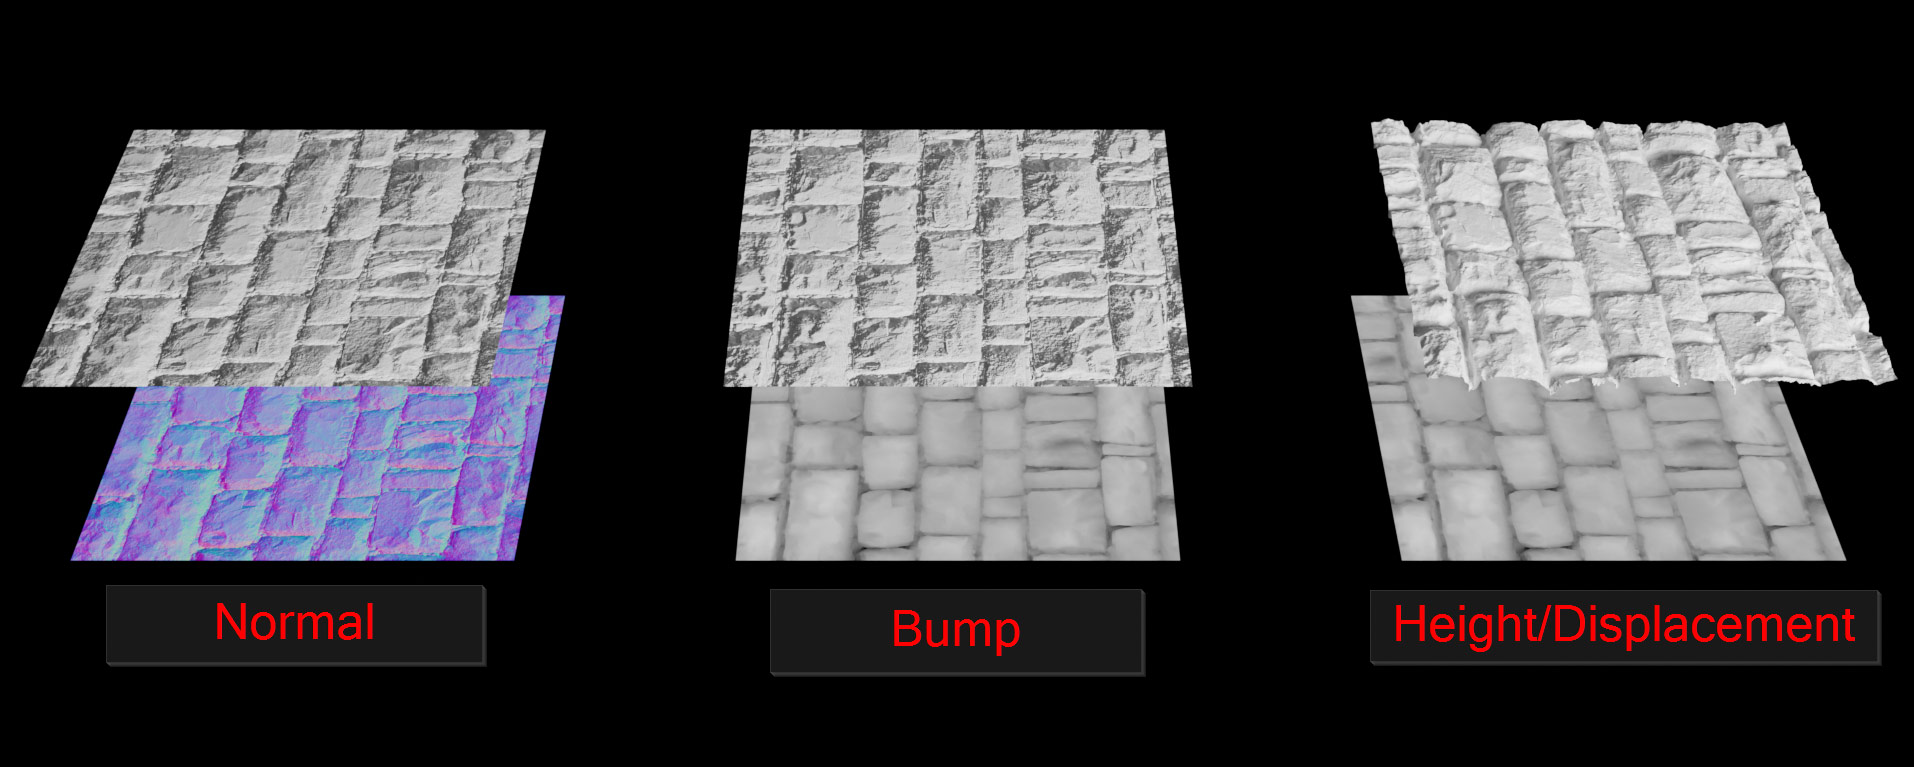
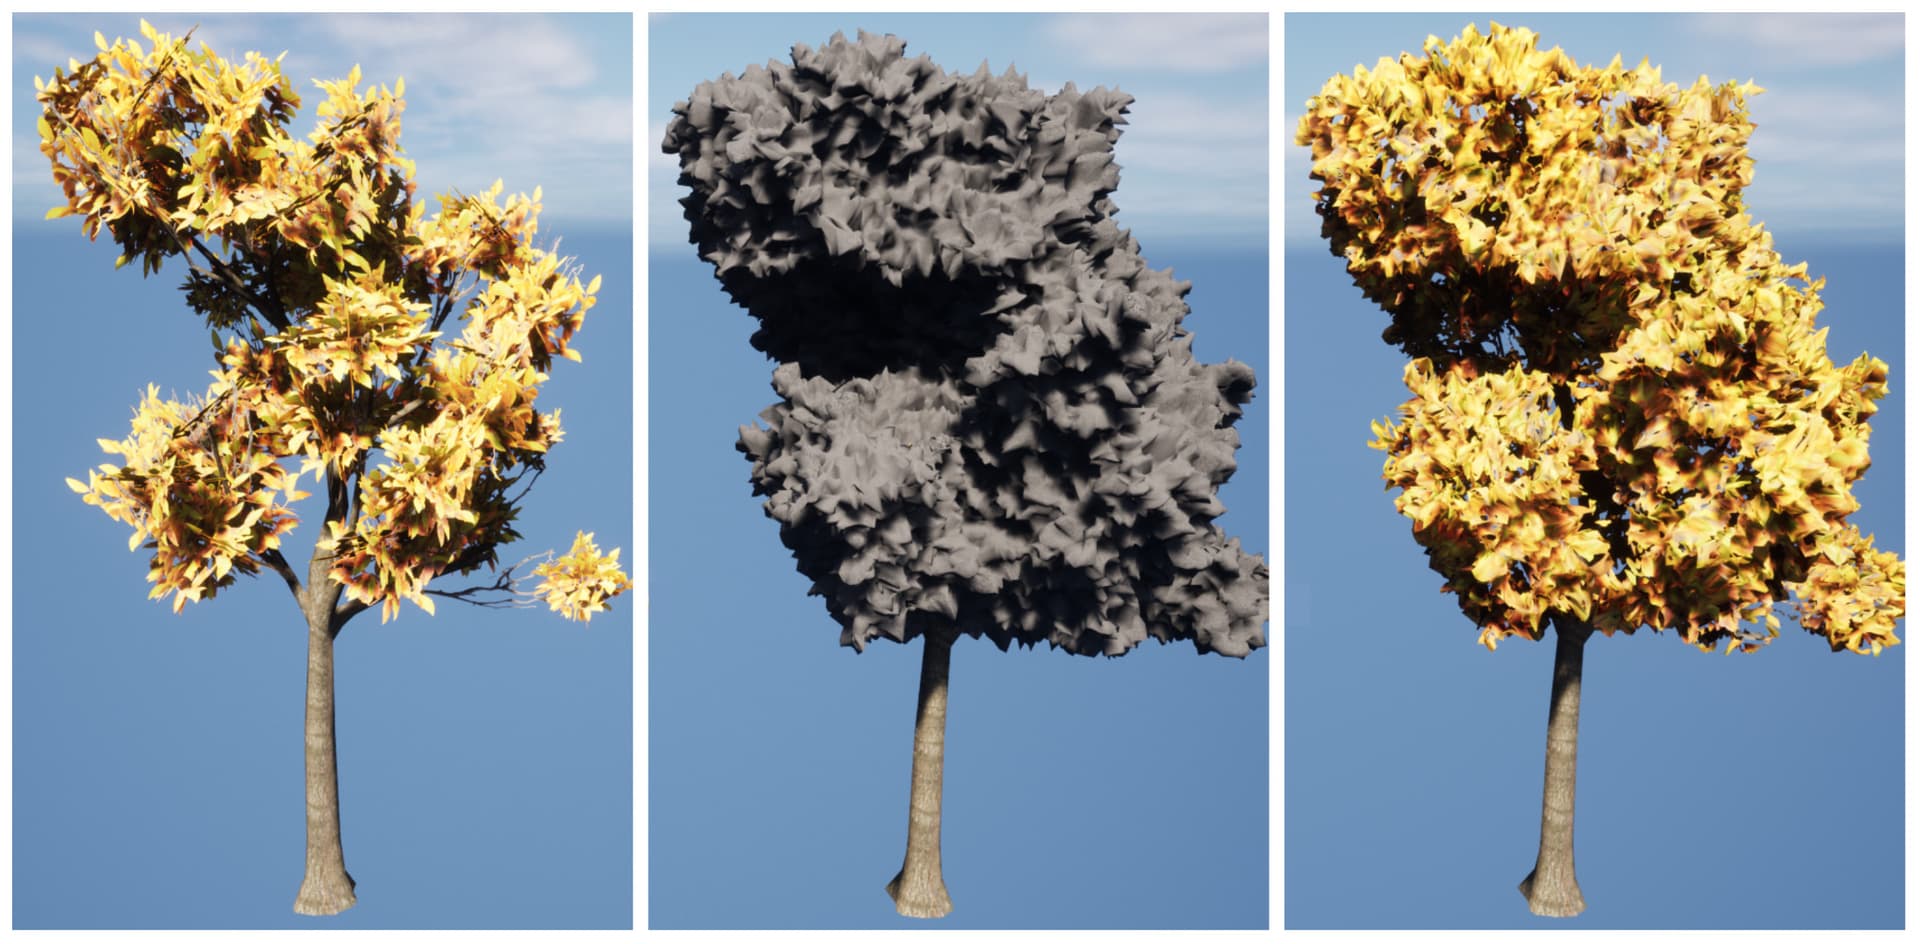
4. Normal and Bump Mapping
Normal and bump maps add the illusion of surface detail without increasing geometry. These maps simulate depth using lighting information.
Key features:
- Simulated surface detail
- Improved performance
- Enhanced realism
Used in:
- Games
- Films
- Real-time rendering
This technique helps optimize performance while maintaining visual quality.
5. Procedural Texturing
Procedural texturing uses algorithms to generate textures automatically. Instead of relying entirely on image files, artists create patterns and materials through nodes and parameters.
Key features:
- Non-destructive workflow
- Easily adjustable textures
- Scalable detail generation
Used in:
- Large environments
- Technical workflows
- Procedural asset creation
It is highly flexible and efficient for creating complex surfaces.
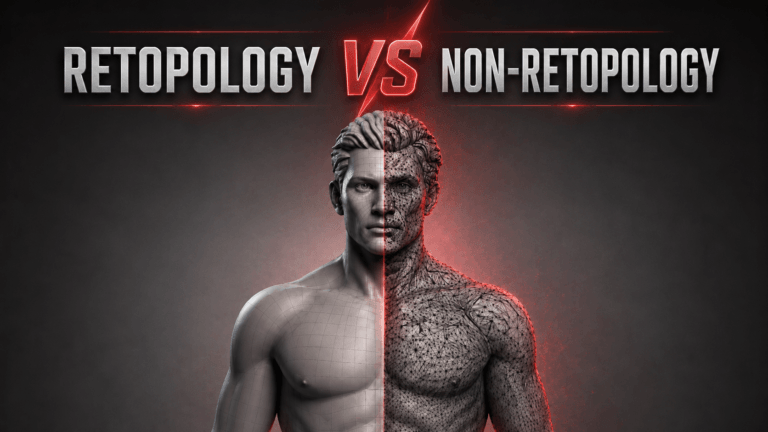
6. Baking Textures
Texture baking transfers details from a high-resolution model to a lower-resolution version. This helps optimize models for games and real-time applications.
Key features:
- Asset optimization
- High detail preservation
- Reduced polygon count
Used in:
- Video games
- VR experiences
- Real-time projects
Baking is an important step in balancing quality and performance.
Common Texture Maps in 3D Texturing
Different texture maps control different visual properties.
| Texture Map | Purpose |
| Diffuse Map | Base color information |
| Normal Map | Simulates surface depth |
| Roughness Map | Controls surface smoothness |
| Metallic Map | Defines metallic properties |
| Opacity Map | Controls transparency |
| Ambient Occlusion Map | Adds shadow detail |
Using multiple maps together creates more realistic and detailed materials.
Why Texturing Is Important in 3D Production
3D texturing services give personality and realism to 3D assets. It defines how objects react to light and how surfaces appear to the viewer.
Improves Realism
Textures add fine details such as scratches, dirt, fabric patterns, and skin pores that make objects look believable.
Supports Storytelling
Surface details can communicate information about a character or environment. For example, worn textures can suggest age or heavy use.
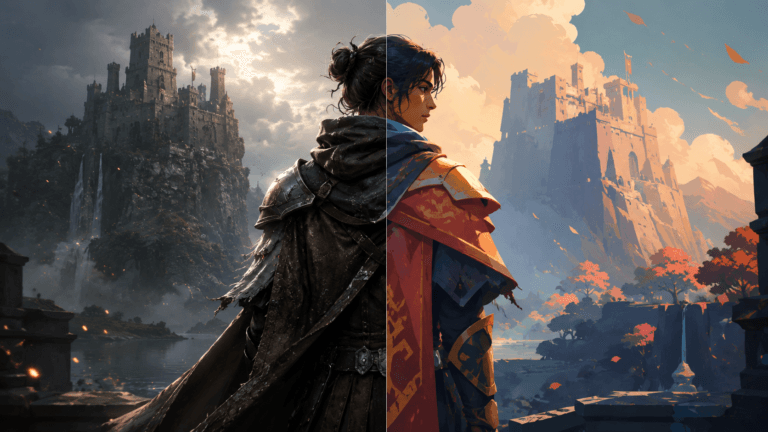
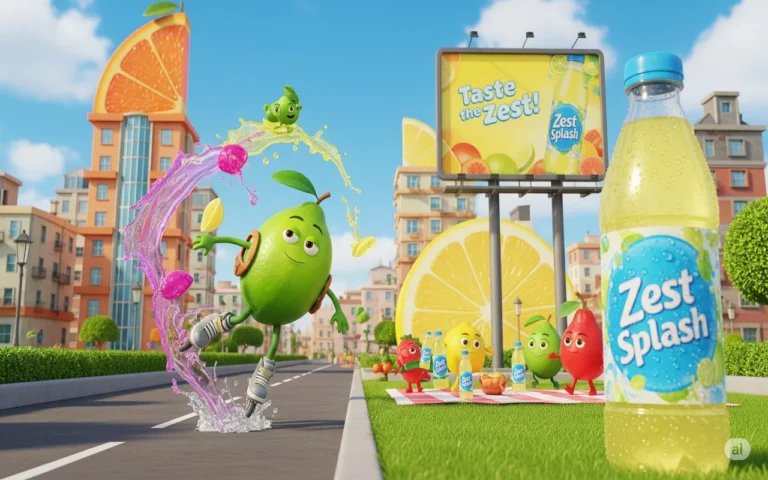
Enhances Visual Style
Texturing is not limited to realism. Stylized textures are widely used in animated films and games to create unique artistic looks.
Best Software for 3D Texturing
Several industry-standard 3D tools are commonly used for texturing workflows.
1. Adobe Substance 3D Painter
A popular tool for painting realistic textures directly onto 3D models.
2. Blender
Offers texturing and material tools within a free open source workflow.
3. Mari
Widely used in film production for high-resolution texture painting.
4. ZBrush
Often used for detailed sculpting and texture generation.
5. Substance Designer
Focused on procedural material and texture creation.
How to Improve 3D Texturing Quality
Creating high-quality textures requires both technical and artistic skills.
Use Real World References
Studying real materials helps create believable textures.
Add Surface Imperfections
Perfect surfaces often look unrealistic. Small scratches and dirt improve realism.
Maintain Texture Consistency
Ensure texture resolution and style remain consistent across assets.
Optimize for Performance
Use texture sizes and maps efficiently, especially for games and real-time projects.
3D Texturing in Modern Production
Modern 3D pipelines often combine multiple texturing techniques. Artists may use hand painting for stylized assets and procedural workflows for realistic environments.
Game studios and animation companies also rely heavily on physically based rendering workflows to ensure consistent materials across different lighting conditions.
Conclusion
The 3D texturing process is essential for transforming basic models into believable and visually engaging assets. From UV unwrapping and texture painting to procedural workflows and baking, each step contributes to the final quality of a project.
By understanding the texturing process and using the right tools and techniques, artists can create more realistic, stylized, and professional 3D visuals.