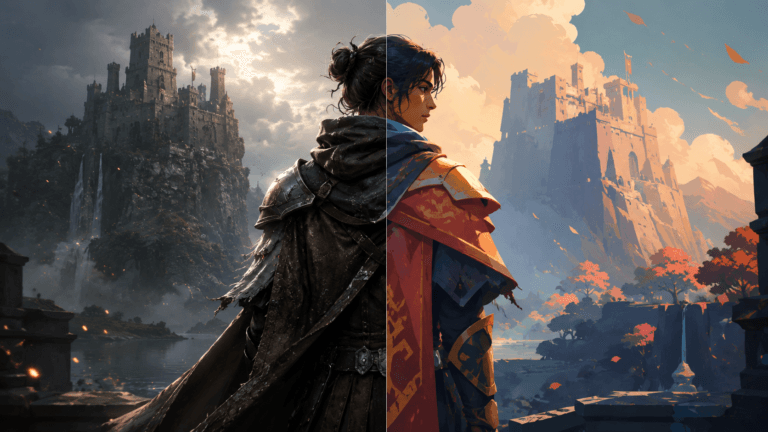
Optimal character design results in memorable personae. Heroes and villains are the main reason for audience engagement with films, video games, and literature. The transformation of a foundational concept into a complex and compelling character presents a significant challenge, which is why many creators turn to professional character design services. This article outlines a complete procedural methodology for character development, commencing with initial ideation and concluding with a finalized, satisfactory design.
Need Game Art Services?
Visit our Game Art Service page to see how we can help bring your ideas to life!
What Is the Character Design Process?
The character design process is a structured way artists bring characters to life. It includes research, brainstorming, sketching, refining, and finalizing both a character’s look and personality traits. This process makes sure characters are not only visually appealing but also match the story’s goals and what the audience expects. From first ideas to polished designs, every step balances creativity and function. Understanding this process is key for anyone who wants their characters to stand out in animation, games, or comics with a unique character art style.
How Do You Research the Character Design Process?
Research gives context to character design. By studying story settings, genres, and cultures, artists make their designs more believable. Good research also shows popular trends, so designs and the character art style can feel unique while still connecting with people. Research is not just visual; it also involves studying psychology and story arcs. This step stops random choices and helps artists explain their design decisions. Good research builds a foundation for characters that people will remember.
Define the Character's Role and Personality
Every character has a job, like a hero, villain, or mentor. Defining their role helps set their personality, actions, and motivations. For example, a brave hero might have a confident posture, while a sly villain might move in a quiet way. A character’s personality also controls how they act with others and their environment. This shows the importance of psychology in character design, as a clear role and personality guide the design so that the character’s look matches who they really are.
Backstory and Character Origins Important
A character’s backstory affects everything, from their clothes to how they move. A character from the desert might wear simple clothes, but a character from a futuristic world might have tech gadgets. Origins give characters depth and make their design choices feel purposeful. A good backstory helps the audience connect with a character, as it adds layers of meaning. Designers use origins to support story themes and make characters more real.
Reference Gathering
Reference gathering gives artists visual ideas and clarity. They collect images, textures, and other things to help their design choices. References stop a design from being too common by encouraging new influences. For example, studying animal anatomy can inspire creature designs, while fashion references can inform costumes. Gathering good references builds a library that helps with accuracy and variety in a design. This step makes sketching faster and helps refine the creative direction.
How Do You Define Characters’ Non-Visual Characteristics?
Besides their look, characters need things like a way of speaking, quirks, and habits. These non-visual things add to their personality and can change their design. For example, a shy character might slouch, but an energetic one uses big gestures. Their voice and values make them feel real and help animators or writers. Thinking about these elements makes characters feel more complex and connects the design to the storytelling.
Read More: The Role of Psychology in Character Creation
How Do You Sketch in the Character Design Process?
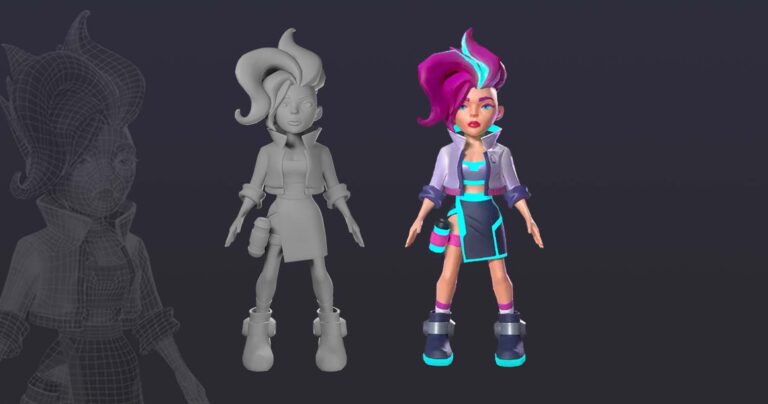
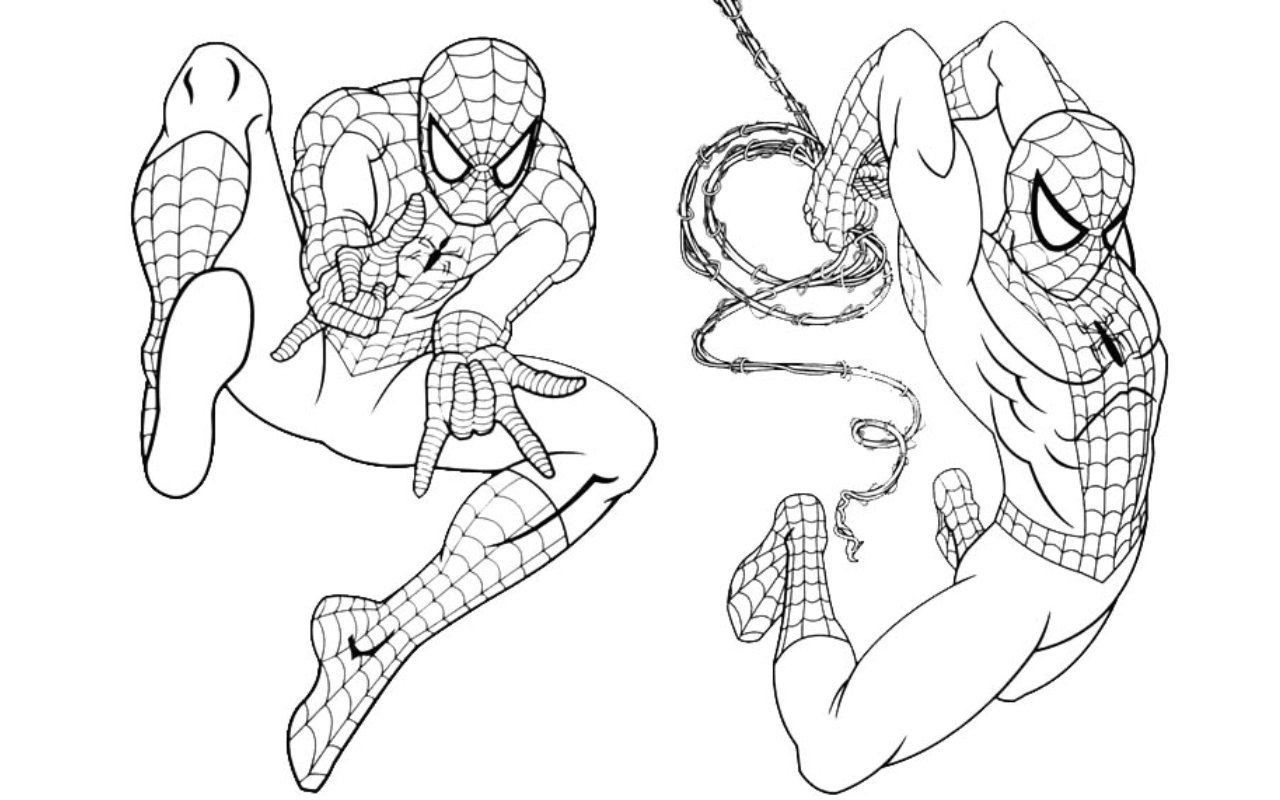
Sketching turns ideas into a visible form. Early sketches focus on the character’s shape, size, and different looks. This lets artists quickly test many ideas. This stage is about trying things. Loose lines help creativity without the fear of mistakes. Sketches explore poses and expressions to see what shows the character’s personality best. Doing many sketches leads to better results before you start detailed work. For designers, sketching is when imagination becomes visible.
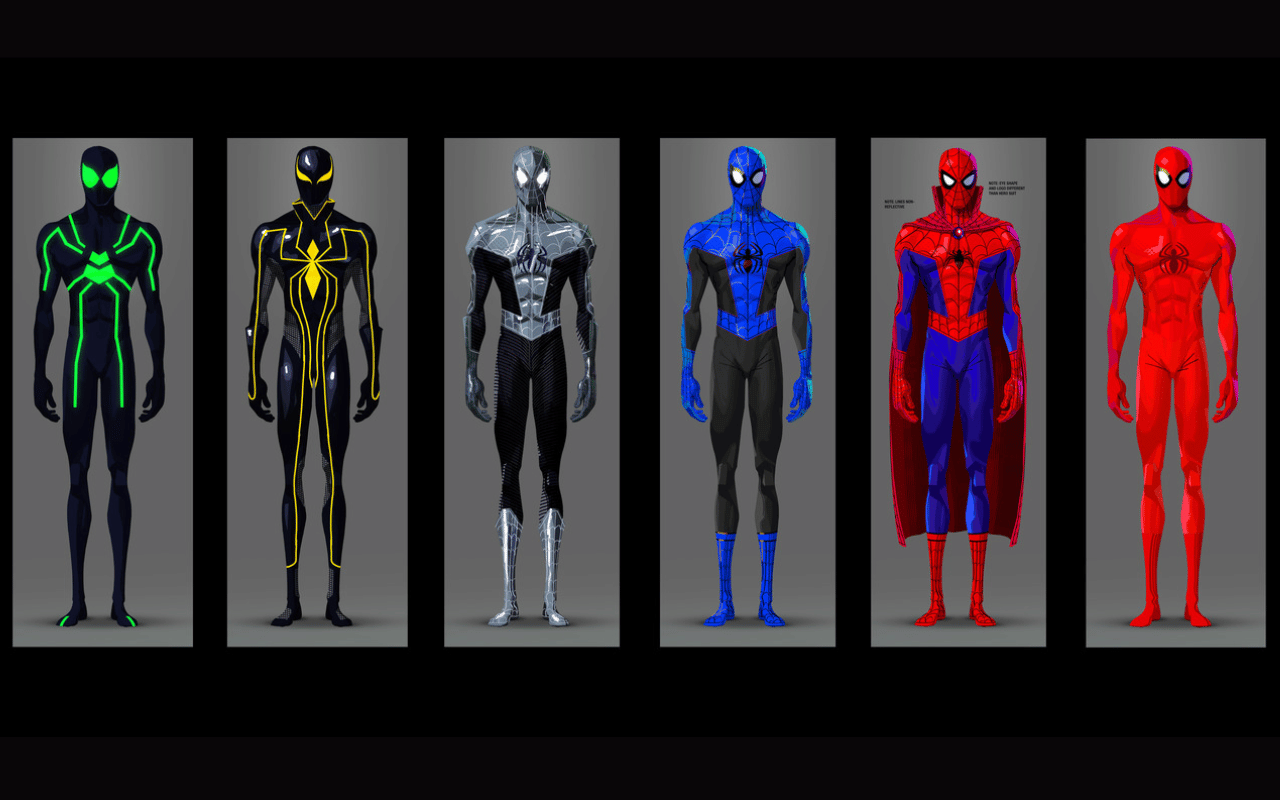
How Do You Define the Color Palette?
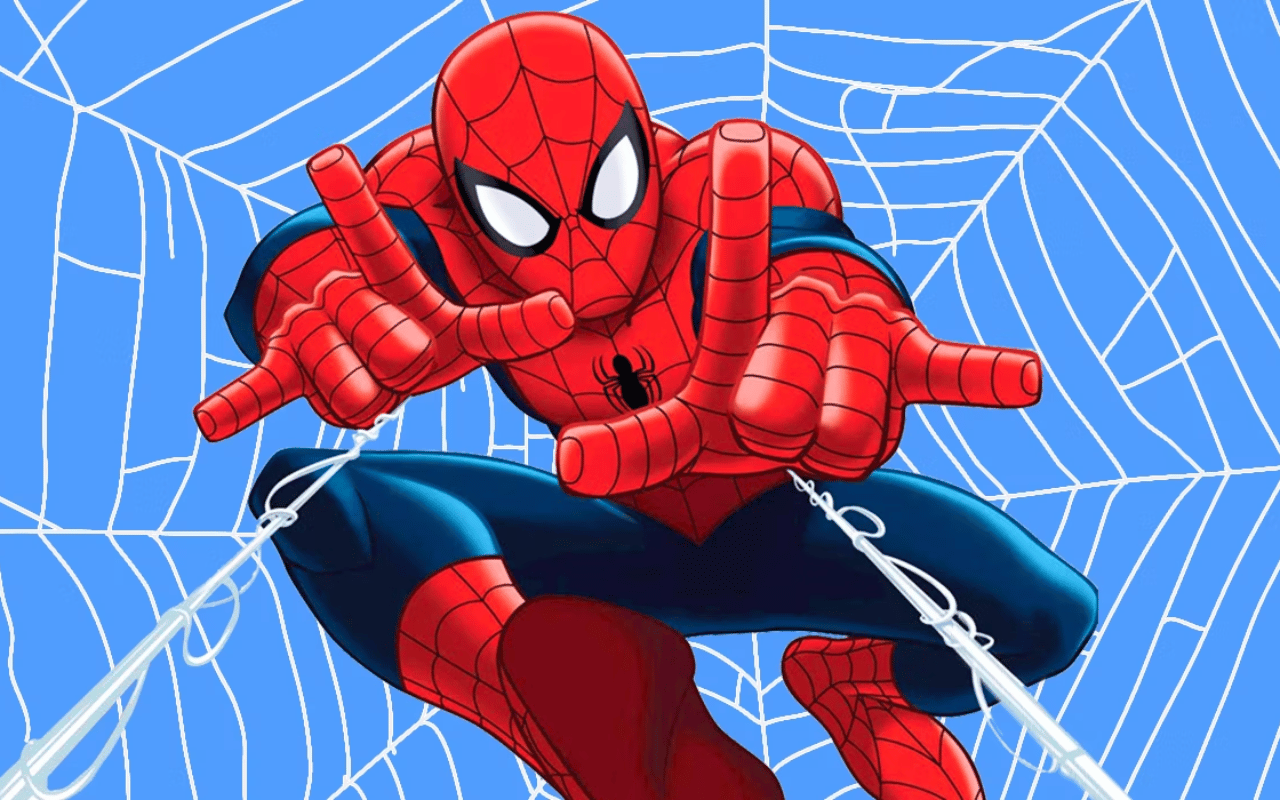
Color theory can be used to show mood, meaning, and identity. Bright colors often fit playful or heroic characters, while darker colors show mystery or conflict. Designers think about cultural meanings, environment, and contrast when picking colors. Colors also make a character easy to recognize, like Mario’s red. Trying different color palettes helps you find what works for the character’s personality. A good palette helps with storytelling and makes the character memorable.
What Is Conceptualization in Character Design?
Conceptualization brings together research, sketches, and the story into one idea. This stage combines the visual design with backstory and non-visual traits. Artists refine poses and expressions while thinking about how the character will act in different situations. Conceptualization balances being creative with being practical, so designs work for animation, comics, or games. The goal is a unified vision that shows the character’s personality and purpose, ready for the next step.
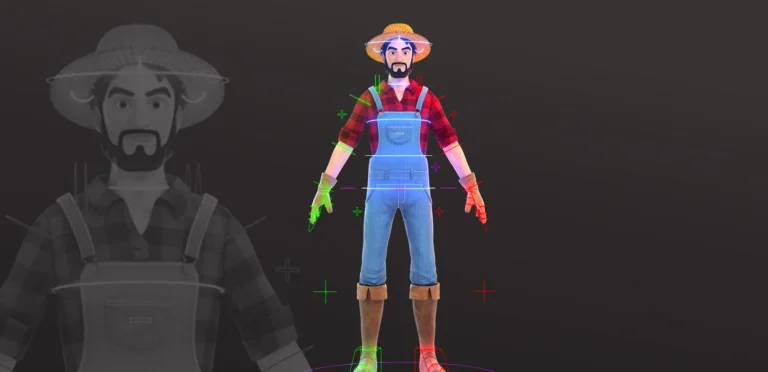
How Do You Refine and Test Character Designs?
Refining the Character
Refining makes sketches cleaner and more accurate. Artists fix proportions, improve anatomy, and finalize details like clothes. Small things like facial expressions are made clearer for consistency. Refining turns rough ideas into professional art ready for production. It is the step where weak points are fixed and good ones are shown more. A well-refined design helps animators and modelers turn it into motion or a 3D model.
Testing the Character
Testing checks how a character works in different situations, like in animation or games. Designers may make model sheets or test animations to check for consistency. Testing answers questions like: Does this costume animate well? Do the proportions look clear on a screen? Does the personality show through? This step prevents problems during production and confirms the design works and looks good.
Read More: How Much Does a Character Design Cost?
How Do You Finalize the Character Design?
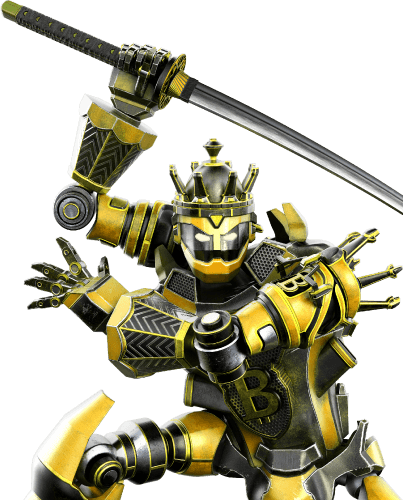
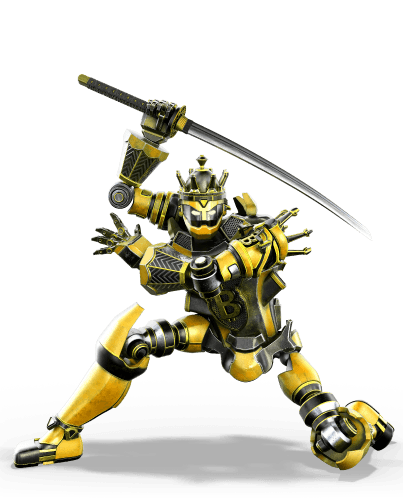
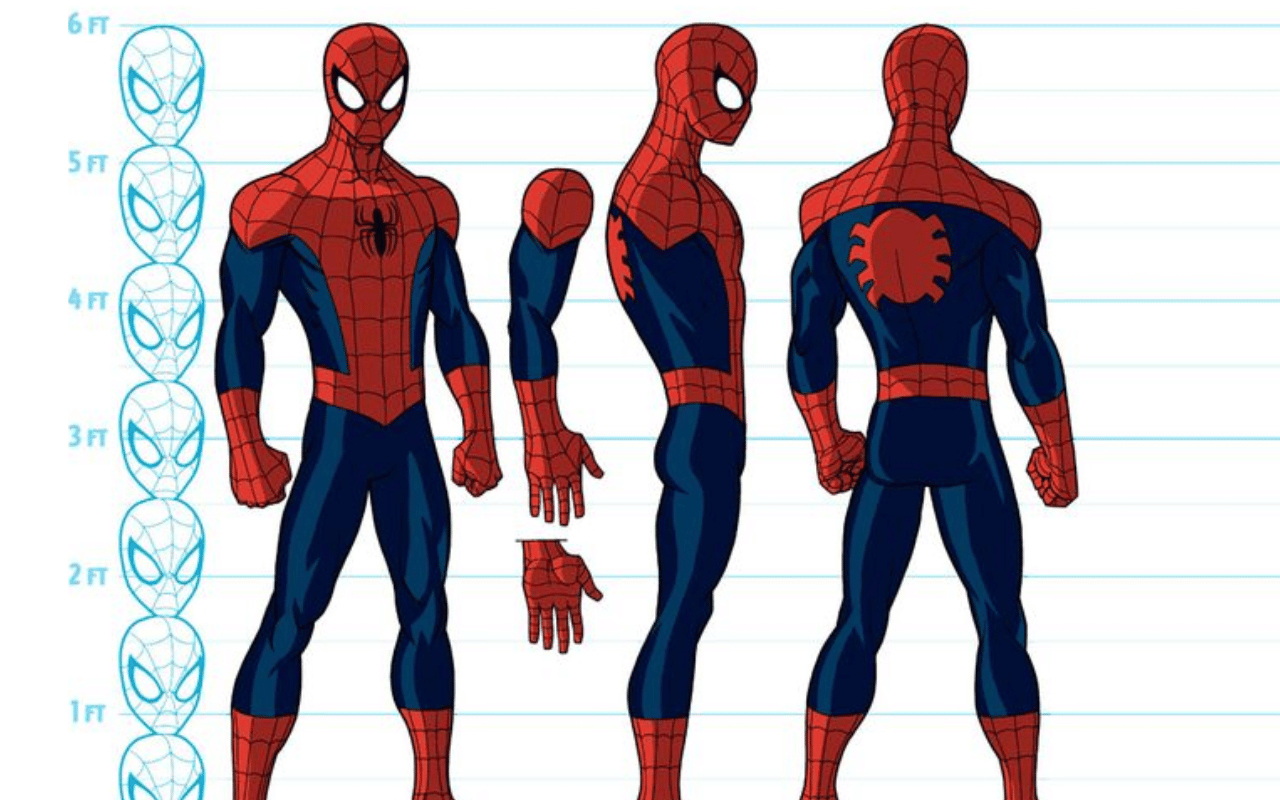
Finalizing means creating polished concept sheets with turnarounds, expression charts, and detailed views of clothes or props. This package is a blueprint for animators and 3D modelers. At this point, consistency and clarity are very important. The final design must quickly show the character’s personality, role, and backstory. Once it is finalized, the character is ready to be used.
What Are the Best Tips and Practices for Character Design?
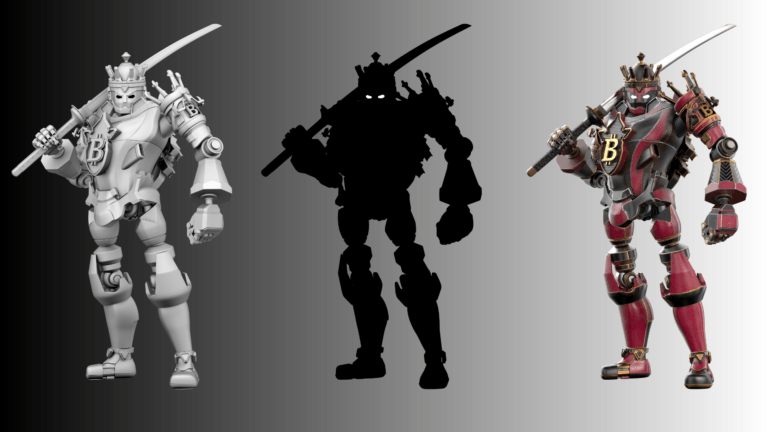
Good practices include making sure a character’s silhouette is clear, showing personality, and balancing a unique look with being relatable. Good characters are not too complex; you can recognize them even in a simple shape. Designers should always try new versions, ask for feedback, and study real-world references. Practicing with different genres builds skills. In the end, great character design mixes storytelling with art to make characters unforgettable.
Read More: What is Character Animation? Types + Needed Software
Conclusion
The character design process is more than just drawing. It is a journey from research to refining an idea. By combining backstory, visual design, and testing, artists make characters that are both interesting and functional. For games, films, or comics, this process makes sure characters are consistent, creative, and impactful. Learning the process turns ideas into characters that people will connect with.