Lighting for animation is designed with one goal in mind, to add value and create a rich scene that amplifies the narrative of a scene or the mood. It is critical to train your eyes, which will enable you to improve your craft.
In this article, we will not discuss a specific lighting software or tool because lighting is a skill that can be translated to any software and tool, but the skill itself is not bound to a certain tool.
Need 3D Animation Services?
Visit our 3D Animation Service page to see how we can help bring your ideas to life!
Why We Light?
Animated films are born when skilled and passionate artists merge their talents to build a story within a universe of extraordinary possibilities. Designers dream up the world, modelers build the world, riggers give the world the ability to move, and animators make the world sing and dance.
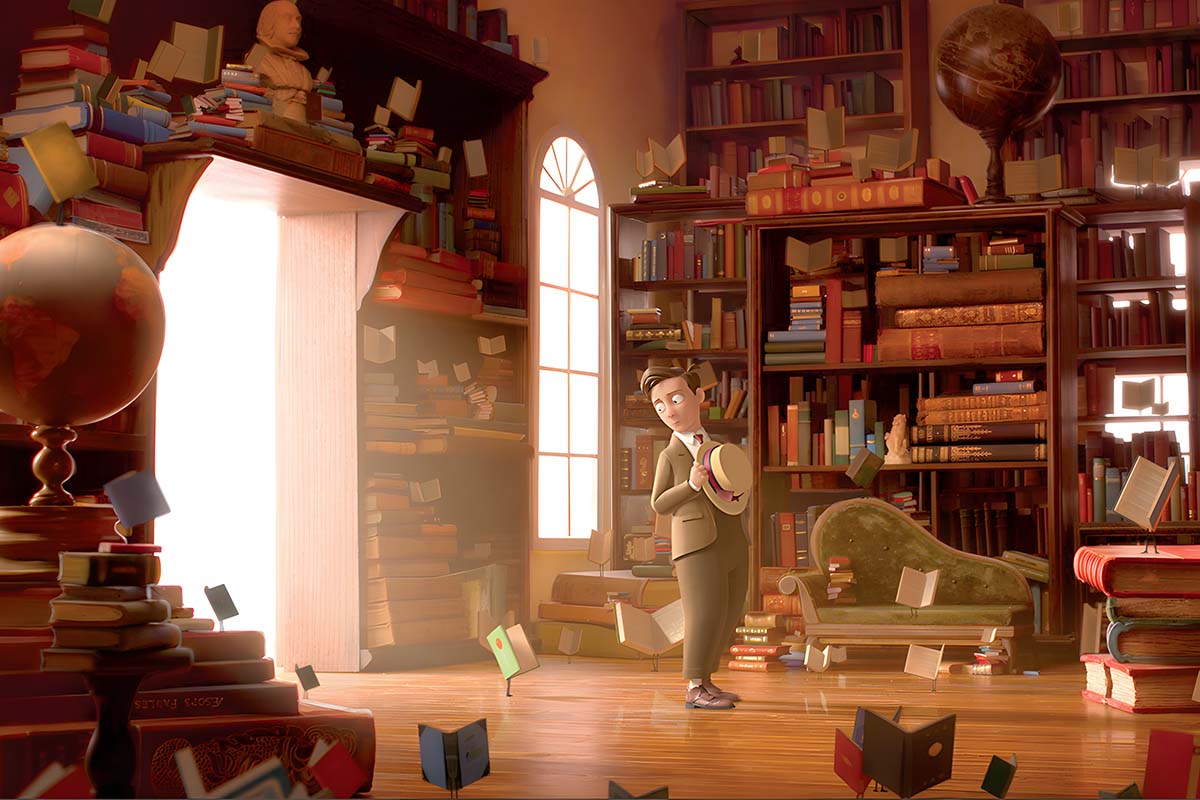
It is the job of the lighter to make that world beautiful, to give it shape, life, and an unmistakable soul. Lighting is about transforming geometry to create a setting the audience can submerse themselves into, allowing the film or animation to take them on a journey.
3D Lighting Pipelines and Workflow
Although lighting in a 3D program shares many similarities to lighting for the fine arts, stage, film, video, and photography, it requires its own unique workflow. When a team of animators handles the workflow, it’s often referred to as a pipeline. The 3D animation pipeline is a standardized system of producing complex animations using teams of artists and an array of equipment and software.
For example, a pipeline created for an animated feature or extensive visual effects project generally follows these production pipeline steps:
- Concept art: Characters, props, environments, and color guides are designed.
- Storyboarding: The story is broken into specific shots with specific camera placements using 2D drawings or simplified 3D animations. The result is referred to as an animatic if the 2D drawings are animated and edited into a video.
- 3D modeling: Characters, props, and environments are constructed in 3D.
- Texturing: Models are textured.
- Rigging: Models that require animation are rigged so they can be moved or deformed.
- Layout: The storyboards are translated to 3D set-ups using 3D models.
- Animation: Characters, props, and effects (such as fire and water) are animated.
- Lighting: Animated shots are lit and rendered.
- Compositing: If required, shots are composited in 2D to combine and/or fine tune the renders.
3D Lighting Steps
After determining how many lights you need, where the lights should be located, and what basic properties the lights possess, you can add them to your 3D scene. Regardless of which 3D program you are using and the exact method by which to create and manipulate the 3D lights, I suggest following these basic steps:
1. Add and position the key light. The key should serve as the most intense light source. Adjust the light intensity so it does not overexpose the subject.
Overexposure will cause detail loss on the surface and may cause areas to appear pure white. Activate shadows for the light and adjust the show quality to match the type of light source. Adjust the light position to make the shadows fall aesthetically. If a scene requires more than one key light, add and adjust the needed light.
Multiple key lights may be necessary if a scene has several intense lights, such as overhead light fixtures that are equally strong and distinctly separate.
2. Add and position the fill light. A fill light may or may not require its shadows. For example, if the fill light emulates a light that bounces off a wall, a shadow may be so soft that it is unnecessary to activate it. A distinct shadow is appropriate if the fill light emulates the bulb of a shaded table lamp.
If a scene requires multiple fill lights, add and adjust these. Note that adding each new light may require the adjustment of the previous lights. You may need to readjust all the light intensities so you don’t run into overexposure. To judge the contribution of a new light, consider toggling the light’s on/off property.
3. Add and adjust any utility lights. Add these lights to improve the overall aesthetic quality or emulate specific light sources that are less intense than the key or fill lights. For example, you might add a rim, kicker, hair, or background light to separate a character’s face from the background.
Here are a few things to look out for:
1- Lighting an untextured model may lead to different results compared to lighting
a textured model. An untextured model is one that remains assigned to a default shader.
A textured model has been assigned to a custom shader that has been mapped with texture bitmaps or procedural textures. Lighting an untextured model may necessitate lighting changes when the model is finally textured. This is due to light intensities appearing differently on surfaces that possess different colors, different levels of detail, and different shader qualities such as specularity or reflectivity.
For example, an untextured model is assigned to a gray-colored default Lambert material. If the model were extended to possess a skin-like quality, the light intensity values would require adjustment.
2- The lights and shadows you are able to use are dependent on the 3D renderer you choose. Thus, as you go through this lighting process, you must consider which renderer and which renderer settings are the most appropriate for your lighting task.
3- Occasionally, it may be sensitive to start lighting with fill lights or utility lights. For example, if you are lighting a character in the center of a large environment, it may be wise to light the environment first; this will help establish the overall look of the scene, which will help determine what light reaches the character.
Remember that this is a general guideline and may not work in every lighting situation. To help facilitate lighting, it helps to understand the difference between light and shadow types and basic shader functionality.
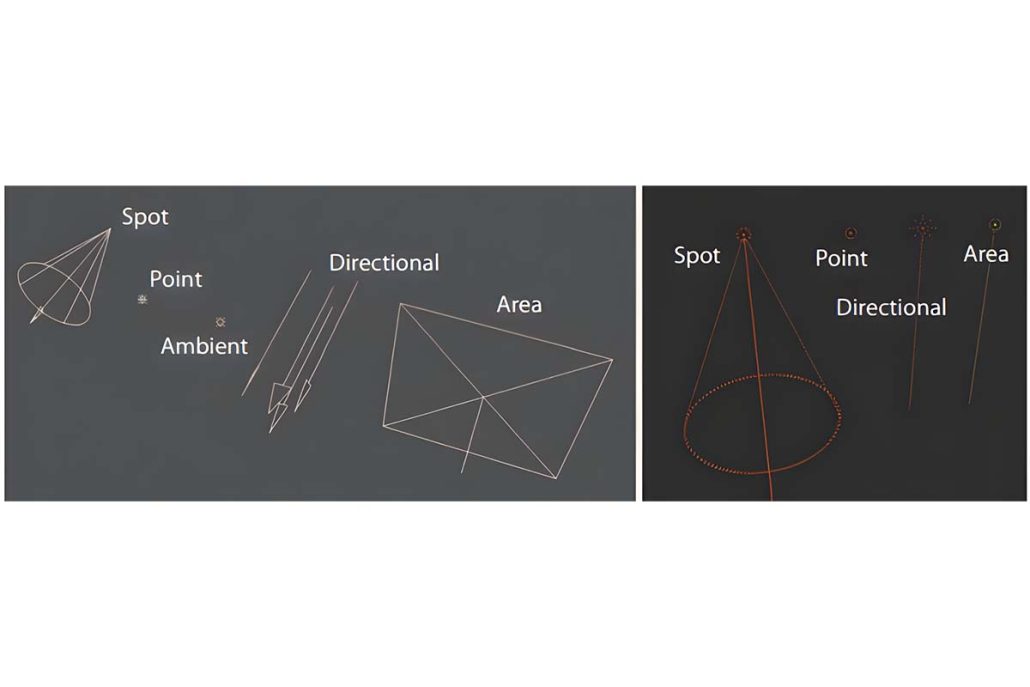
Common 3D Light Types
Ambient Light: Setting the Stage
Ambient light is akin to the gentle glow that permeates an environment, even in the absence of direct light sources. It acts as a foundational element, preventing scenes from being pitch black. Ambient light ensures that objects are visible and offers a sense of overall illumination. While it doesn’t cast distinct shadows, its role is crucial in creating a base level of visibility.
Ambient light is often used in conjunction with other lights to simulate the natural lighting of an environment. It is ideal for providing a uniform base illumination for scenes where a specific mood or atmosphere isn’t the primary focus.
Ambient light doesn’t have a specific direction or source. Instead, it evenly affects all objects within the scene. Its intensity and color can be adjusted to set the scene’s overall tone.
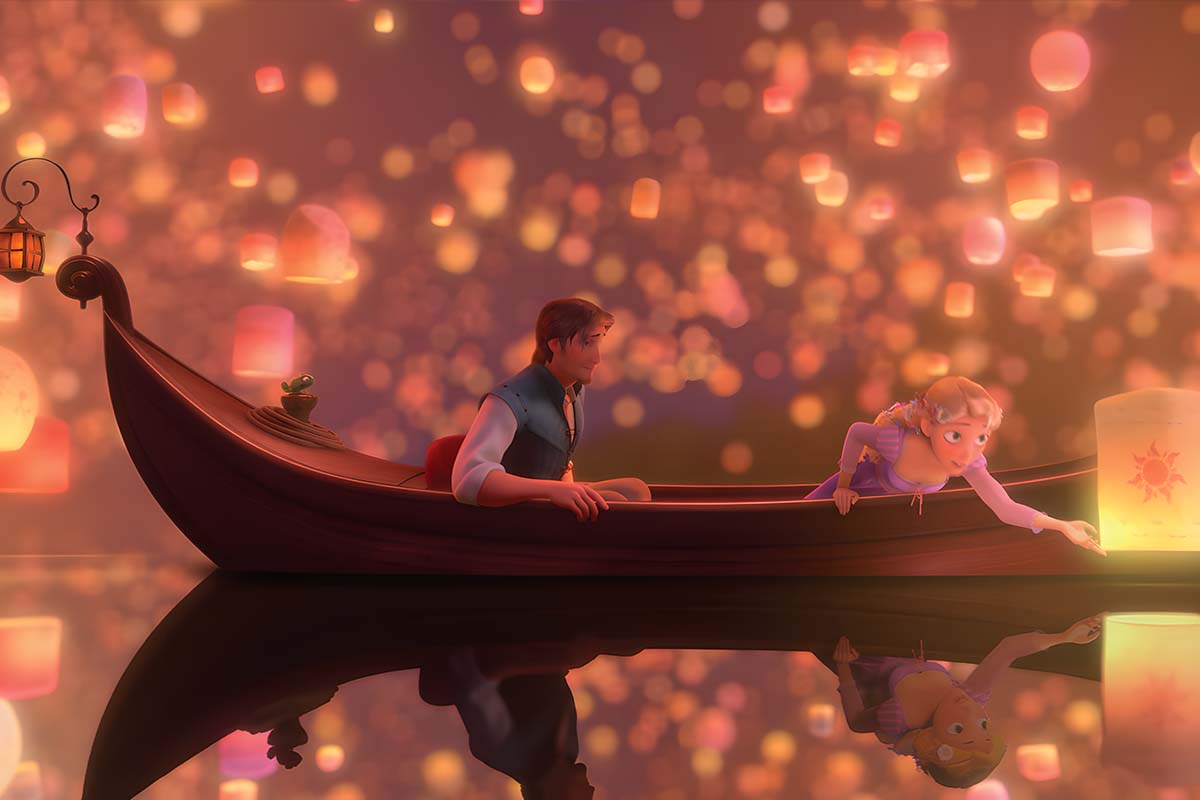
Directional Light: The Mighty Sun
In the virtual world, the directional light replicates the sun’s illumination. It emits parallel rays that create crisp shadows and define objects’ contours. This light is ideal for simulating outdoor environments where the primary light source is distant, and rays are relatively parallel.
Directional light is commonly used to mimic sunlight in outdoor scenes. It casts strong, unidirectional shadows, making it ideal for landscapes, cityscapes, and other scenarios where the light source is far away.
Directional light is characterized by its parallel rays, making shadows consistent and well-defined. Its orientation affects the angle of illumination and the length of shadows.
Point Light: Illuminating the Center
Point light behaves like a light bulb suspended in the air, radiating light in all directions from a single point. It’s a versatile light source that can be placed within or outside objects, and it casts soft shadows that simulate the way light interacts with real-world objects.
Point lights are commonly used to illuminate specific objects or areas within a scene. They work well for replicating the lighting of incandescent light bulbs or candle flames.
Point lights emit light in all directions from a single point, creating soft shadows. Their intensity, attenuation (how light intensity diminishes with distance), and color can be adjusted.
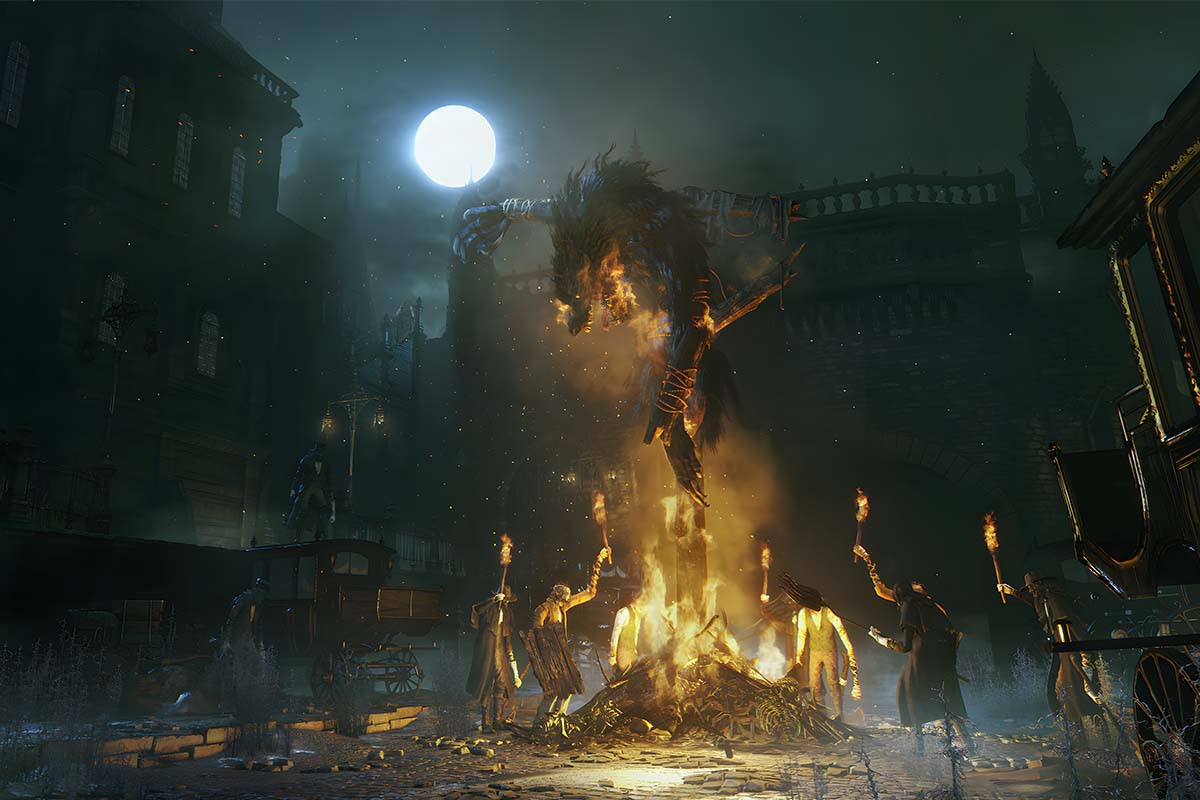
Spotlight: Focusing on The Drama
Spotlights replicate focused beams of light, casting a cone-shaped illumination that can be adjusted for size, direction, and angle. This light source is highly versatile, capable of simulating anything from a flashlight to a theatrical spotlight.
Spotlights are used when focused illumination is needed. They work well for creating dramatic effects, highlighting specific objects or characters, and shaping attention within a scene.
Spotlight parameters include cone angle, falloff (how the light intensity decreases towards the edges of the cone), and inner and outer cone angles for defining different areas of intensity.
Area Light: Softening the Edges
Area lights are often rectangular or square and emit light from a defined area. They produce soft, diffused shadows that mimic the way light interacts with larger surfaces rather than from a single-point source.
Area lights are excellent for creating soft, even lighting across large surfaces or scenes. They’re commonly used for indoor scenes where windows or panels are illumination sources.
Area lights are characterized by their shape and size, affecting shadows’ softness. They can be adjusted to simulate various light fixtures, such as fluorescent panels or large windows.
Conclusion
In this article about lighting in animation, we learned that lighting is a versatile skill that adds depth and emotion to scenes. It’s a collaborative process within production pipelines, involving key steps like setting up different types of lights for aesthetics. Factors such as texture and renderer impact lighting outcomes. There are various 3D light types, each shaping atmosphere and focus. Ultimately, lighting transforms animation into a blend of creativity and technology, enhancing storytelling.