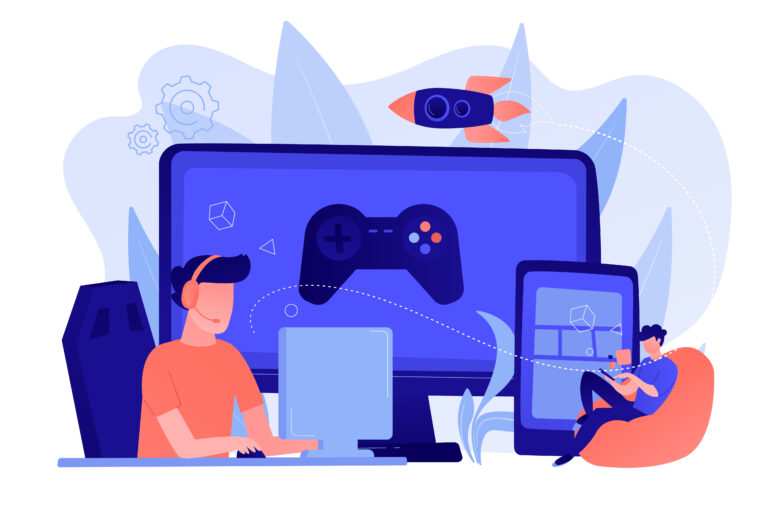
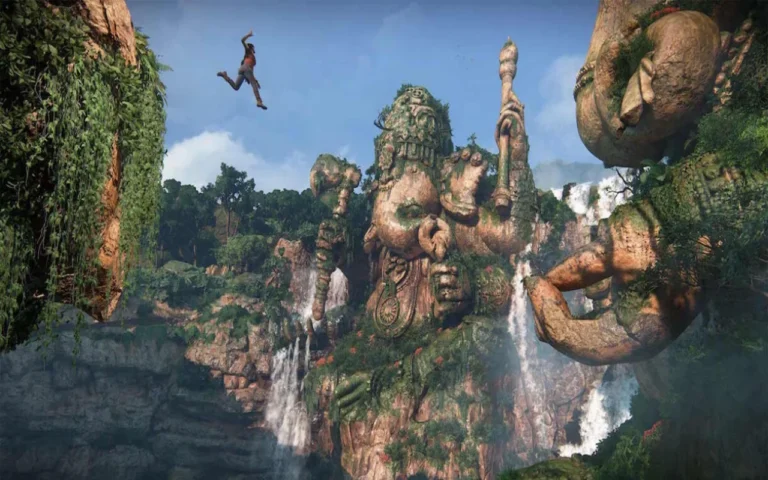
The game art pipeline is the structured workflow used to create visual assets for video games, from early concept sketches to final in-game environments, characters, animations, and visual effects. Modern game development relies heavily on organized production pipelines to maintain visual consistency, improve collaboration, and ensure assets move efficiently between departments.
Whether creating stylized indie games, realistic AAA environments, or mobile projects, studios follow carefully planned pipelines to manage concept art, modeling, texturing, animation, VFX, and engine integration. A strong game art production pipeline helps developers reduce bottlenecks, improve optimization, and maintain artistic quality throughout development.
In this guide, we’ll explore the full game art pipeline, including pre-production, production, and post-production workflows used in modern game development.
Need Game Art Services?
Visit our Game Art Service page to see how we can help bring your ideas to life!
What Is Game Art Pipeline and Its 3 Main Steps?
A game art pipeline is the step-by-step production workflow used to create and manage visual assets in game development. It defines how assets move between artists, departments, and technical stages from the earliest concepts to final engine integration.
Most development teams divide game art creation into three major sequential phases:
Pre-production is dedicated to setting the visual direction, art style, scope, and creating the comprehensive asset list for the video game idea.
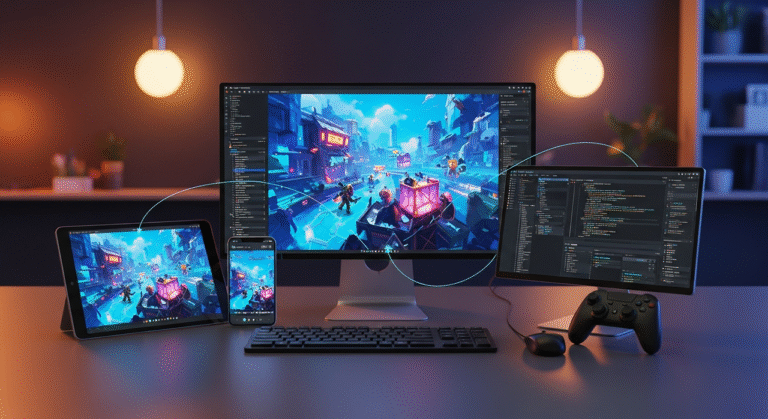
Production is where the majority of the actual creation takes place: building, animating, and importing assets into environments like Unity, Unreal Engine, or other in-house engines.
Post-production focuses on final refinement, optimization, and last-minute VFX or UI/UX adjustments, often leading up to the game’s launch.

Pre-Production in the Game Art Pipeline
Pre-production in game art is the planning and visual development phase of the game art pipeline. During this stage, artists and designers define the game’s visual identity, gameplay tone, worldbuilding direction, and technical requirements before full producation begins.
This stage helps studios avoid costly revisions later in development and ensures all departments follow a consistent creative direction.
Concept artists and art directors work closely together during this phase to establish the project’s artistic foundation.
- Moodboards and visual research
- Art direction development
- Character concept art
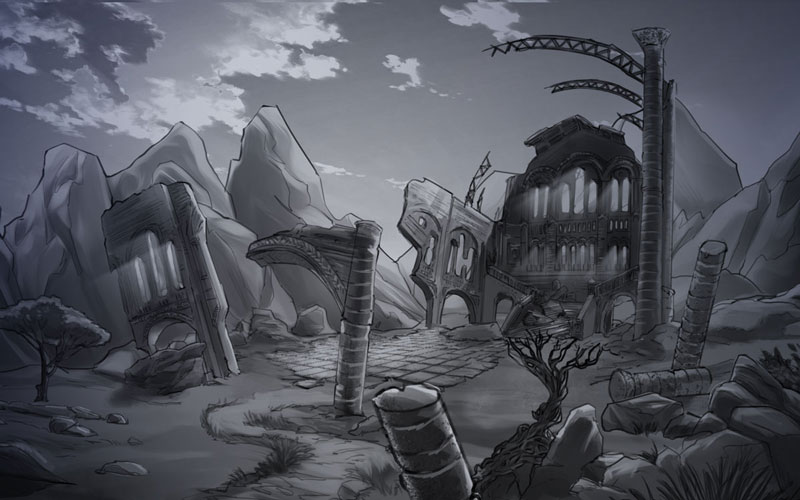
- Environment concept design
- Style guides and color theory
- Asset planning and production schedules
- Technical workflow preparation
- Early gameplay prototypes
Research
Research is the foundation of the entire pipeline. Artists gather references, analyze competitors, study architectural styles, clothing, materials, lighting, game art trends, and visual storytelling techniques related to the project.
This phase helps establish visual consistency early in development.
Research may include:
- Real-world references
- Historical studies
- Moodboards
- Gameplay analysis
- Game genre research
- Cinematic inspiration
Art Direction
Art direction defines the visual identity of the game. Art directors establish the game art style, character color palette, shape language, rendering approach, and overall visual tone.
A clear art direction helps all departments maintain visual consistency throughout production. The art direction stage determines whether the game will use:
- Realistic visuals
- Stylized graphics
- Pixel art
- Anime aesthetics
- Cartoon rendering
- Dark fantasy atmospheres
Read More: How to Choose the Best Art Style for Games?
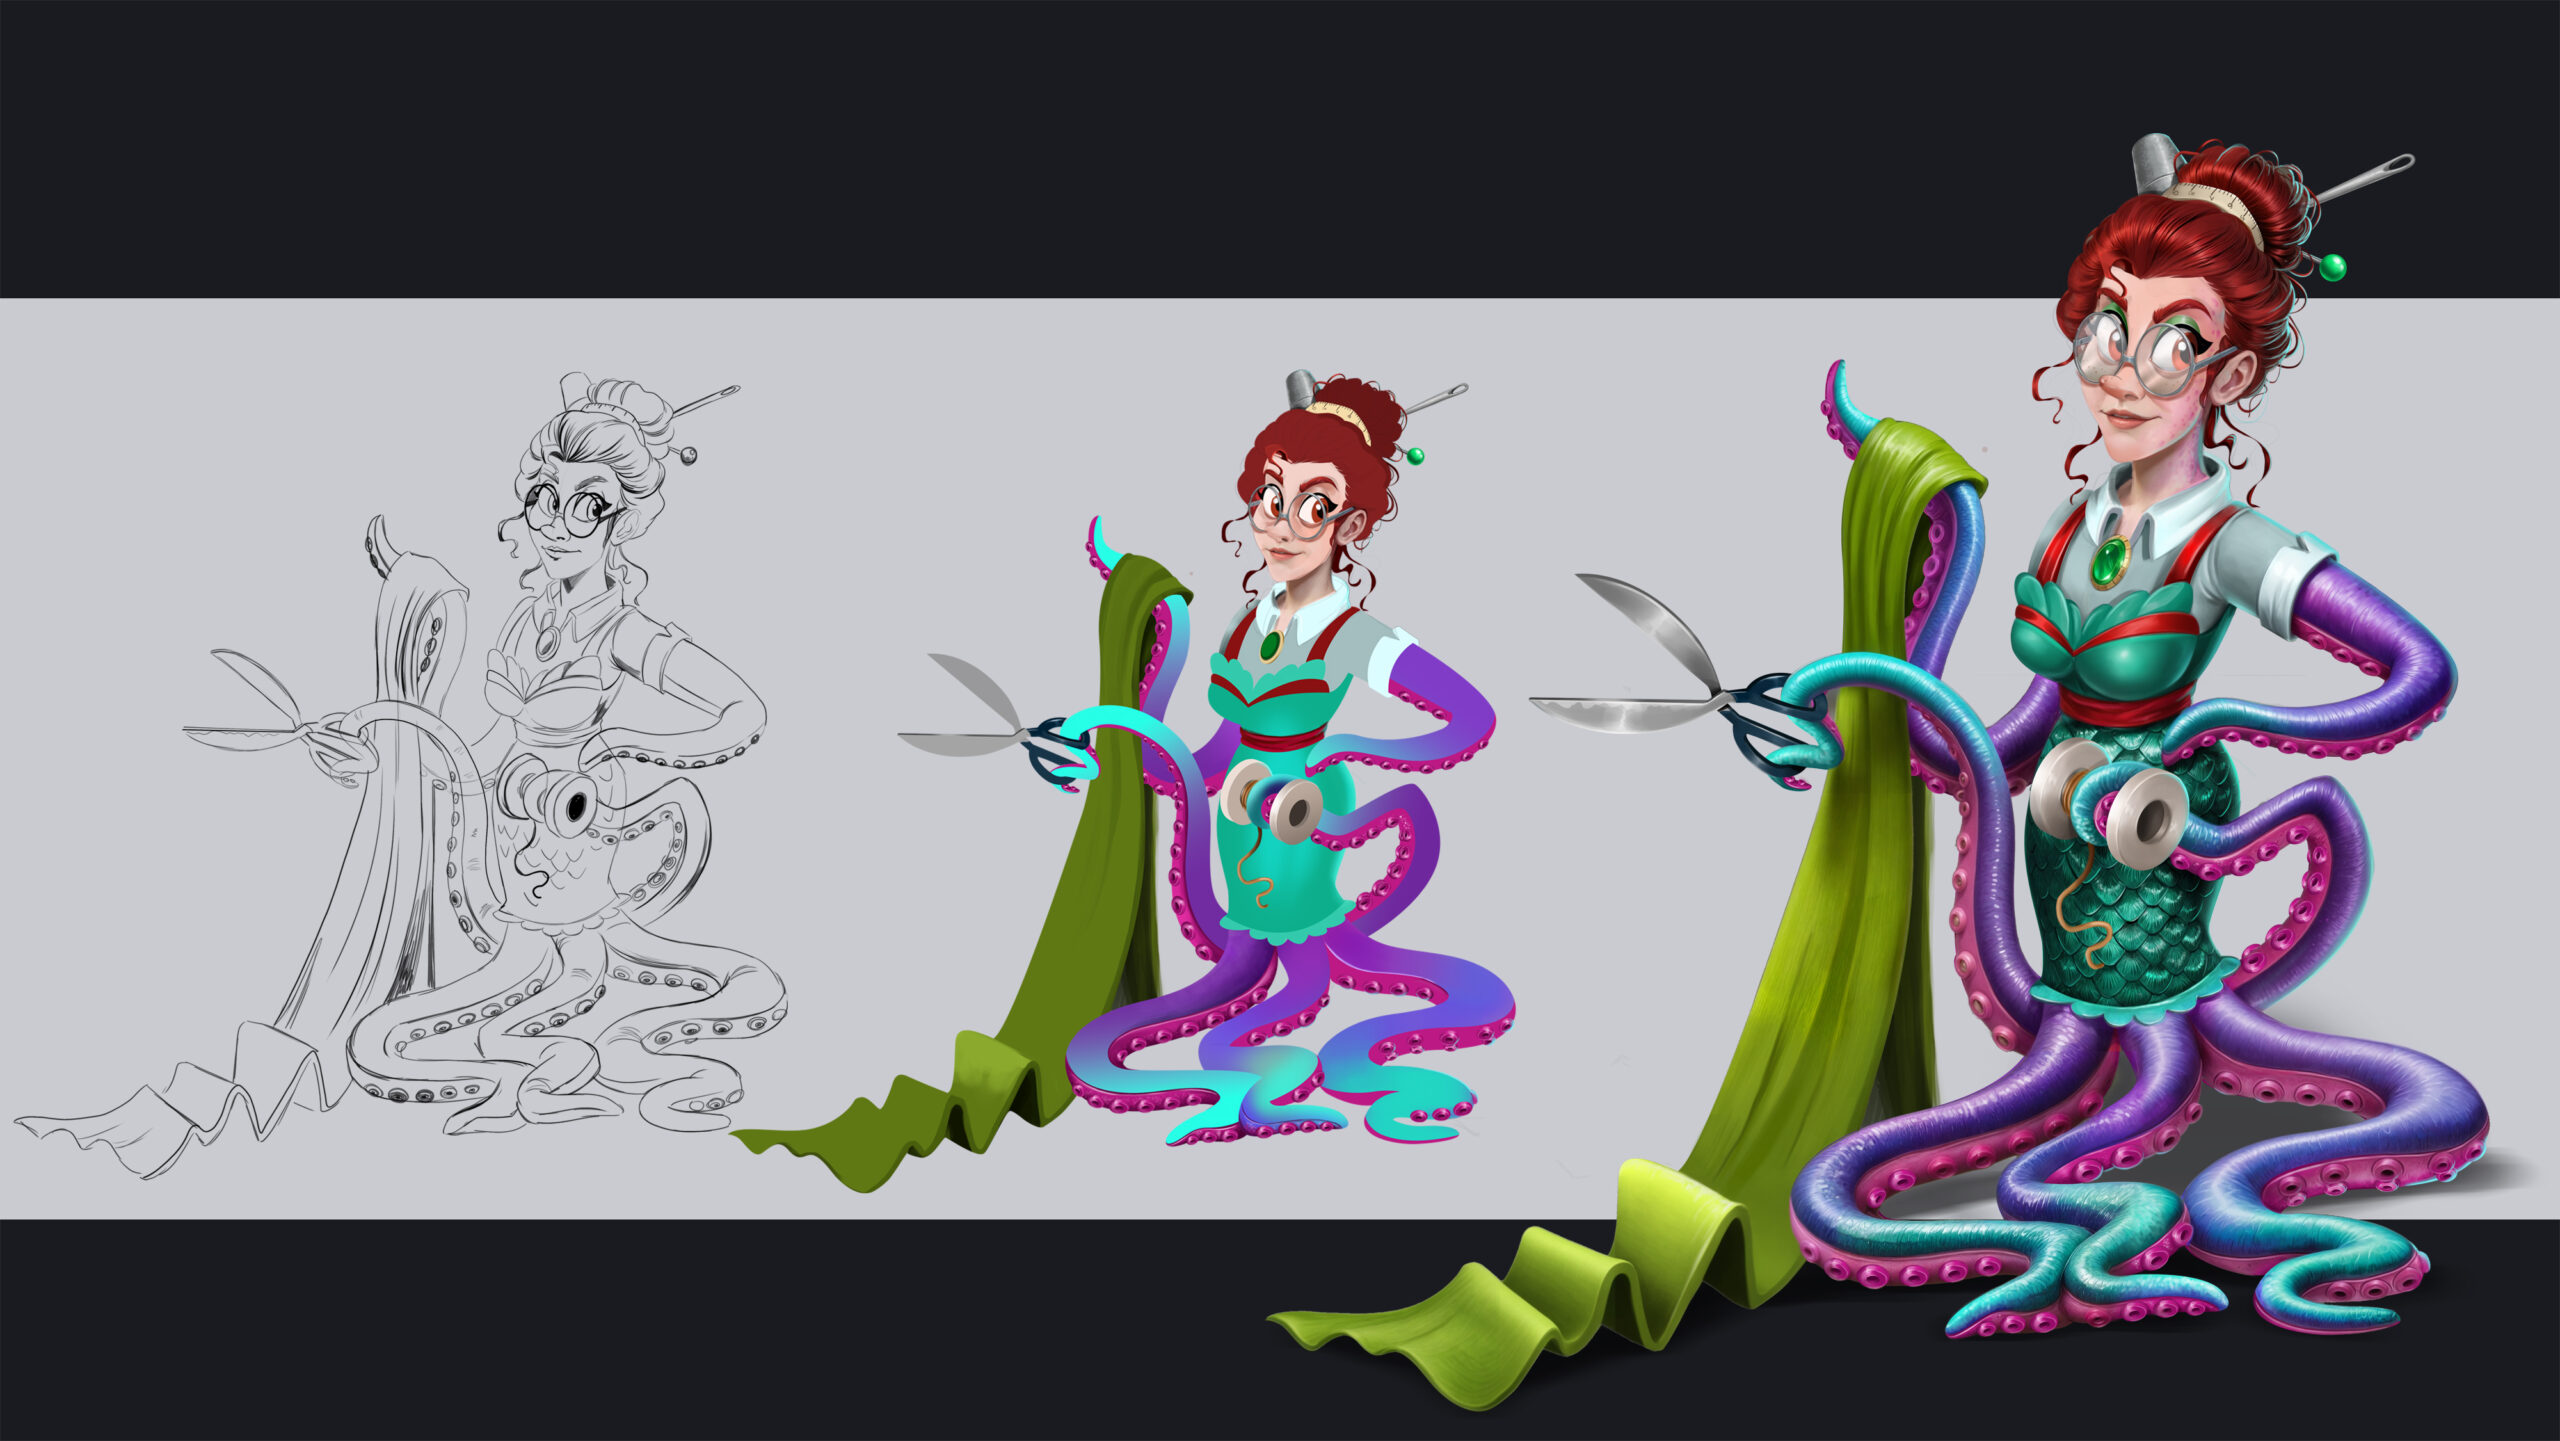
Concept Art
Concept artists transform early ideas into visual designs for characters, environments, props, creatures, vehicles, and worldbuilding elements. This stage often includes multiple iterations before designs are approved for production.
Concept art helps define:
- Character silhouettes
- Costume designs
- Environment layouts
- Mood and atmosphere
- Architectural language
- Asset direction
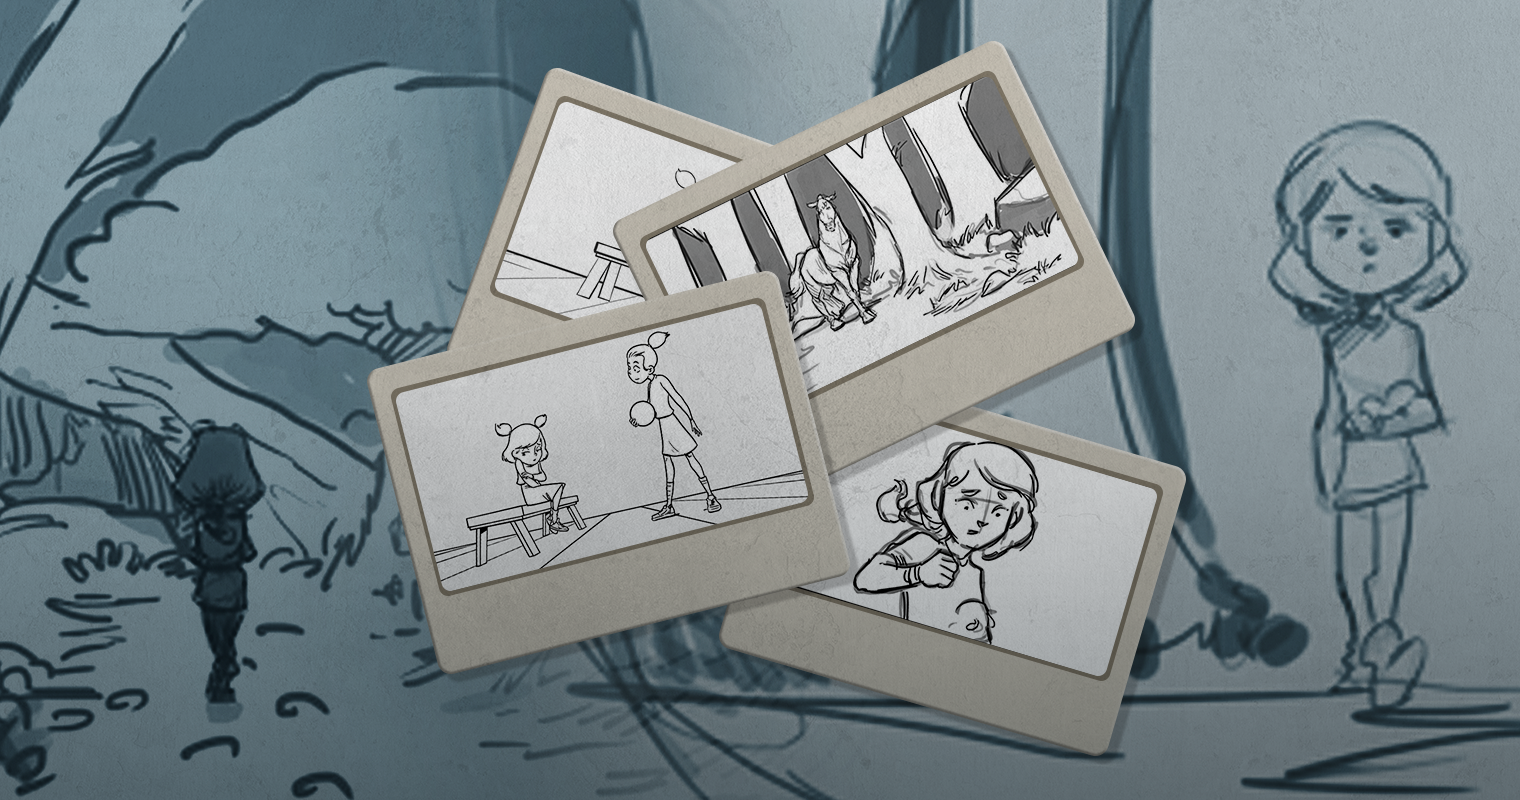
Storyboarding & Visual Development
Many projects use storyboards and visual development paintings to explore cinematic scenes, gameplay moments, camera setup, and environmental storytelling.
Storyboard artists visualize pacing and scene composition before production begins. This stage is especially important for:
- Cinematic games
- Narrative-driven designs
- Trailers and cutscenes
- Action-heavy gameplay sequences
Technical Planning
Technical planning prepares the production pipeline before assets enter full development. Technical artists and leads often work closely together during this phase.
This stage includes:
- Naming conventions
- Asset organization
- Polygon budgets
- Texture resolution planning
- Engine limitations
- Production scheduling
- Workflow optimization
Production Stage in Game Art Pipeline
Production is the main asset creation stage of the game art pipeline. During this phase, artists transform approved concepts into fully functional in-game assets ready for animation, gameplay systems, and engine integration.
This stage is usually the longest and most resource-intensive part of development because nearly all visual assets are created, refined, optimized, and tested here.
Character artists, environment artists, modelers, animators, VFX artists, and technical artists work together in a game art studio throughout production to ensure the game maintains both visual quality and technical performance.
- Character design and modeling
- Environment creation
- 3D modeling and sculpting
- UV mapping and retopology
- Texturing and material creation
- Rigging and skinning
- Gameplay and cinematic animation
- VFX and shader development
- UI and HUD creation
- Engine integration and optimization
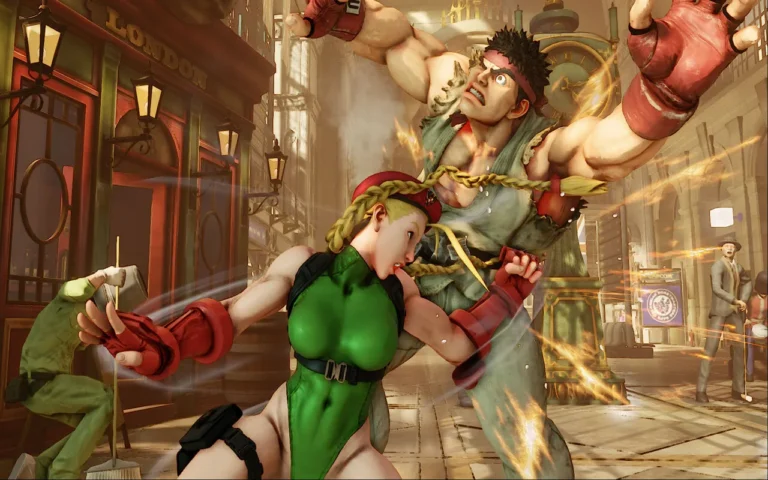
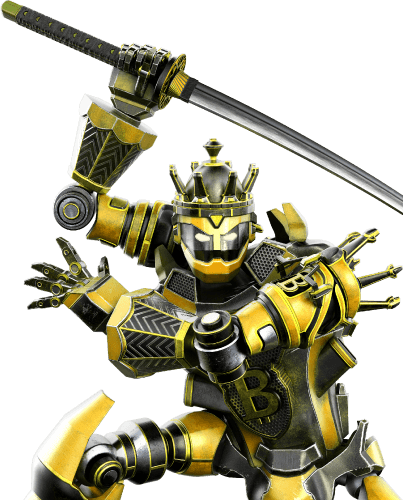
Character Design
Character artists create the playable characters, NPCs, enemies, and creatures used throughout the game.
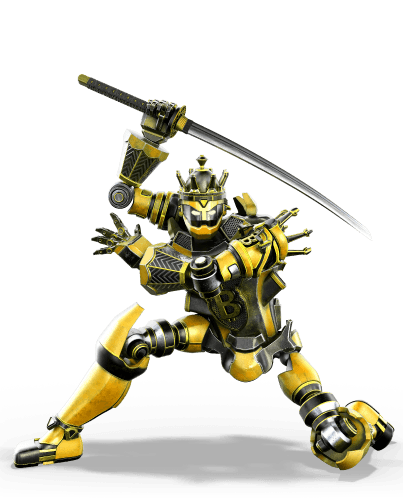
Strong game character design helps improve gameplay readability and visual identity. The character design process often includes:
- Turnaround sheets
- Expression sheets
- Costume variations
- Anatomy refinement
- Shape language exploration
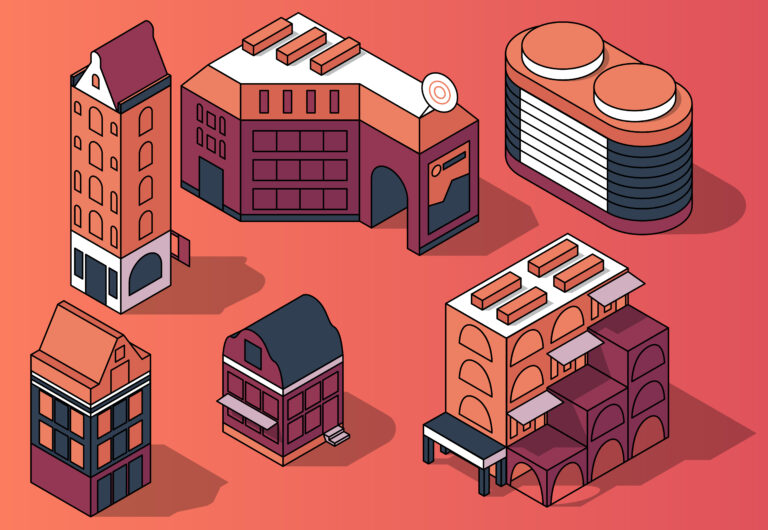
Environment Design
Environment artists create the worlds players explore throughout the game. Environment design plays a major role in immersion and gameplay atmosphere.
This includes:
- Buildings
- Terrain
- Vegetation
- Props & assets
- Roads
- Interior spaces
- Environmental storytelling assets
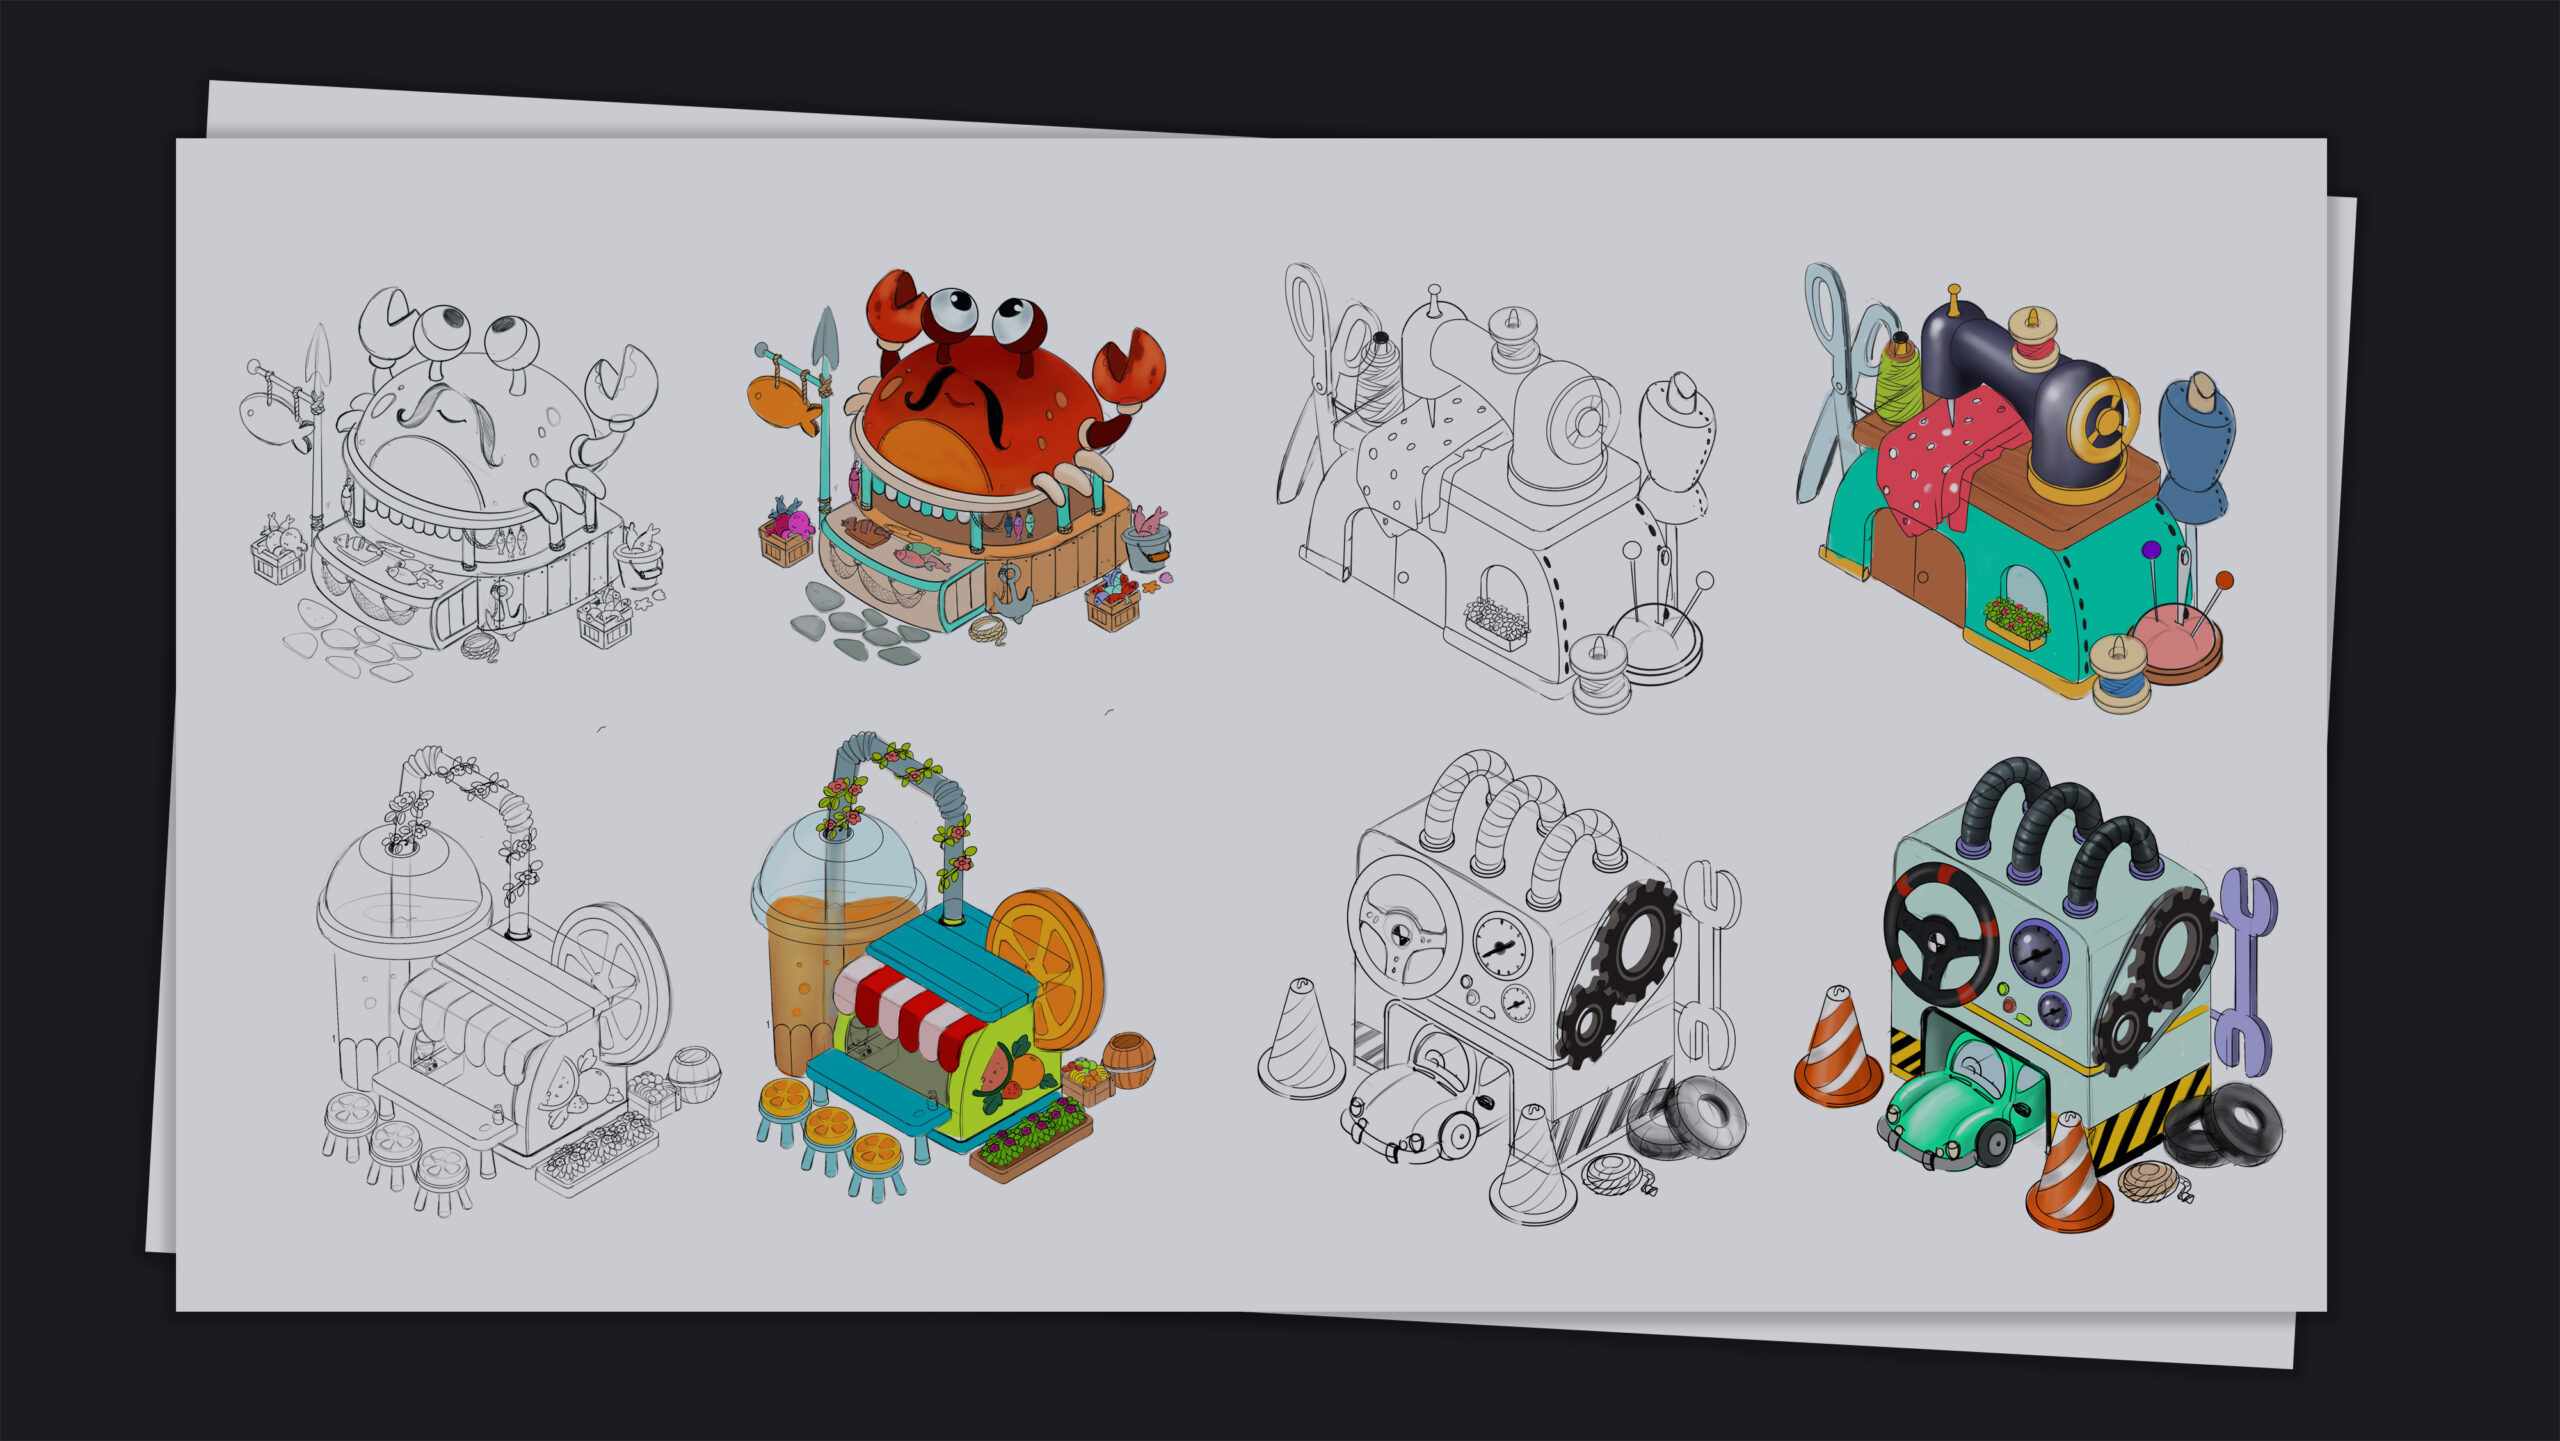
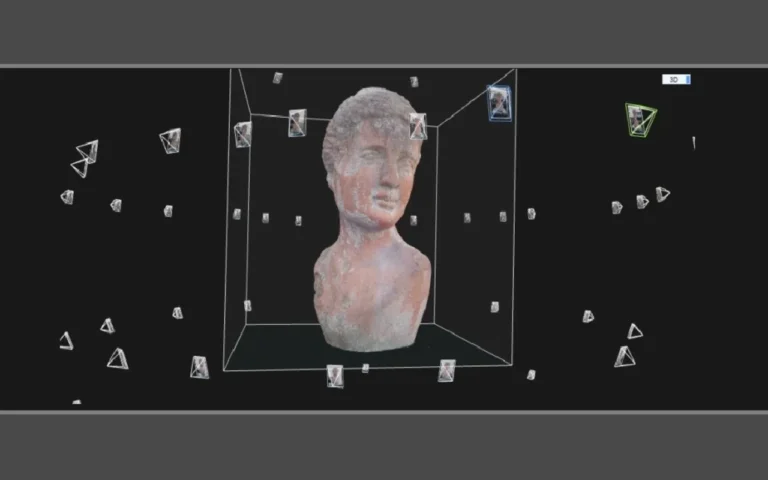
3D Modeling
3D modeling converts approved concepts into optimized game-ready assets. Optimization is extremely important because assets must perform efficiently in real-time game engines.
3D modelers create:
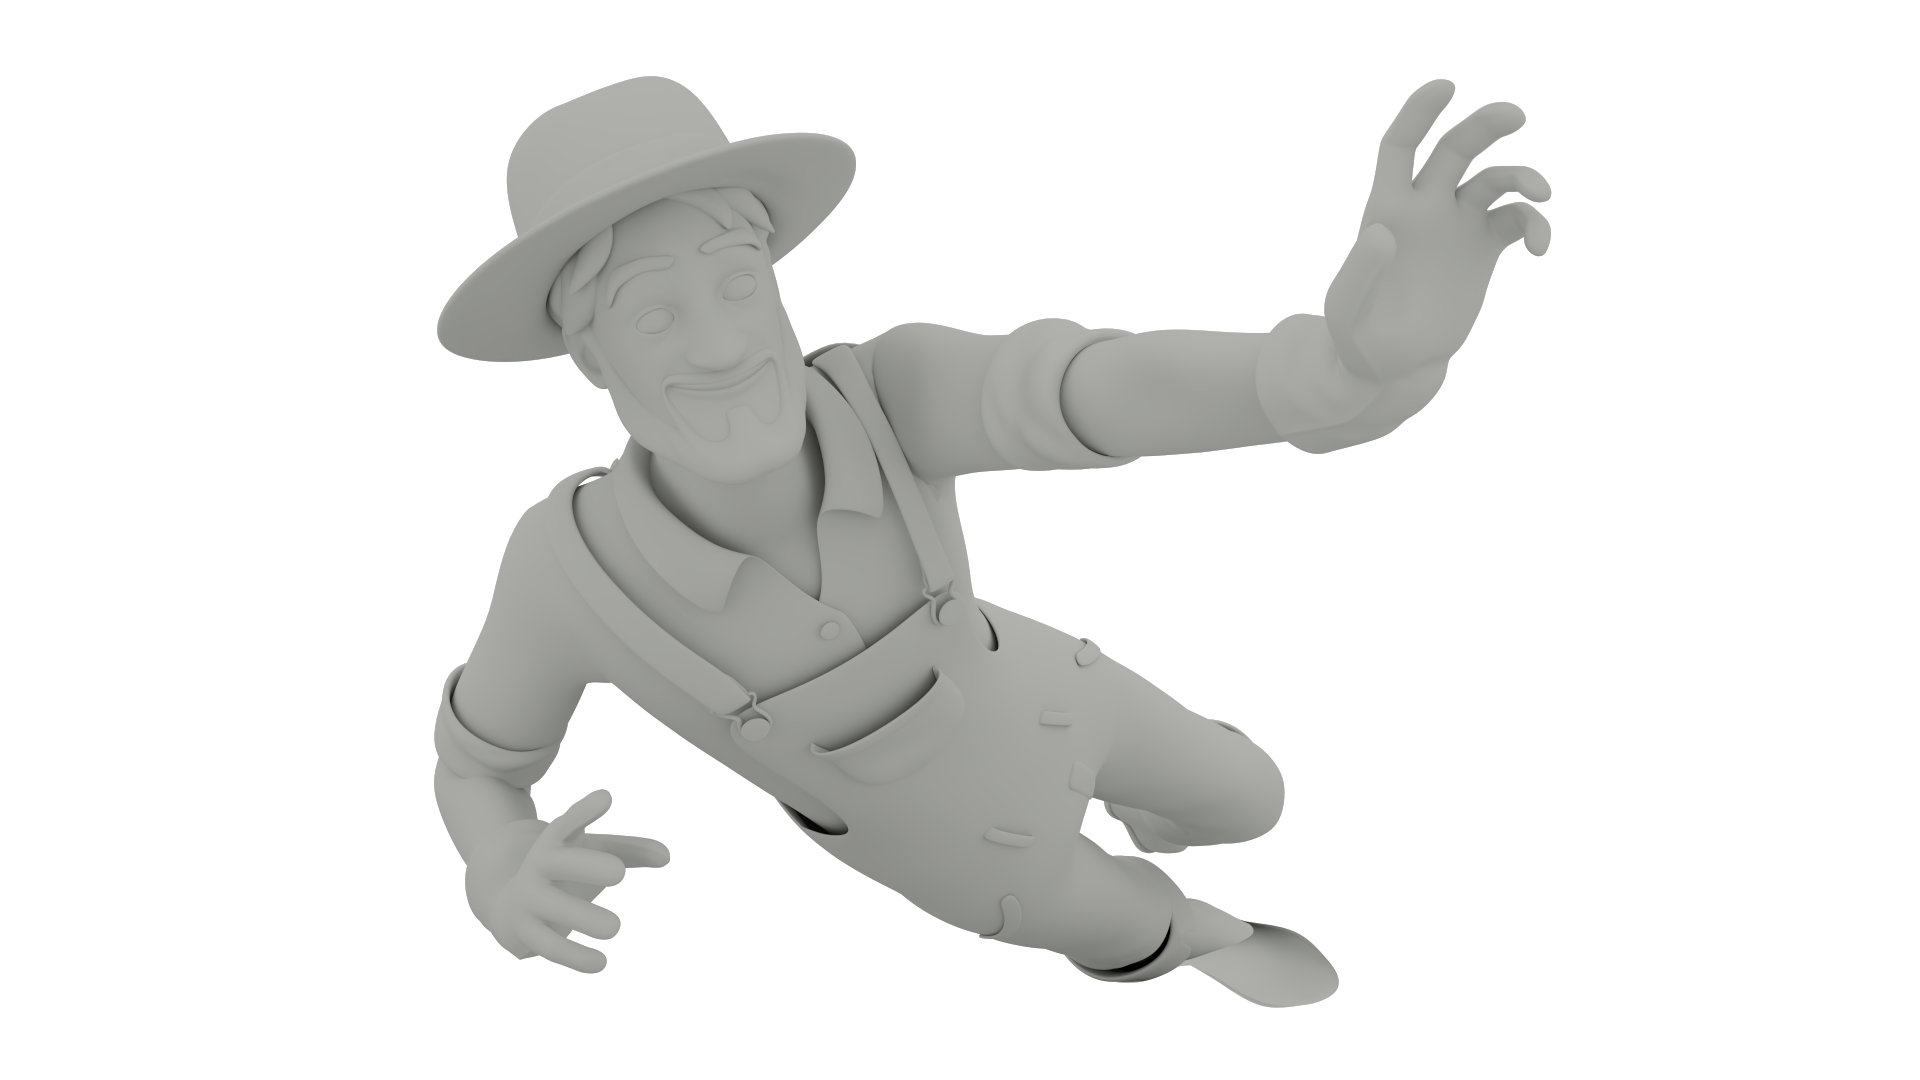
- High-poly sculpts
- Low-poly models
- Modular assets
- Hard-surface models
- Organic models
Read More: High-Poly to Low-Poly Workflow
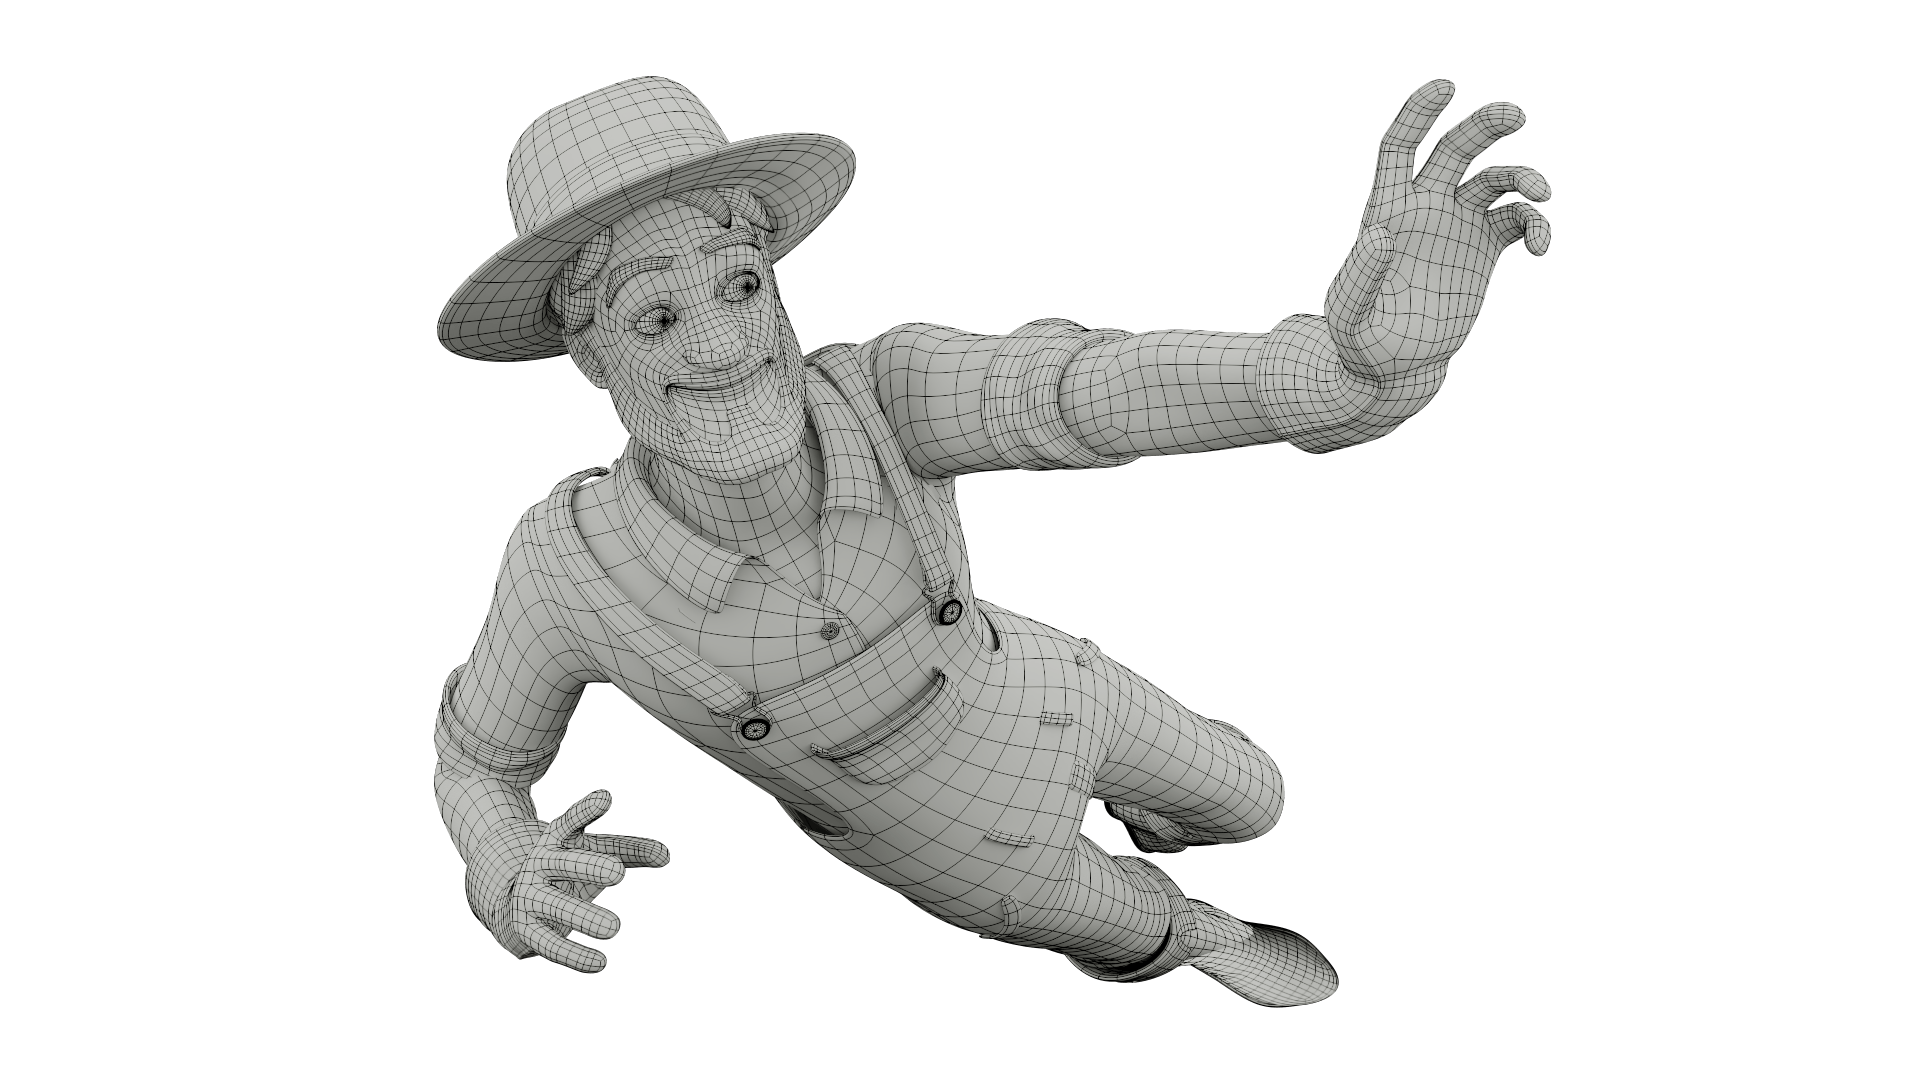
UV Mapping & Retopology
After modeling, artists prepare assets for texturing and engine integration.
In the texturing process, UV mapping organizes texture coordinates, while retopology creates optimized geometry suitable for animation and gameplay performance.
This stage is critical for:
- Texture quality
- Efficient rendering
- Animation deformation
- Engine optimization
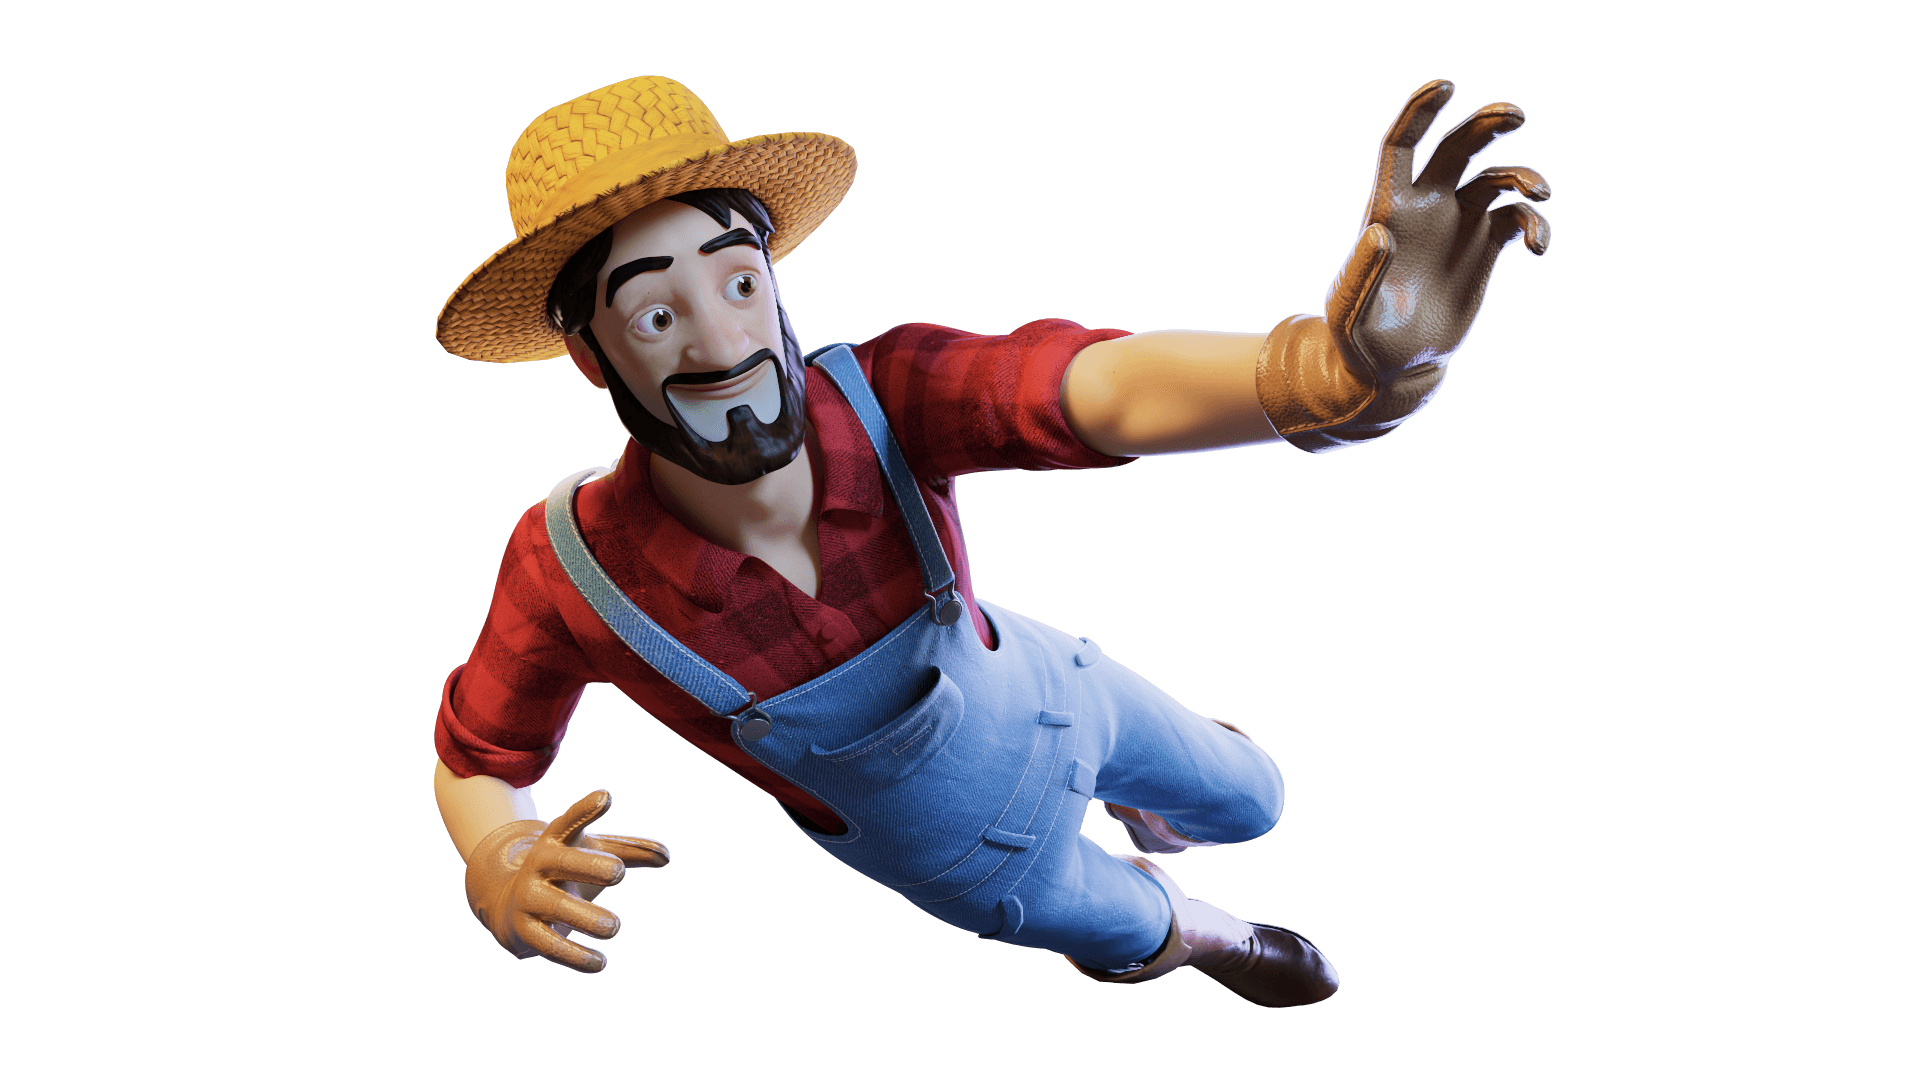
Texturing & Materials
Texturing artists create surface details and materials using PBR workflows. Modern pipelines often use 3D modeling software like Substance Painter and Substance Designer for material creation.
This stage includes:
- Base color maps
- Roughness maps
- Metallic maps
- Normal maps
- Surface wear and damage
- Material blending
Rigging
Rigging artists create the skeletons and control systems needed for character animation. Good rigging improves animation quality and production speed.
Rigging systems may include:
- Facial rigs
- IK/FK systems
- Physics controls
- Muscle deformation systems
- Gameplay interaction setups
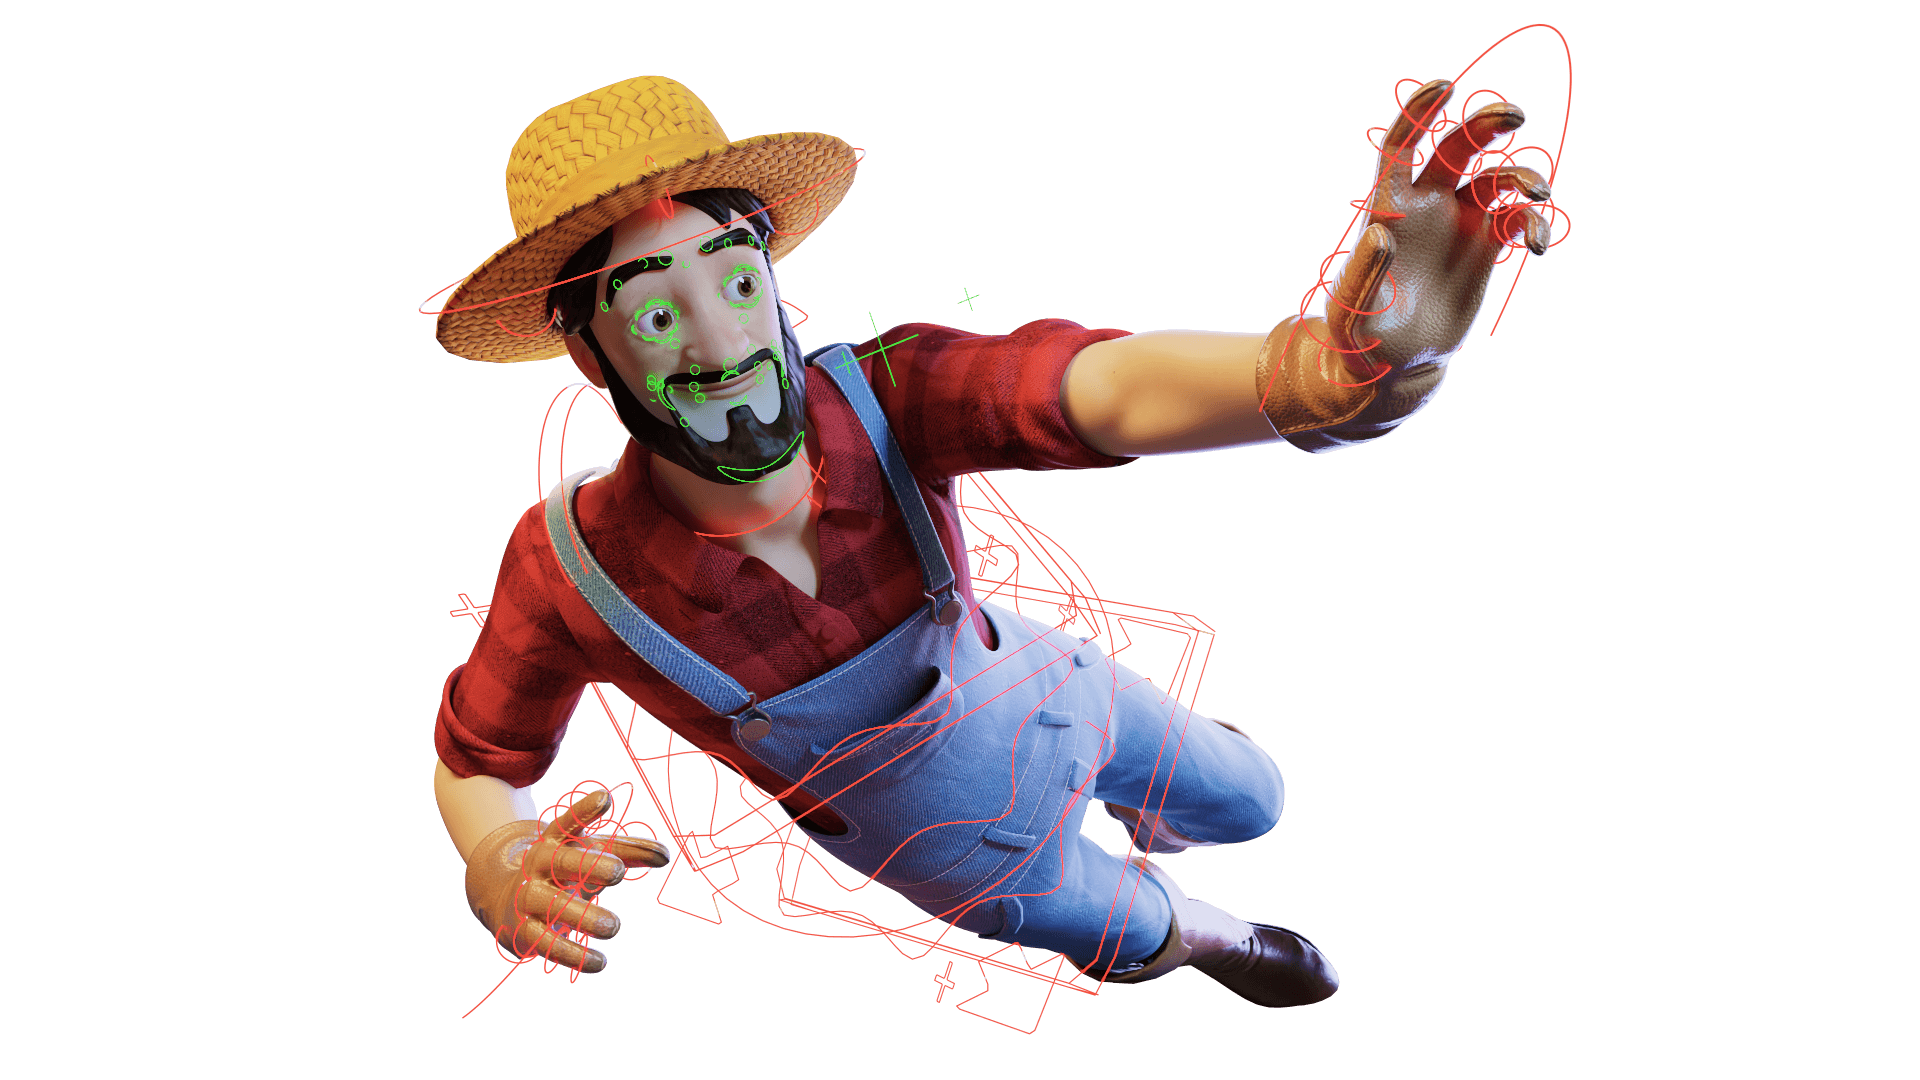
Animation
Animators create movement systems for gameplay and cinematics. Modern pipelines often combine keyframe animation, motion capture, and procedural systems.
Common animation types include:
- Walk cycles
- Combat animations
- Idle loops
- Facial acting
- Cinematic animation
- Gameplay interactions
VFX & Technical Art
VFX artists create visual effects that improve gameplay feedback and immersion. Technical artists help optimize shaders, materials, and performance systems inside the game engine.
Examples include:
- Fire and explosions
- Magic effects
- Weather systems
- Environmental particles
- Energy effects
- Combat impacts
Engine Integration
After assets are completed, they are integrated into engines like Unreal Engine or Unity. Engine integration ensures assets work properly within gameplay systems and maintain stable performance.
This stage includes:
- Asset importing
- Material setup
- Lighting integration
- Collision setup
- LOD systems
- Optimization
- Gameplay testing
Post-Production in the Game Art Pipeline
Post-production is the final polishing and optimization stage of the game art pipeline. During this phase, teams focus on improving performance, fixing visual issues, refining gameplay readability, and preparing the project for release.
This stage ensures the game runs smoothly across platforms while maintaining visual consistency, stable performance, and a polished player experience.
Lighting artists, shader artists, QA teams, technical artists, and optimization specialists collaborate closely during post-production to identify problems and improve the final quality of the game.
- Performance optimization
- LOD and asset optimization
- Lighting polish and color correction
- Shader optimization
- Bug fixing and QA testing
- Final VFX polish
- UI refinement
- Cinematic cleanup
- Platform compatibility testing
- Post-launch support and updates
Optimization
Optimization improves rendering performance and reduces hardware strain. Optimization is essential for large modern games.
This includes:
- LOD optimization
- Texture compression
- Draw call reduction
- Shader optimization
- Lighting optimization
Lighting Polish
Lighting artists refine scene atmosphere, readability, and cinematic quality. Lighting has a major impact on player immersion.
This stage helps improve:
- Mood
- Gameplay visibility
- Environmental storytelling
- Visual realism
QA & Bug Fixing
QA teams identify visual problems, gameplay bugs, clipping issues, animation problems, and performance instability. This stage continues throughout development and often after launch.
Common fixes include:
- Texture bugs
- Animation glitches
- Collision errors
- Lighting artifacts
- Performance drops
Final Visual Polish
Artists apply final improvements before release. These details help improve overall presentation quality.
This may include:
- Additional VFX for a better game experience
- Cinematic refinement
- UI cleanup
- Material adjustments
- Color correction
- Environmental polish
Post-Launch Support
Live-service games often maintain active art production pipelines for years after launch. Many modern games continue production after release through:
- Updates
- DLC expansions
- Seasonal content
- Live-service updates
- Optimization patches
Final Words
The game art pipeline is one of the most important foundations of modern game development. From early concept art and visual development to modeling, animation, VFX, optimization, and engine integration, every stage plays a critical role in creating immersive game worlds and polished player experiences.
As games continue becoming larger and more visually advanced, structured production pipelines are becoming even more important for maintaining efficiency, collaboration, and artistic consistency across development teams.
FAQs
What exactly is an art pipeline in gaming?
It’s a structured workflow. From concept and design to pre- and post-production, where assets pass through specialized roles.
How many artists are needed for a typical game art pipeline?
Team size varies by project. Small teams may have generalists; AAA titles rely on specialized roles like modelers and technical artists.
What skills do 3D game artists need most?
Technical artists, in particular, need skills in tools, shaders, VFX, rigging, and problem-solving to bridge art and programming.
How does using 3D for 2D games speed up production?
3D workflows allow reusing and animating 3D assets across perspectives. It is faster and more flexible than hand‑drawing every frame.
What are the 3D production pipeline stages?
It follows sequential steps: pre-production, modeling, UV mapping, texturing, rigging, animation, lighting, rendering, and compositing.